We woke up on Friday to no internet, so I spent the morning reading and resting a bit. Chisomo then took Lewis and me on a stroll around their neighborhood, pointing out the property that they own, and the plans she has for expanding their farming efforts. It’s a lovely neighborhood and it was a beautiful, sunshiney day. I stopped to take a picture of a unique tree that I’ve only seen in Southern Africa so I could try and identify it. It looks like a cactus, but it has a woody trunk, it’s very confusing. It turns out it is not a cactus, but is a succulent. It grows well even in drought, thus highly suited to the Southern Africa region (it can be found in South Africa, Malawi, Zimbabwe, Zambia, Mozambique, Tanzania, Botswana, Rwanda, Uganda, and Kenya).
In the evening, I mixed up a bread dough, hoping to have enough time for it to attract wild yeast to rise. I should have started it the night before, but it actually did rise a little bit when I baked it Saturday afternoon. It was nice to be able to do something special for the brethren on the Sabbath.
The wi-fi was finally up and running by Friday mid-afternoon, so I was able to get some work done before the Sabbath came.
The Chichaya’s are very hospitable, and took great care of us during our time together.
Sabbath morning brethren from various congregations came to Kadoma for services. Kadoma is fairly central, so it was a good location for folks to come to. It was lovely to share the Sabbath with God’s people, singing the same hymns, and speaking the same words… what a blessing.
After we saw the brethren off (Mabasa drove them to town so they could catch buses back to their home areas) the power had once again gone off. Once the sun had set I taught the Chichaya girls how to play crazy 8’s, go fish, and seven up/seven down using the light of a solar charged lamp. We decided, since we’d had a late lunch, to just have snacks for dinner; so we popped some popcorn and pulled out granola bars, beef sticks, dried fruit, and some nuts to share and played games long into the night. The power did not come on again until just as we were headed to bed.
A Euphorbia Ingens or a candelabra tree and mango tree near the Chichaya home.A neighbors farm in Eiffel Flats, Kadoma, Zimbabwe. There is good, fertile land in Zimbabwe, the biggest issue is getting enough rain.Lewis playing cards… Little Layla took this photo
I was able to mostly sleep on Tuesday night, which was good, because we had another early morning at the airport.
Gracious drove from his home to pick us up, and Daniel drove the truck to drop us off at the Blantyre airport. It was a weird day of travel. The Blantyre airport is TINY, we made it through check-in relatively easily (we were behind a youth group that had spent the previous nine days helping to build a school). I asked them where they were from, and they said Utah… well mostly, some were also from Arizona. I assume that they are Mormon missionaries.
I am always interested in what drives people to travel and to serve. Partly because I know why I do, and I’m curious if others have a similar motivation. But also because there is quite a bit of criticism in the non-profit world of people (especially late teens) that head to developing nations to serve. The criticism is that these volunteers have a “white savior” complex. Or they often come and do more harm than good because they don’t have the requisite skills to complete the work that they signed up to do. Or they exploit the people they are supposed to be serving by taking and sharing photos of them.
Perhaps some of the criticism is warranted, but generally, I don’t see that. Coming from my own perspective, the times that I was a volunteer, I truly wanted to show people the love of God and help improve their situation if it was in my power to do so. Now that I am in a position to seek out volunteers to send to various places, I know that the people volunteering are doing so because they have a heart to help others.
I think when we volunteer we should be honest about our own limitations and skills, so that the best person for the job is chosen. I think it’s important to take the time to try and understand the culture that you will be immersing yourself in so that you honor your hosts. And when it comes to the photos… most people (especially kids) love having their photo taken, just make sure that the subject of the photo is comfortable and looks their best. No one wants an unflattering photo of themselves out there, and never, ever take a photo that would embarrass the person, or highlight their disadvantages (for example, a group of young kids wanted me to take their photo, so I did. At one point one of the little girls turned her head and you could see that she had some hair loss, likely from an infection. I would never post that photo of that little girl. Her struggles are not there for my sharing — But I will share a gorgeously lit photo of her beautiful smile, because that’s who she is).
On my next trip to Africa, I’m going to bring a portable photo printer, so when I take these photos of people, they get one to keep of themselves. I’m not a photographer by any means, but open shade and an iPhone camera can make up for my lack of skill. I’m going to share some photos from my last trip to Malawi, so I can share some beautiful photos of our dear brethren.
Well, that took a bit of detour. Haha! From Blantyre we flew 30 minutes to Lilongwe (on a prop plane! — a first for me), we exited the plane in Lilongwe and were escorted across the runway to a waiting plane, where we took an hour flight to Lusaka. Upon landing, we stayed in our seats as some people deplaned, and others boarded. We then took an hour flight to Harare.
This is my first time visiting Zimbabwe, and the airport is very modern and easy to navigate. We zipped through immigration (they asked us no questions, just said $30 each for the visa), bypassed customs since we had nothing to declare and were outside before we knew it.
Mabasa Chichaya, the pastor for Zimbabwe was waiting and helped lug our bags to his waiting truck. It’s almost a two hour drive from Harare to Kadoma (it is pronounced exactly as it is spelled, but also it’s very difficult to say with an American accent, but I have it on good authority that I can say it properly — sweet Layla and Christal Chichaya told me that I have managed it).
It was early evening when we finally arrived, so we had hunkered down and I got to know Chisomo (Mabasa’s wife), Layla and Christal a little bit better.
On Thursday we awoke and I was able to get some work done in the morning, and in the afternoon we picked the girls up from school and drove to the property that the Church owns just outside of Kadoma. This facility will be used for the Feast and if the opportunity arises, a youth camp. It was nice to get an update on the progress of the construction.
While out and about we stopped at a couple of shops in town and bought the ingredients to bake a cake. It turned out so-so; the vanilla was not real and the pan I had was the wrong size so it had to back longer than normal and got dry on the edges and brownie like in the center.
The electricity was out briefly in the evening, and at that time the internet cut out. Verizon says that there is coverage in Malawi, but Lewis has been unable to get any service, so we’ve been relying on the Wi-Fi at the Chichaya’s home. After the power outage, the internet was off the rest of the day.
My stomach has been about the same here in Zimbabwe as it was in Malawi, as it was in Ethiopia… which is not great, but pepto is helping some. I can’t say how much I appreciate those that have been praying for me.
The street the Chichaya home is located onChocolate cake I made with Christal (on the left) and Layla (on the right)Some lovely photos of our beloved Malawian brethren
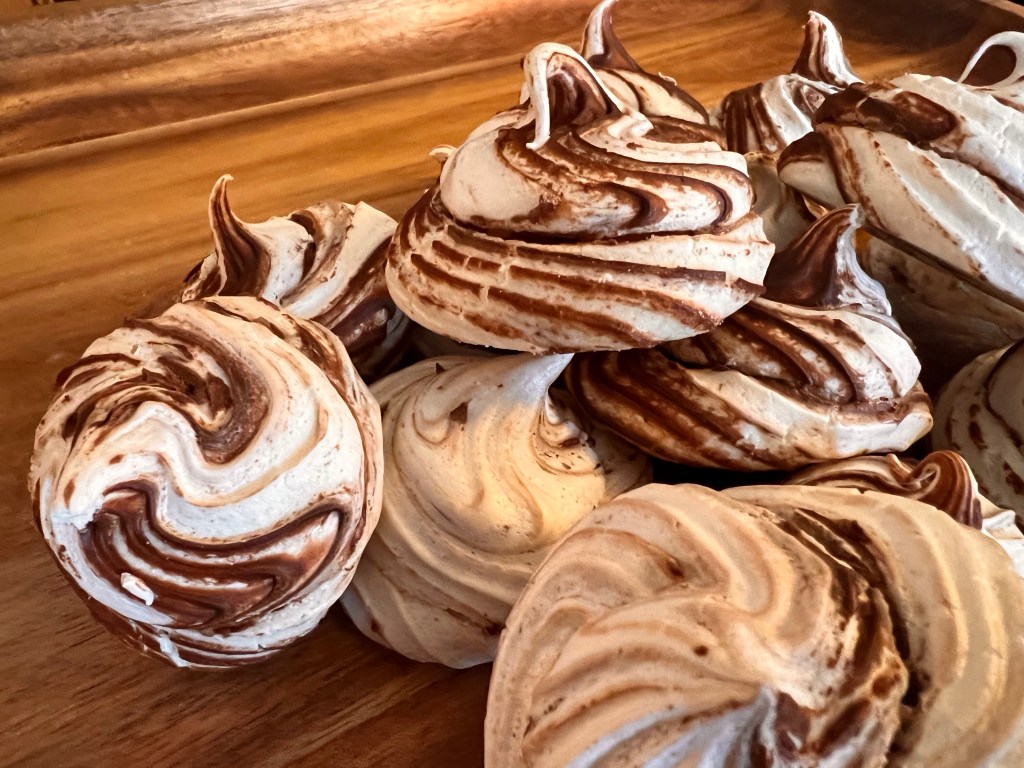
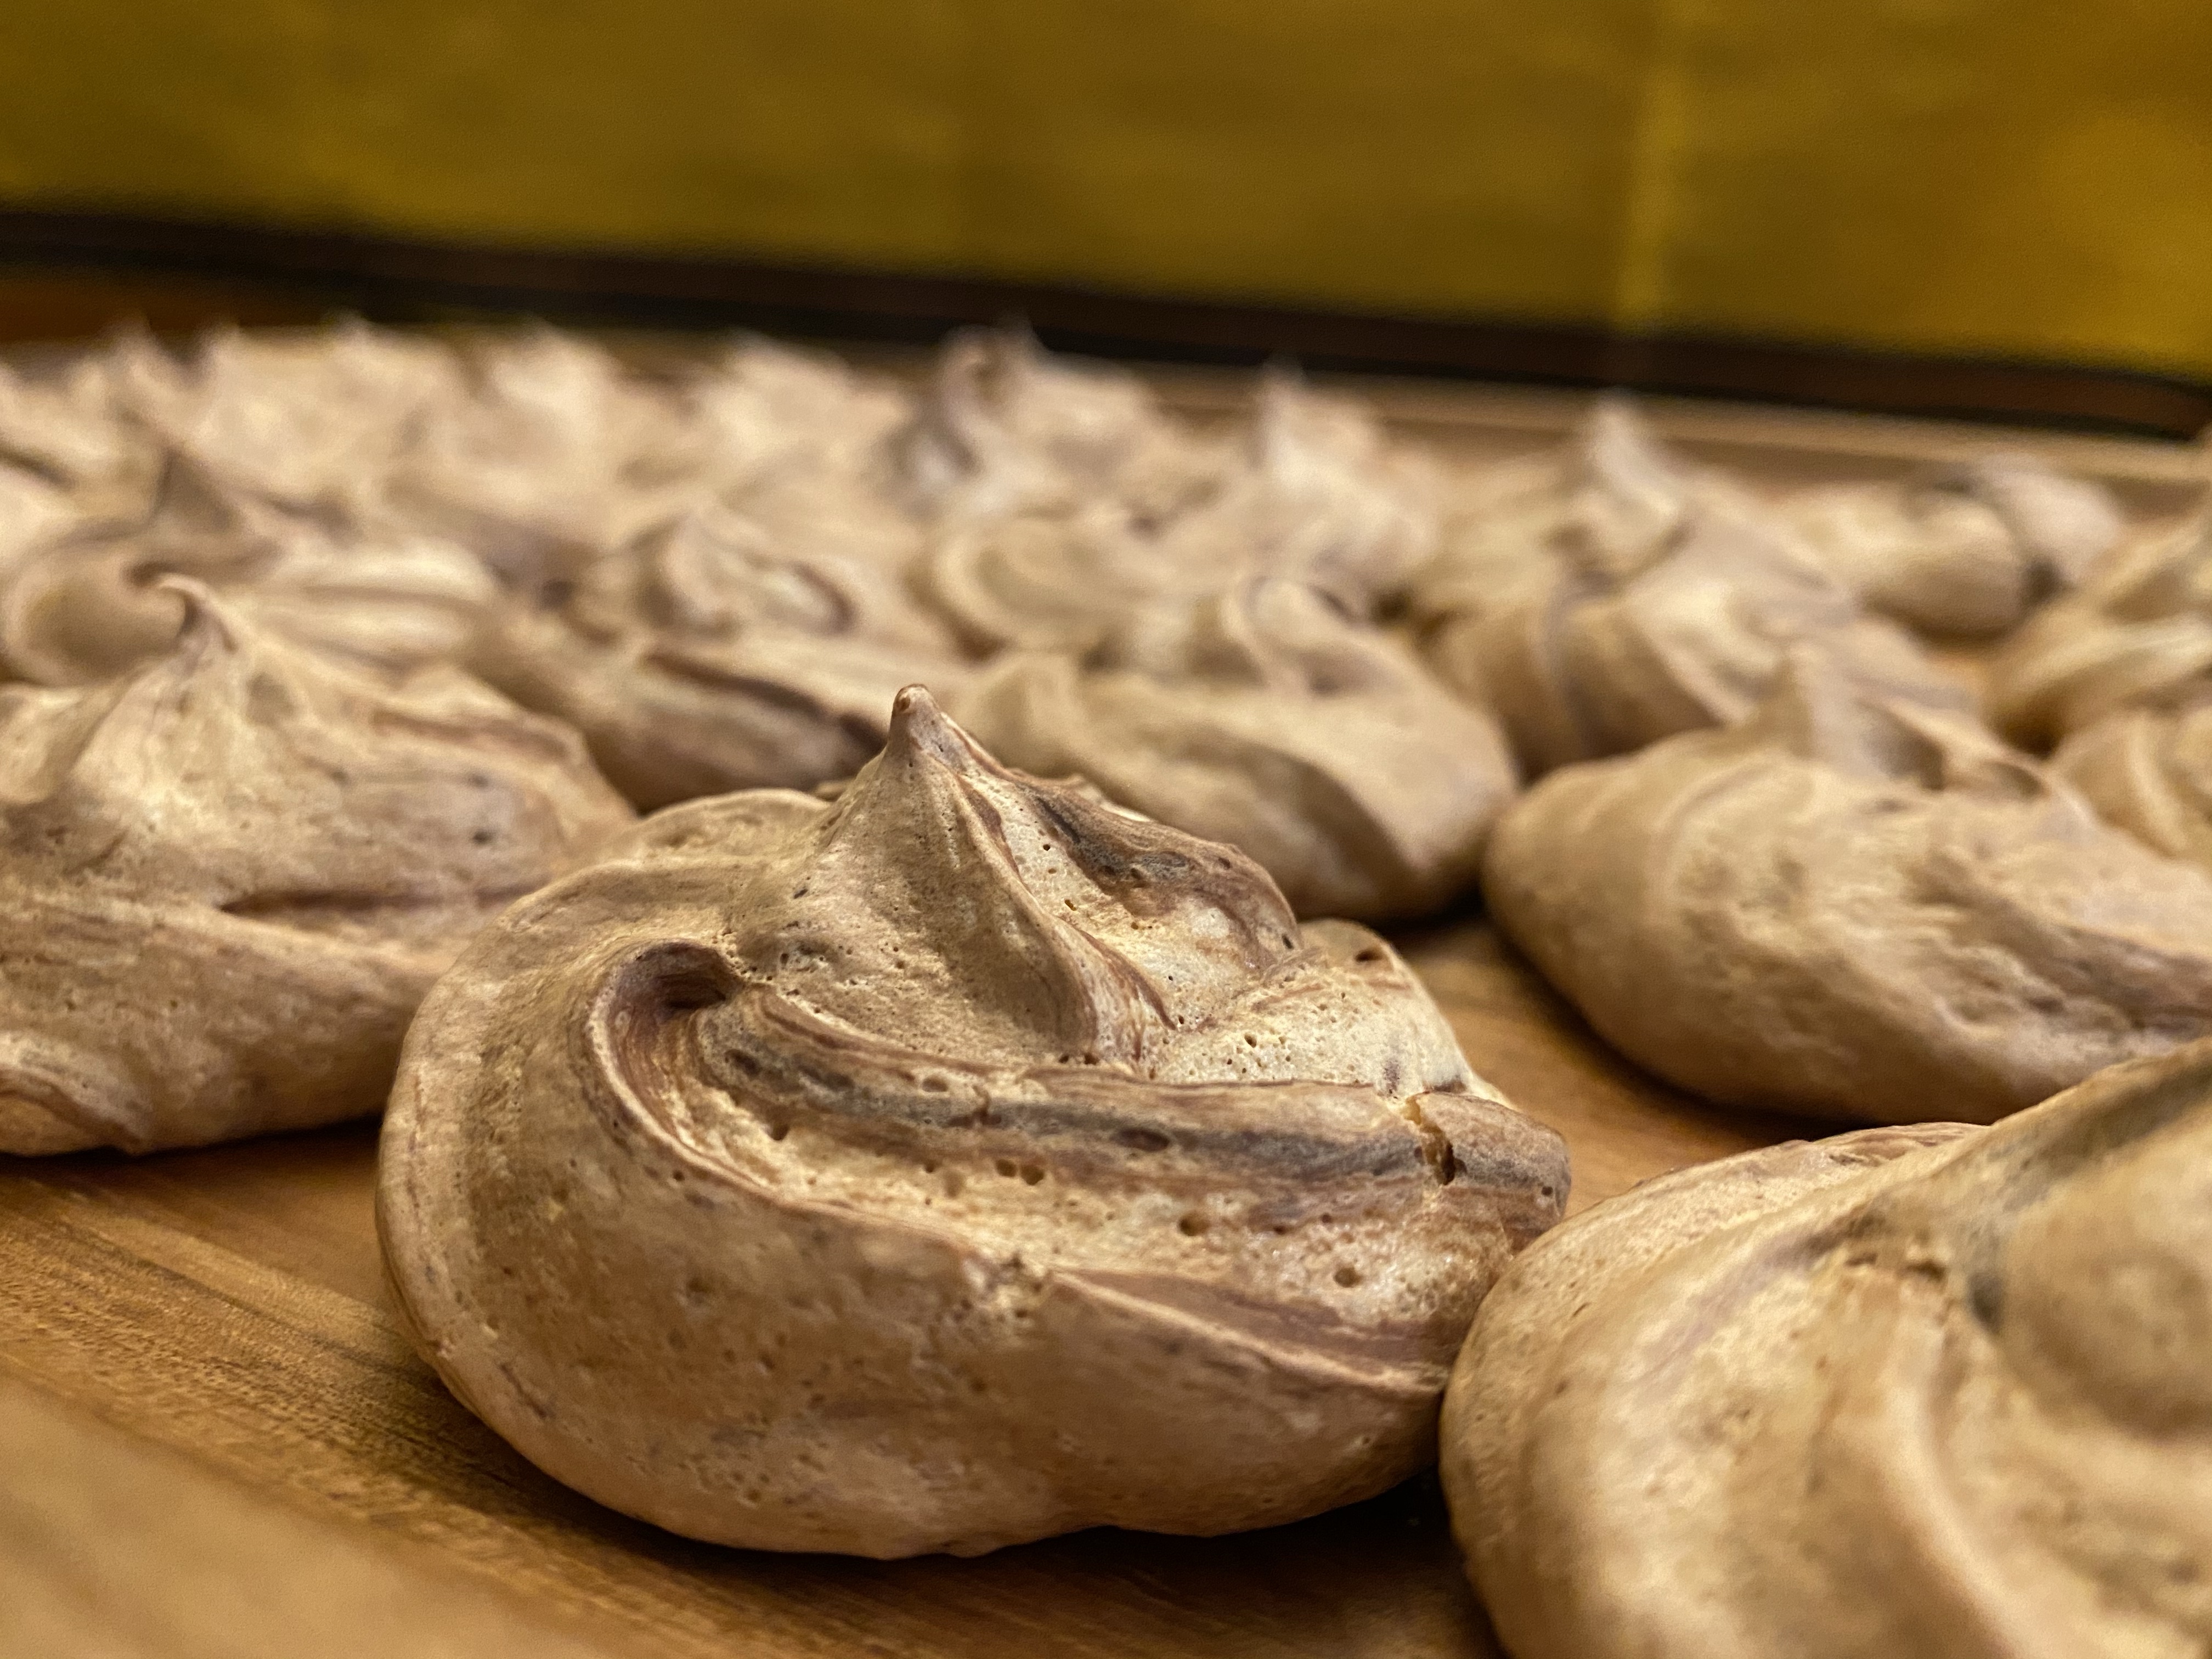
I’ve been experimenting with meringue cookies lately. I made a batch on a whim, and they were pretty good, but I wasn’t obsessed with them until a month or so ago.
Lewis and I decided to have lunch after our dentist appointment at a little cafe in Bay Ridge (a neighborhood in Brooklyn), and I noticed some ugly looking cookies that *might* have been meringue. So I asked our server, sure enough, it was different flavored meringue cookies. So I got one of each to try (I’d only made vanilla and chocolate swirl to that point), and I was so disappointed. The texture was terrible and the flavor was so subtle. So I decided to start experimenting, because clearly these could be done better (not that I plan on telling them that their cookies are terrible, but still… why have bad cookies when you can have great cookies?). And these are great cookies! They’re sweet with a crispy outside and a bit of a chewy center.
This is one flavor version, the base cookie recipe can be adapted pretty easily. I’ve made green tea, pistachio (still perfecting that one), and cherry almond so far.
I’m trying not to be the annoying blogger that forces you to read ten years of background on a dumb recipe. So here it is:
Ingredients:
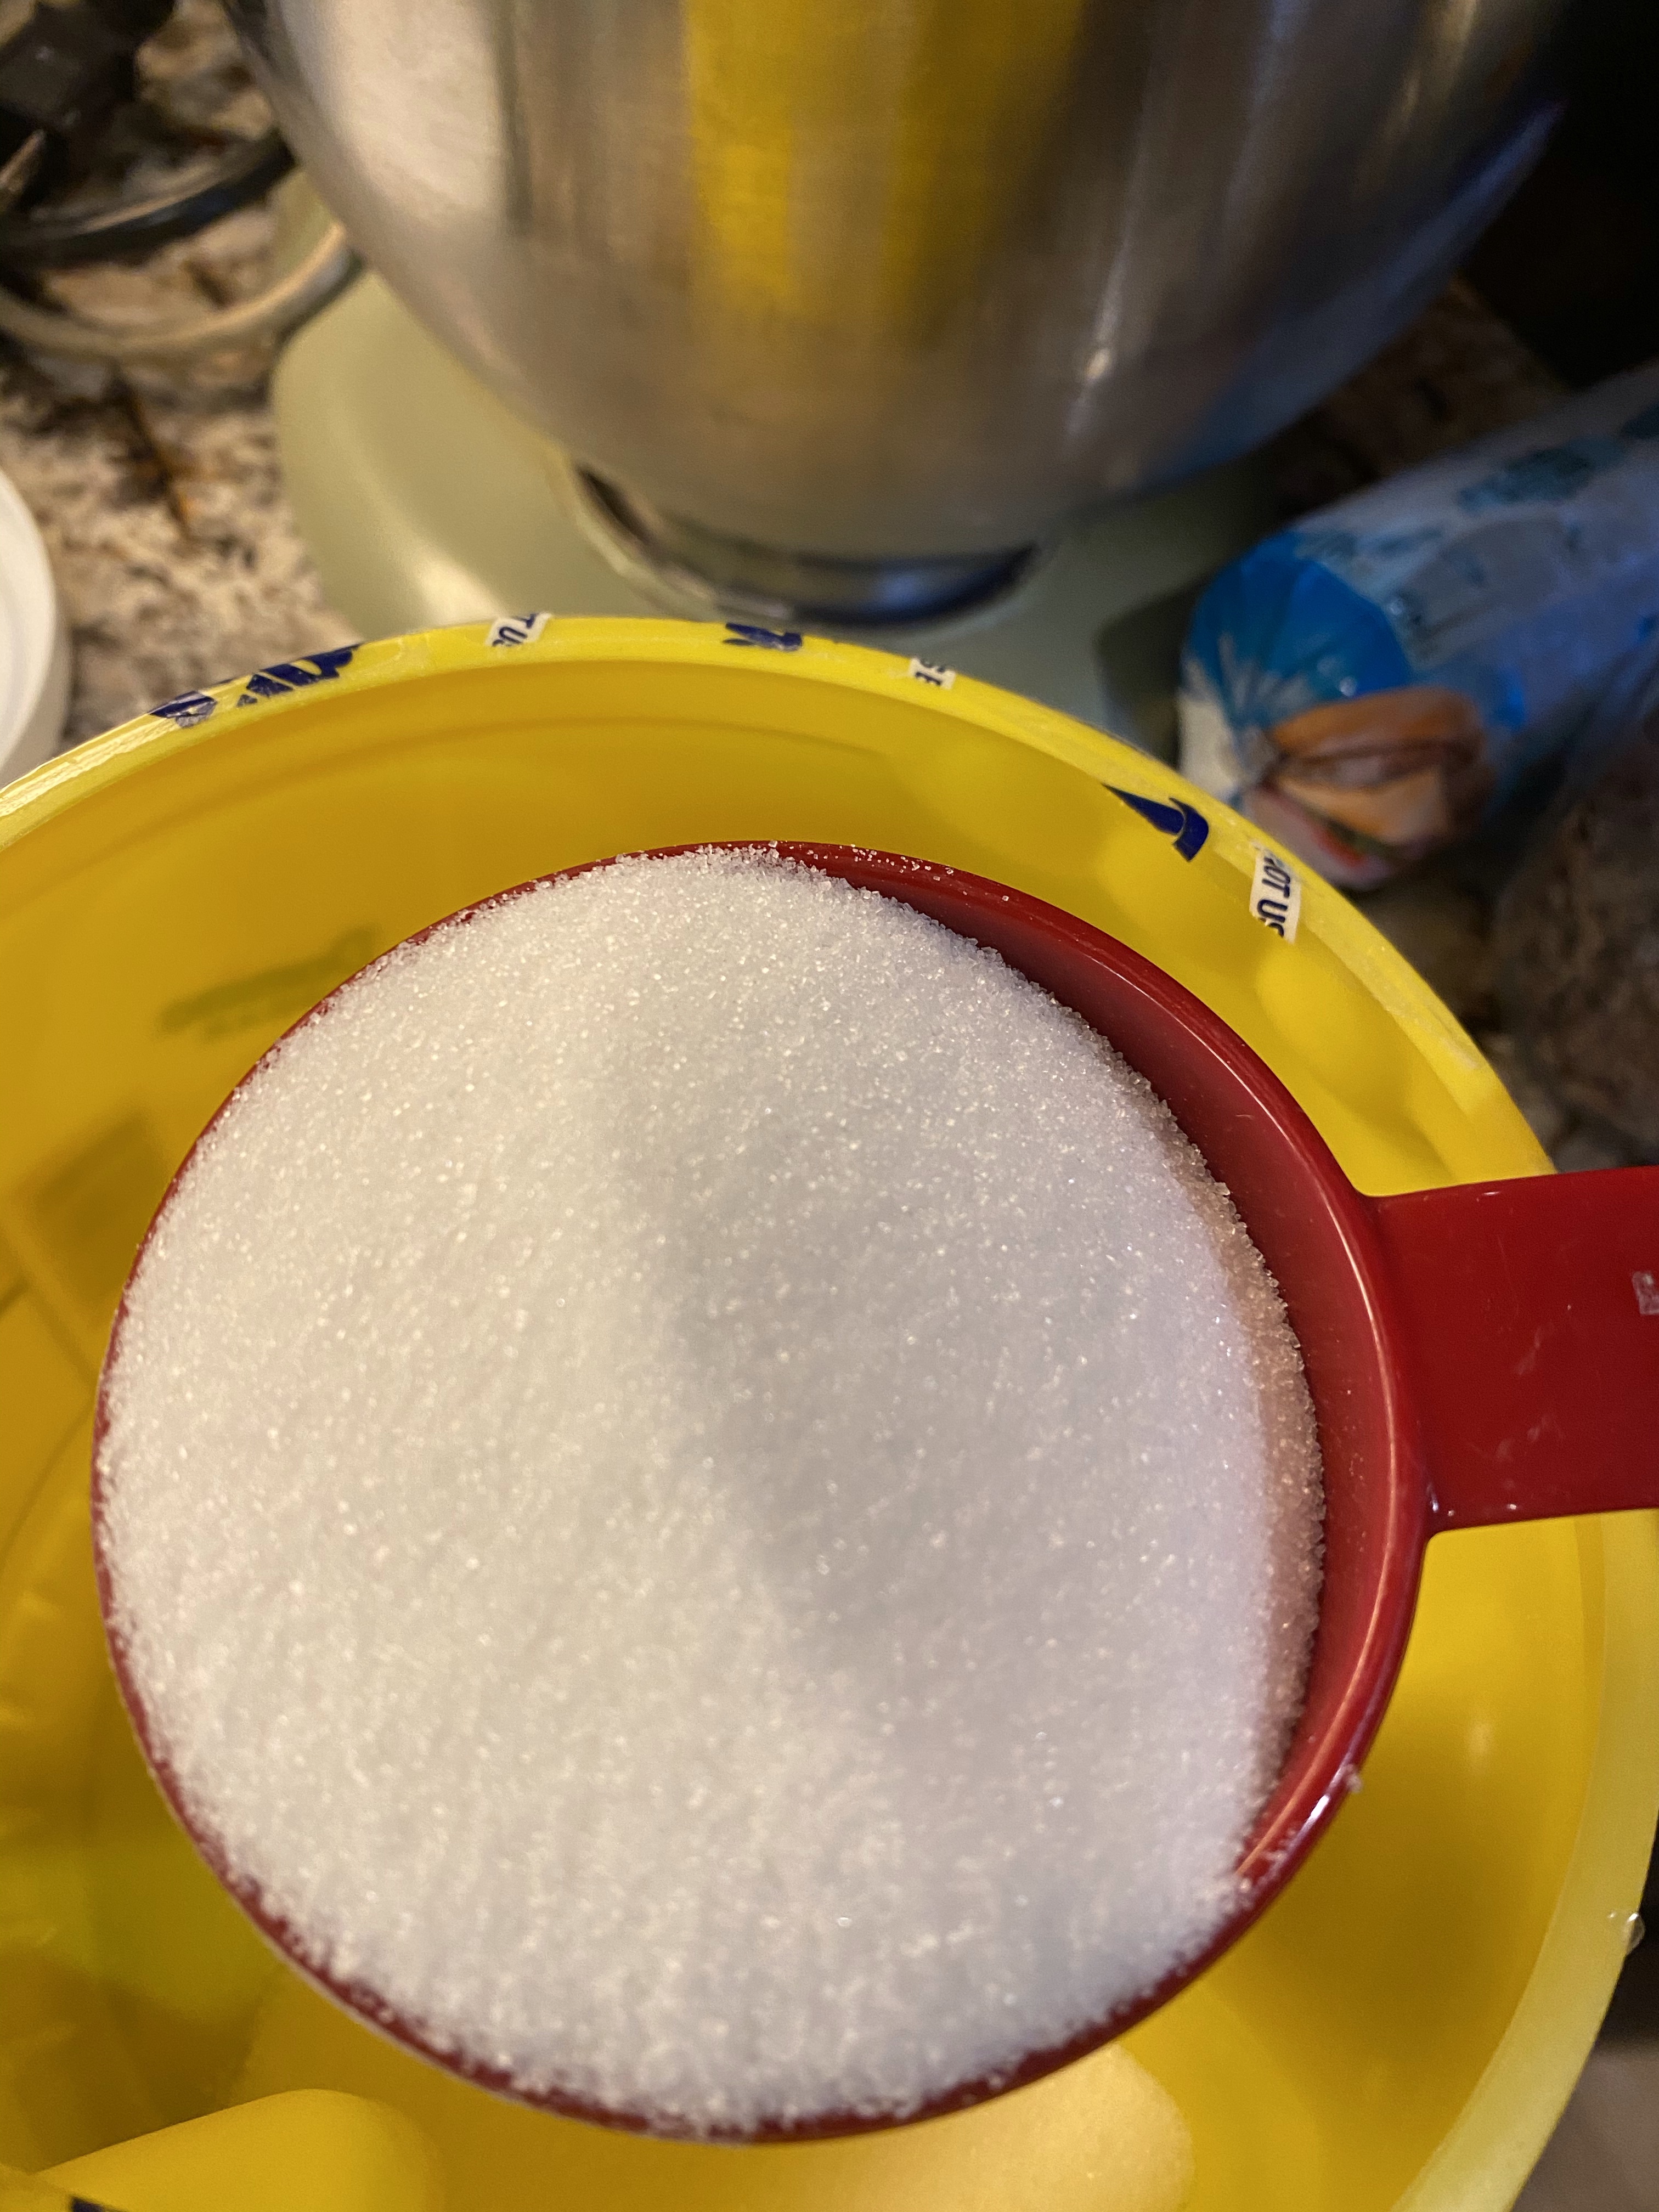
4 large egg whites
1 cup of cane sugar (I use Domino brand because it’s a more fine grain)
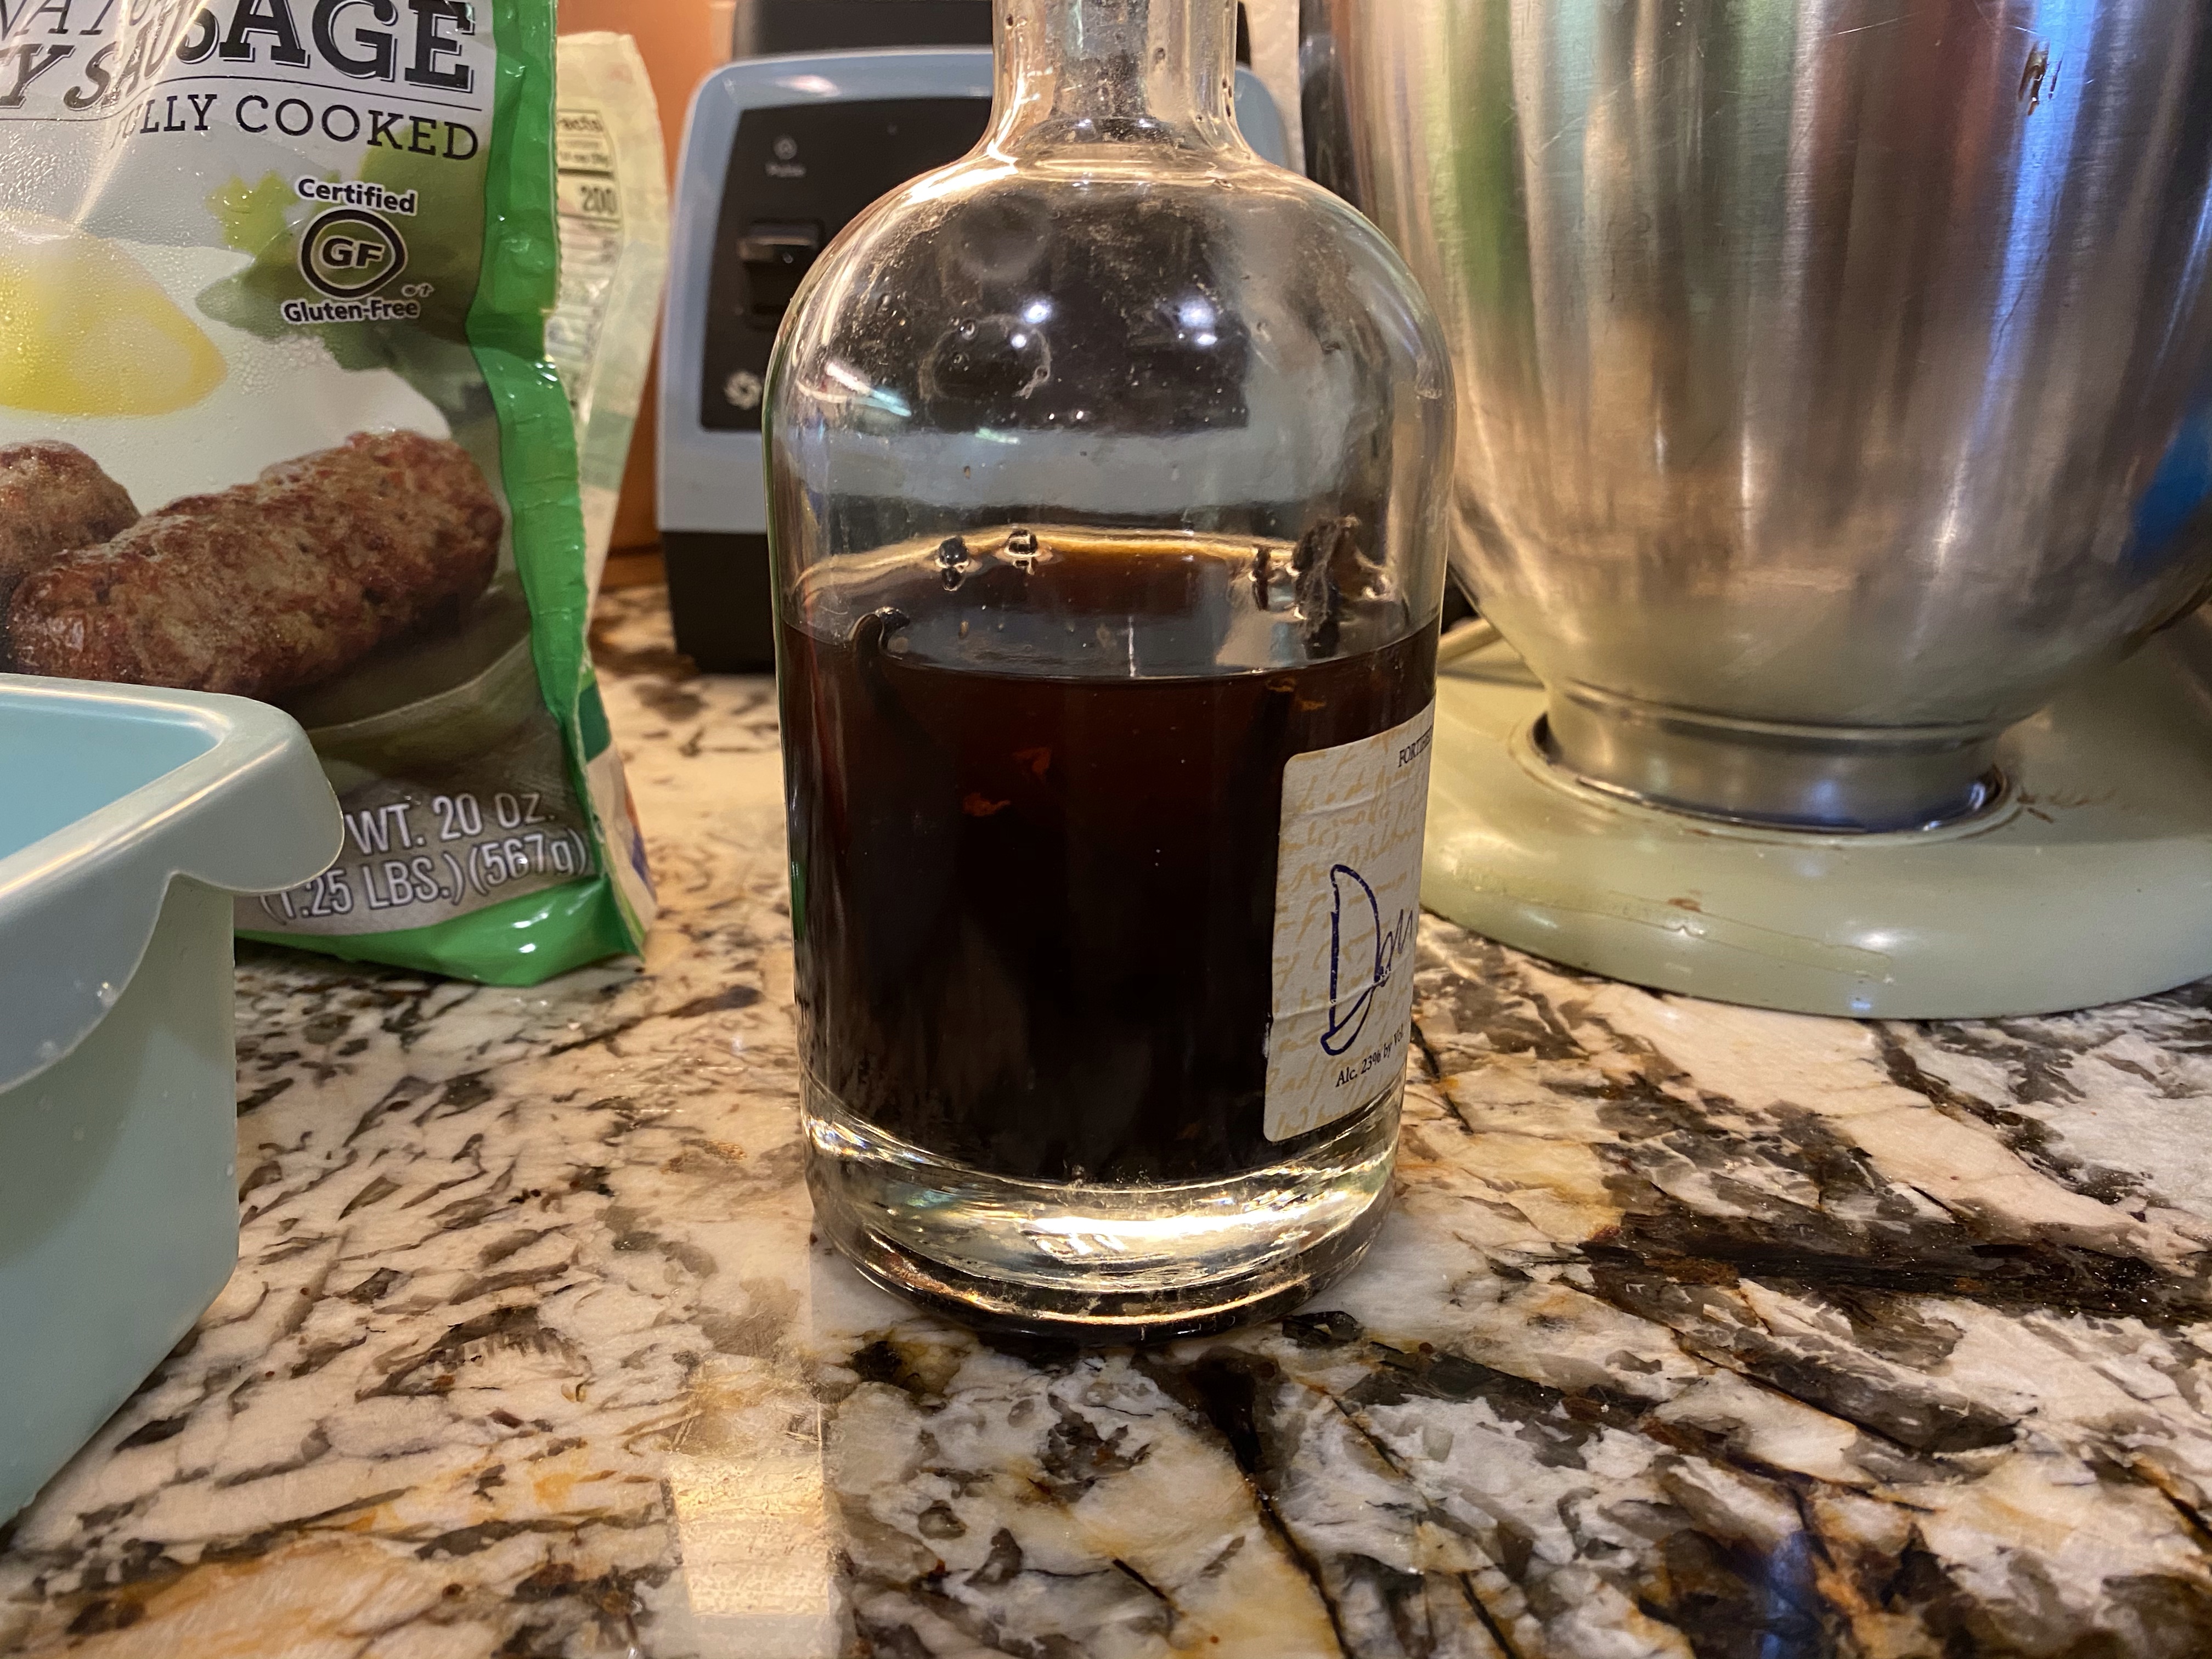
1/2 teaspoon of vanilla
1/2 teaspoon of mint extract (this will produce a very mild mint flavor, add more if you want a stronger mint flavor)
1/2 teaspoon cream of tartar
1 teaspoon of cornstarch
2-4 ounces of dark chocolate chips
Instructions:
Melt chocolate chips and set aside to cool
Heat oven to 350°
Line a large baking tray with silicone baking mats or with parchment paper
In a stand mixer or with a hand mixer, whip egg whites for a couple of minutes until frothy
Slowly add sugar and whip until glossy and stiff (you should be able hold the whisk and the egg mixture won’t move)
Add vanilla and mint extract and whip until stiff again.
Sift the cornstarch and cream of tartar onto the egg mixture. And fold over with a rubber scraper until combined.
Drizzle the chocolate around the edges of the pastry bag with a star tip.
Fill with the pastry bag with the egg mixture
pipe cookies into a swirl pattern onto prepared baking tray
Place pan in the oven
Turn oven down to 200°
Bake for 90 minutes
Turn off the oven and allow the cookies to cool in the oven until completely cooled (oftentimes I’ll make the cookies in the evening and leave them in the oven overnight to cool)
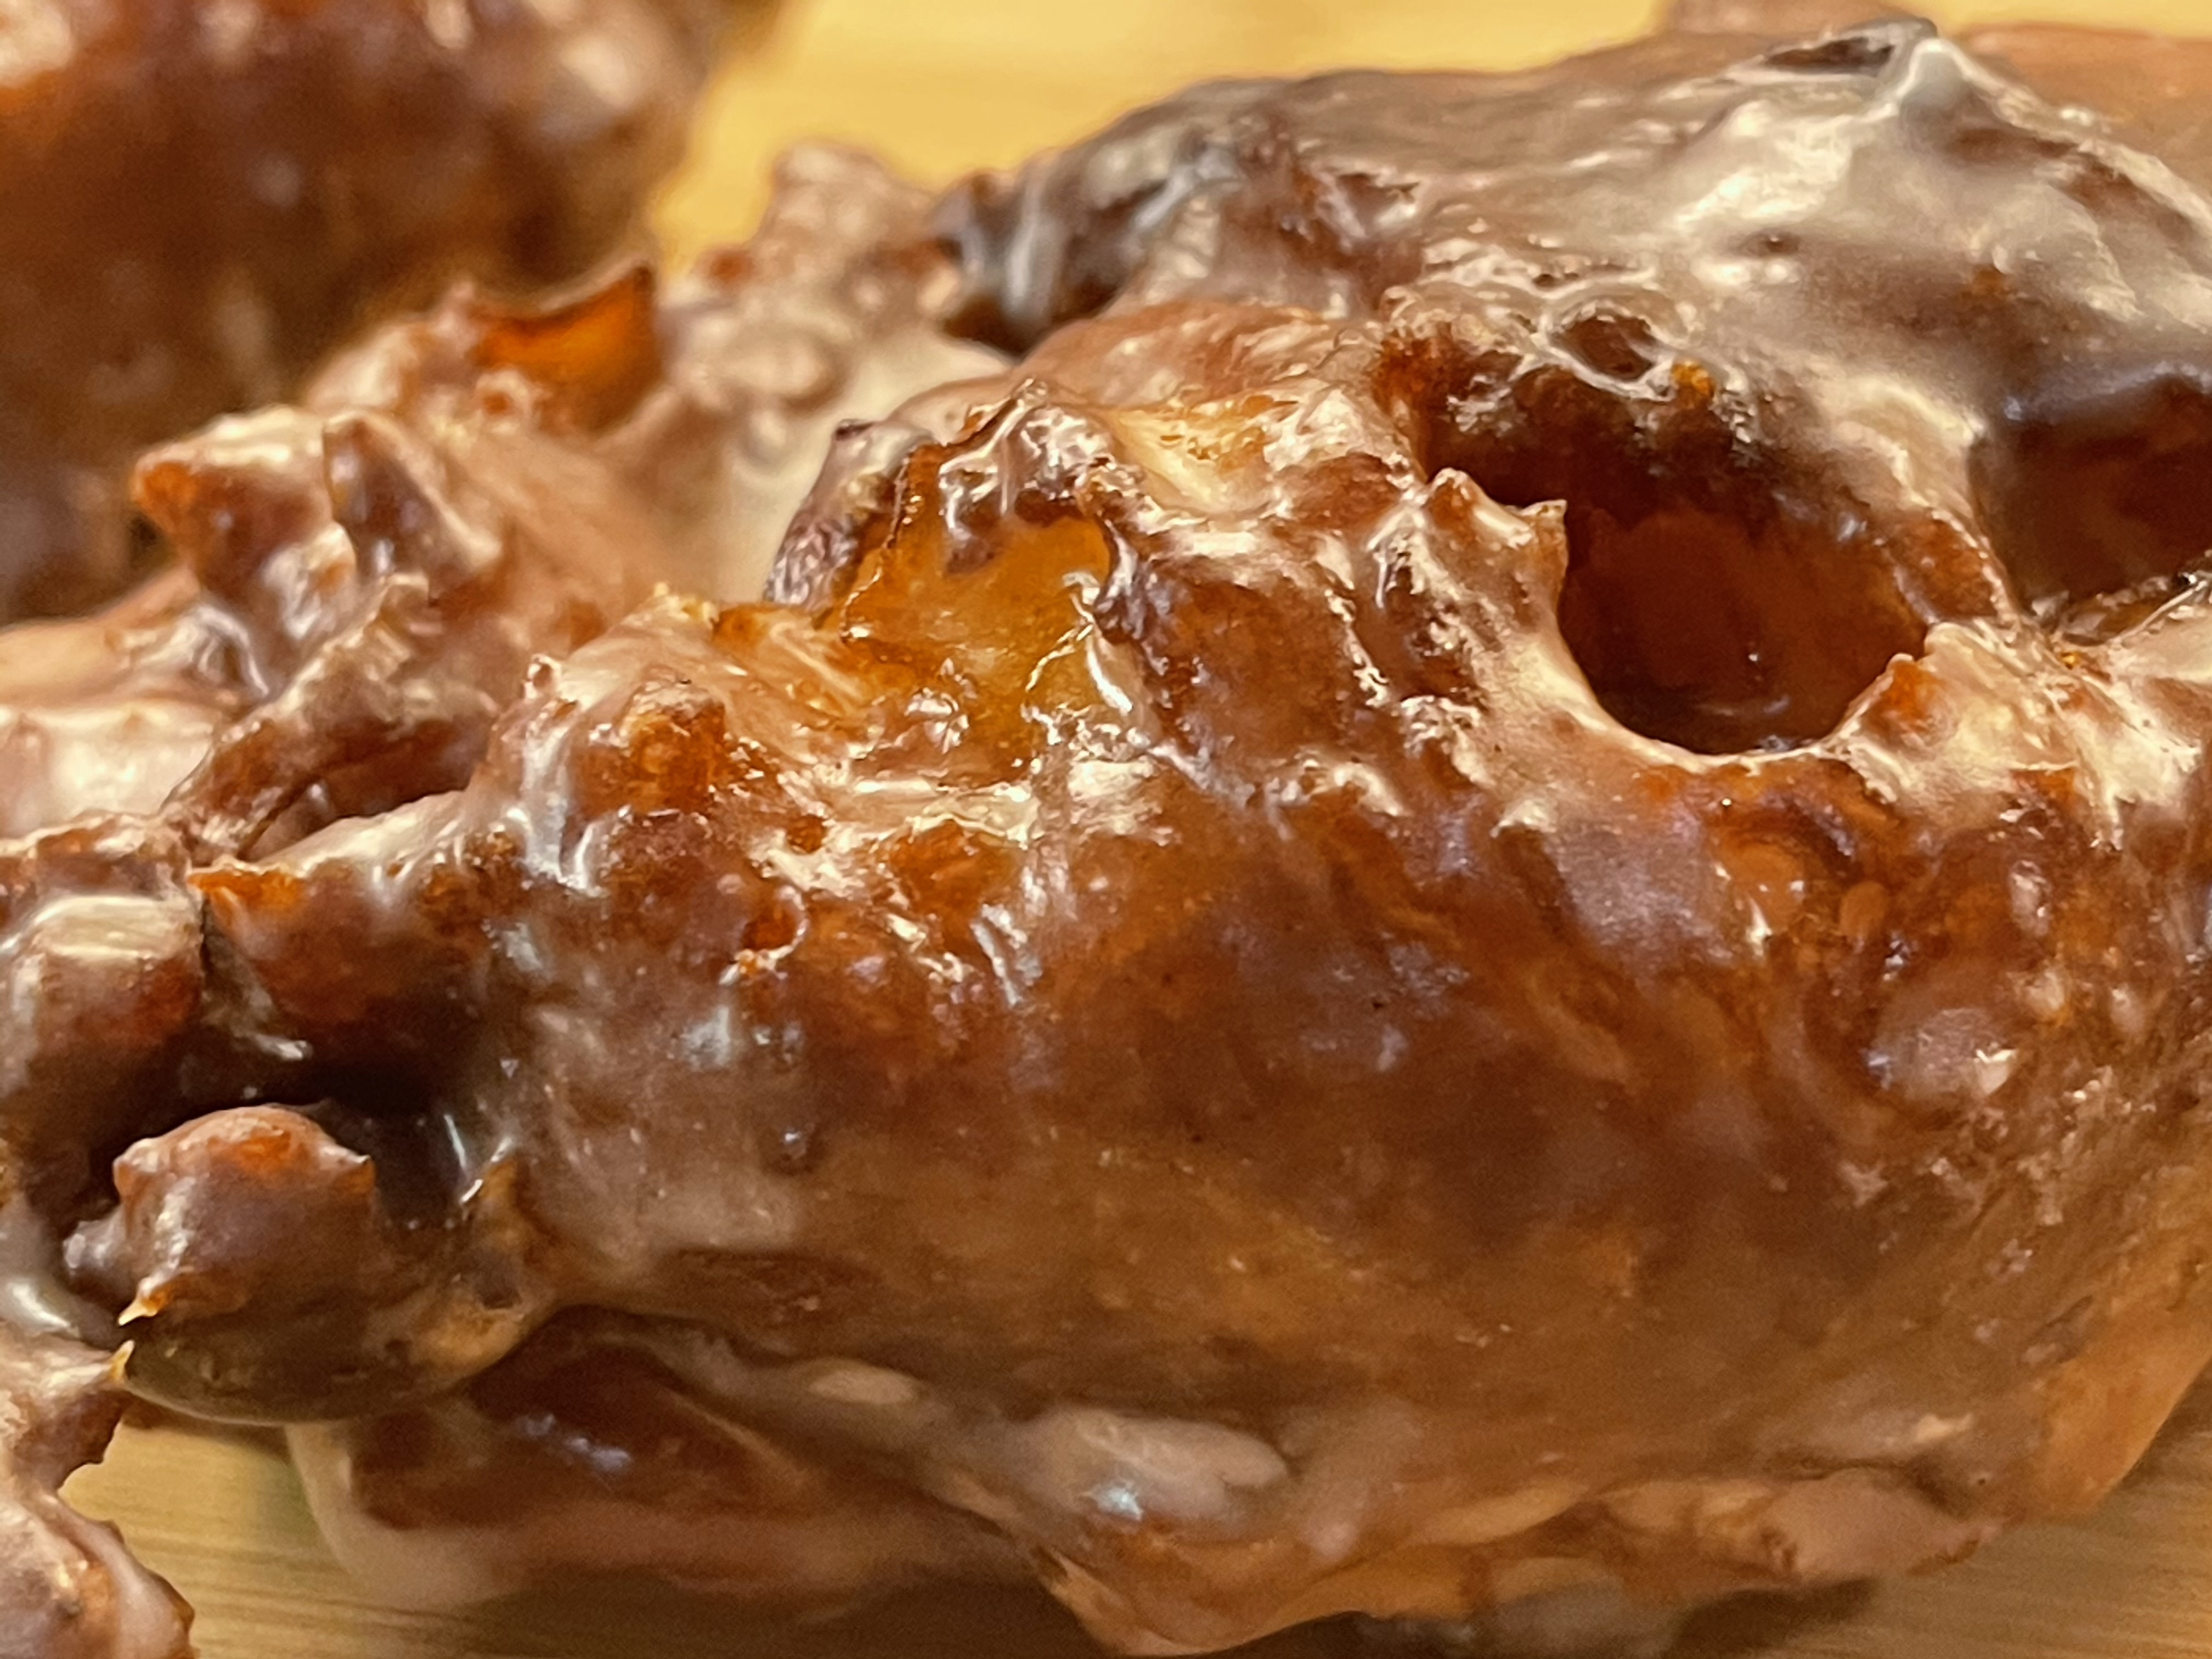
Okay guys. So, my husband loves apple fritters… personally, I’m indifferent to them, but I wanted to make them for him. So I started searching for recipes online. I found several, but they were all so wildly different I couldn’t decide which one to use… so I just decided to make up my own recipe. I’ll get right into the recipe, and I’ll give my critiques at the end on how I would tweak it.
Ingredients: Batter: 1/3 cup of melted butter (cooled to room temperature) 1 cup of milk 1 cup of sourdough starter 2 teaspoons of yeast 1/3 cup of sugar 1 teaspoon of salt 1 teaspoon of cinnamon 1/4 teaspoon of nutmeg 2 eggs (room temperature) 3 tablespoons of apple sauce (room temperature) 2 1/2 cups of flour 2 cups of apples (diced)
Glaze: 3 cups of powdered sugar 1/2 cup of hot water 1 teaspoon of vanilla 2 tablespoons of maple syrup pinch of salt
oil for frying
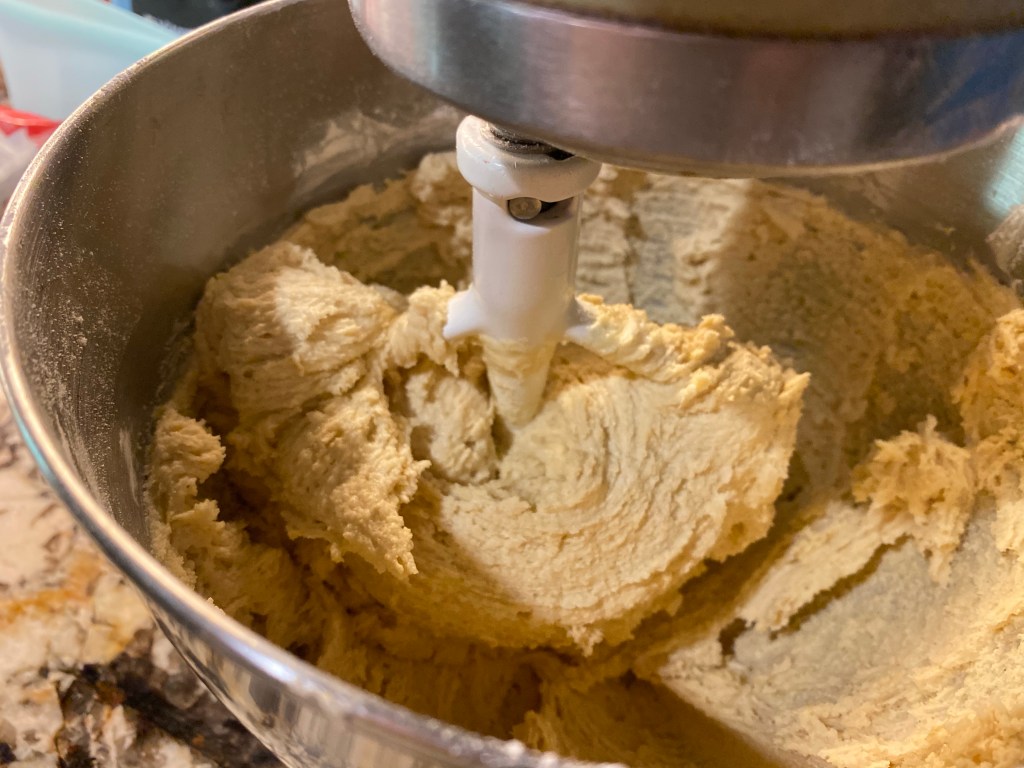
Instructions: Combine butter, milk, sourdough starter, yeast and sugar in stand mixer with dough hook. After combining let sit for five minutes. Add eggs and apple sauce, mix until smooth. Add salt, cinnamon, nutmeg, mix until smooth. Add flour. Once combined and smooth add apples. Let dough sit covered for 30 minutes. The dough is VERY sticky!
While dough is resting mix glaze ingredients in a bowl until smooth.
Heat oil (I don’t have a candy thermometer — a fact I regret every time I have to fry something or make caramel — so I can’t tell you what temperature to fry the dough at, but I’ve seen 375F on other recipes). You want to make sure the oil is hot enough, if it’s too cool the dough will soak up too much oil. I used a cast iron skillet, but you could probably use something else.
I used a 1/3 cup to scoop the dough into the oil. For the temperature I got my oil to, I cooked the fritters for 2.5 minutes per side. After frying, place fritters on a paper towel-lined cooling rack. Allow to cool for a couple of minutes. I was able to cook two fritters at a time without cooling the oil too much. After cooling about 10 minutes dip the fritters in the glaze and place on a cool rack to set. This recipe made about a dozen fritters.
Things I would tweak: 2 teaspoons of salt instead of 1 2 teaspoons of cinnamon instead of 1 1/2 teaspoon of nutmeg instead of 1/4 3 tablespoons of maple syrup instead of 2
Despite needing these tweaks, they came out pretty good. My husband loved them at least. Let me know if you try them out and how you like them if you do!
Seriously? What happened to November?! I’m sure I did something… but clearly nothing noteworthy, otherwise I would have written about it. I haven’t posted any book reviews because I’m currently reading three books… it would probably be helpful to finish one of them.
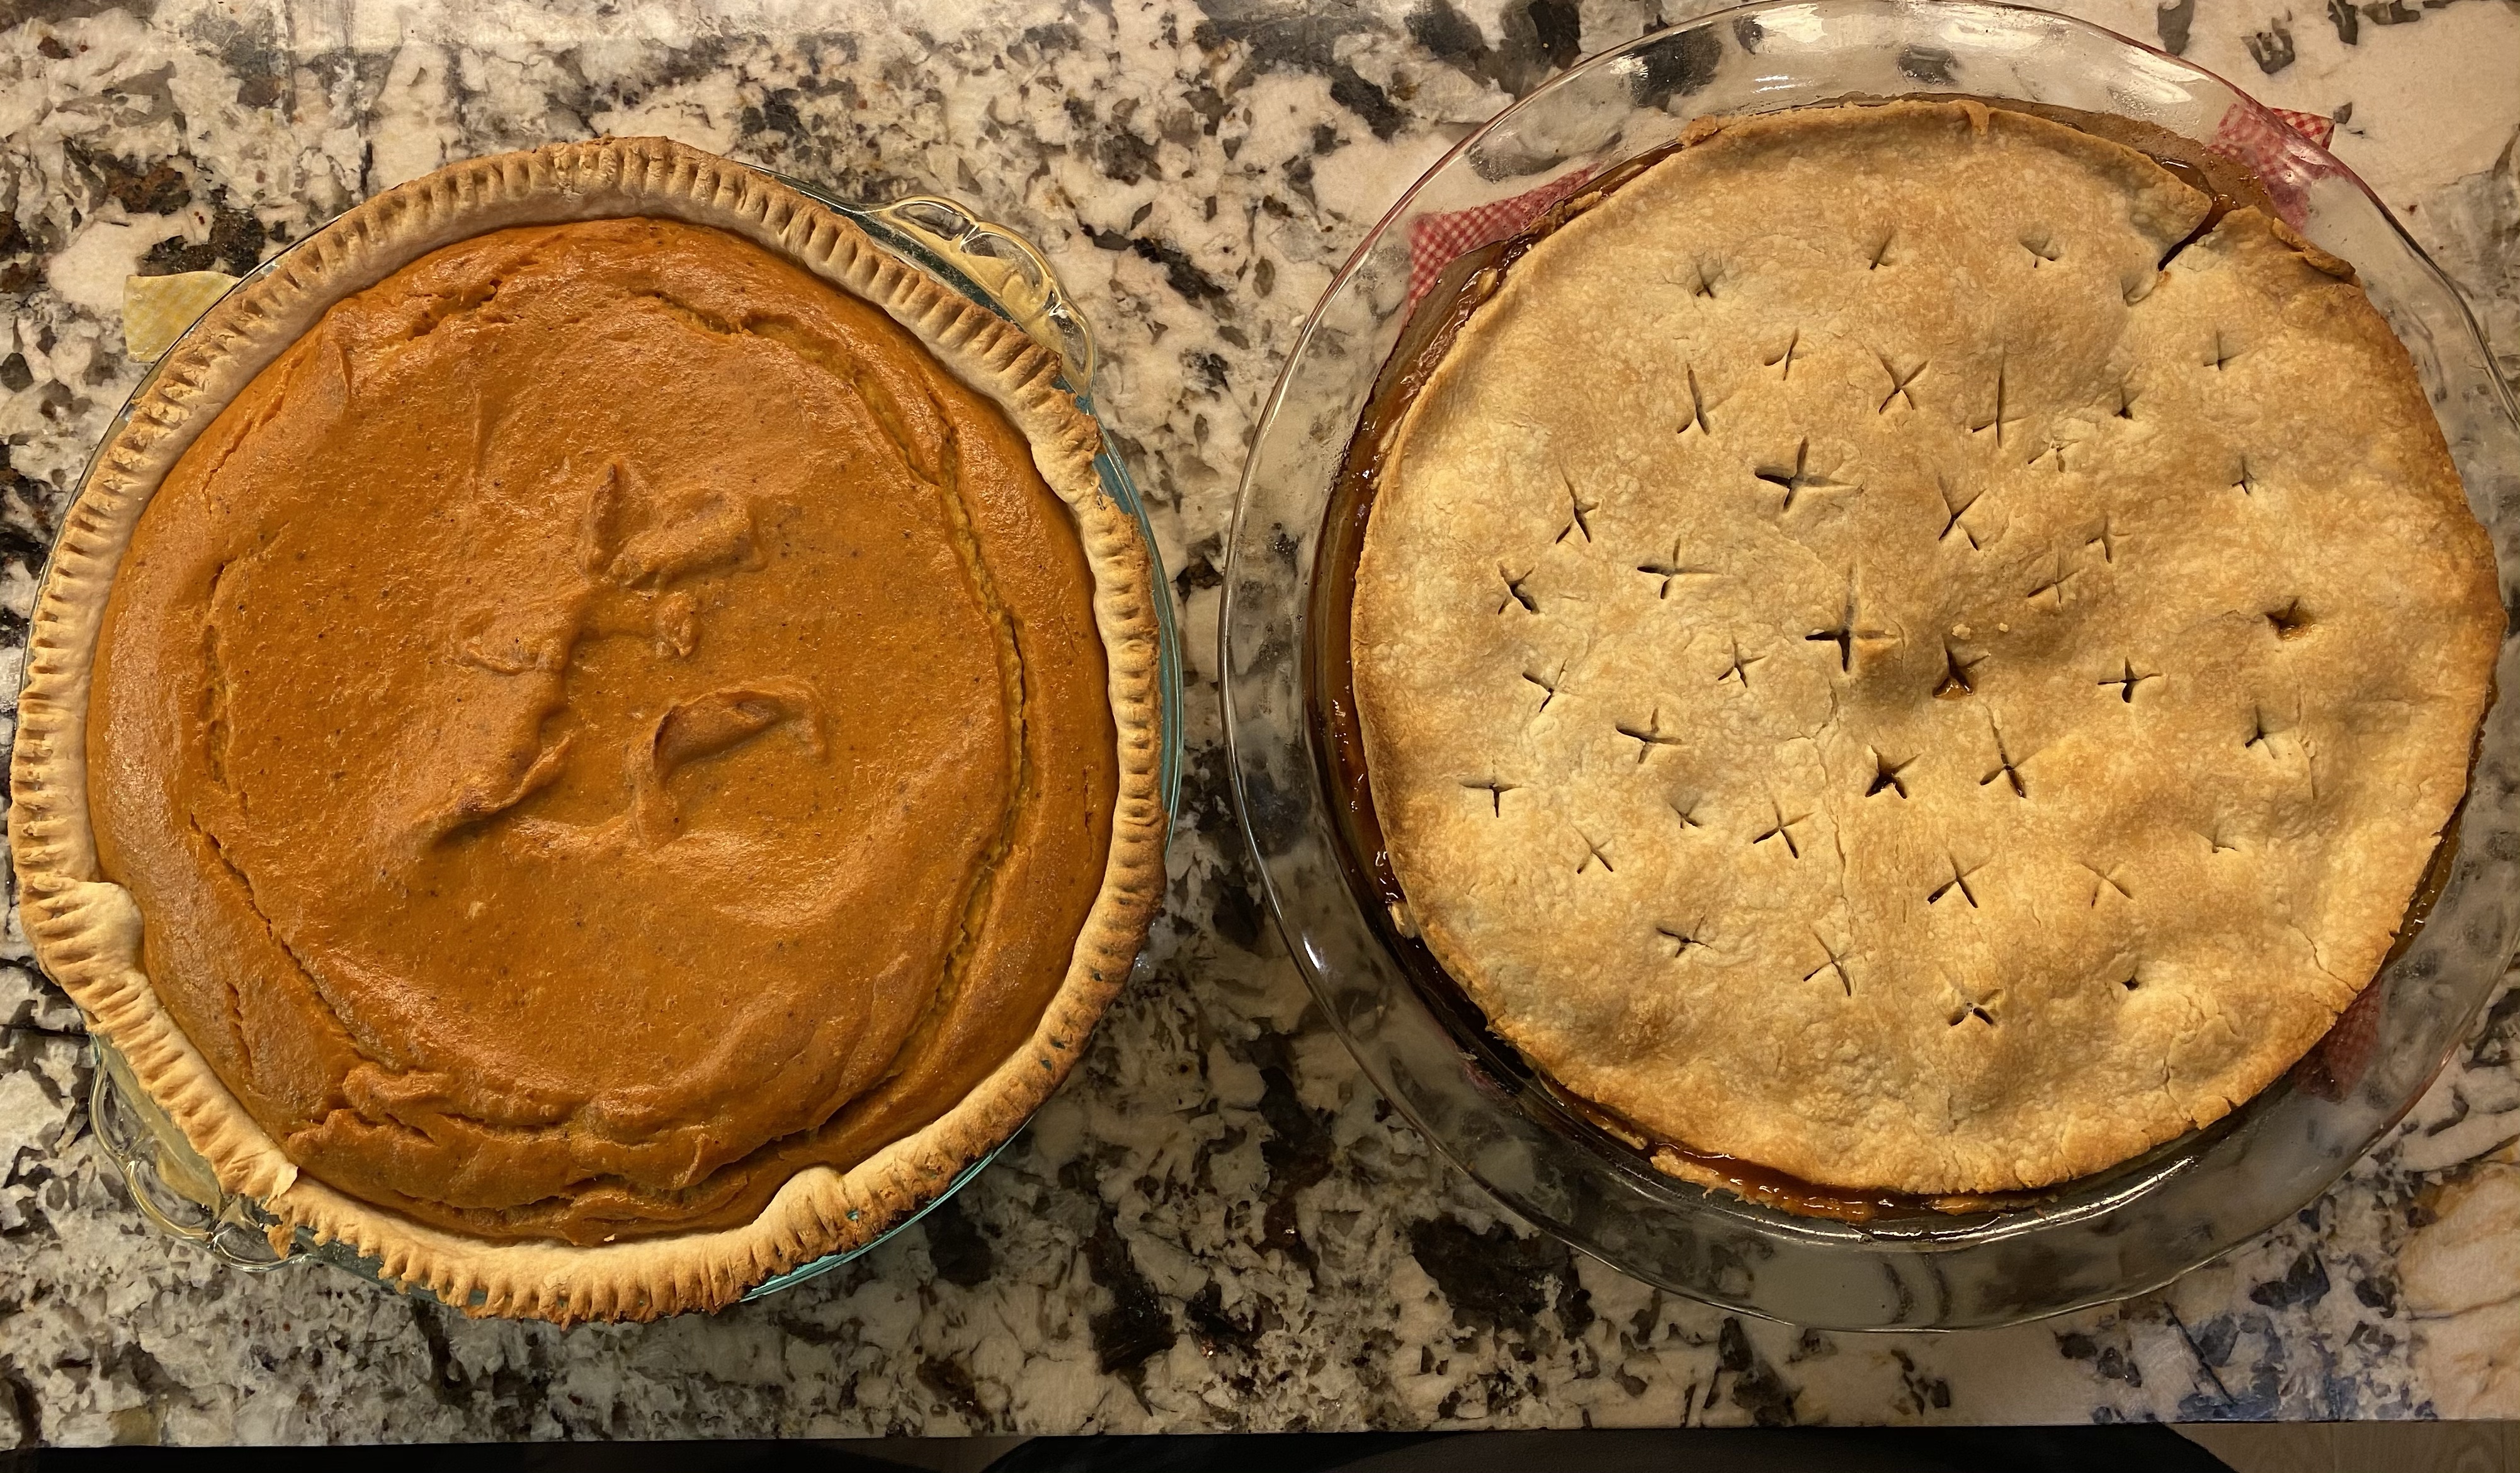
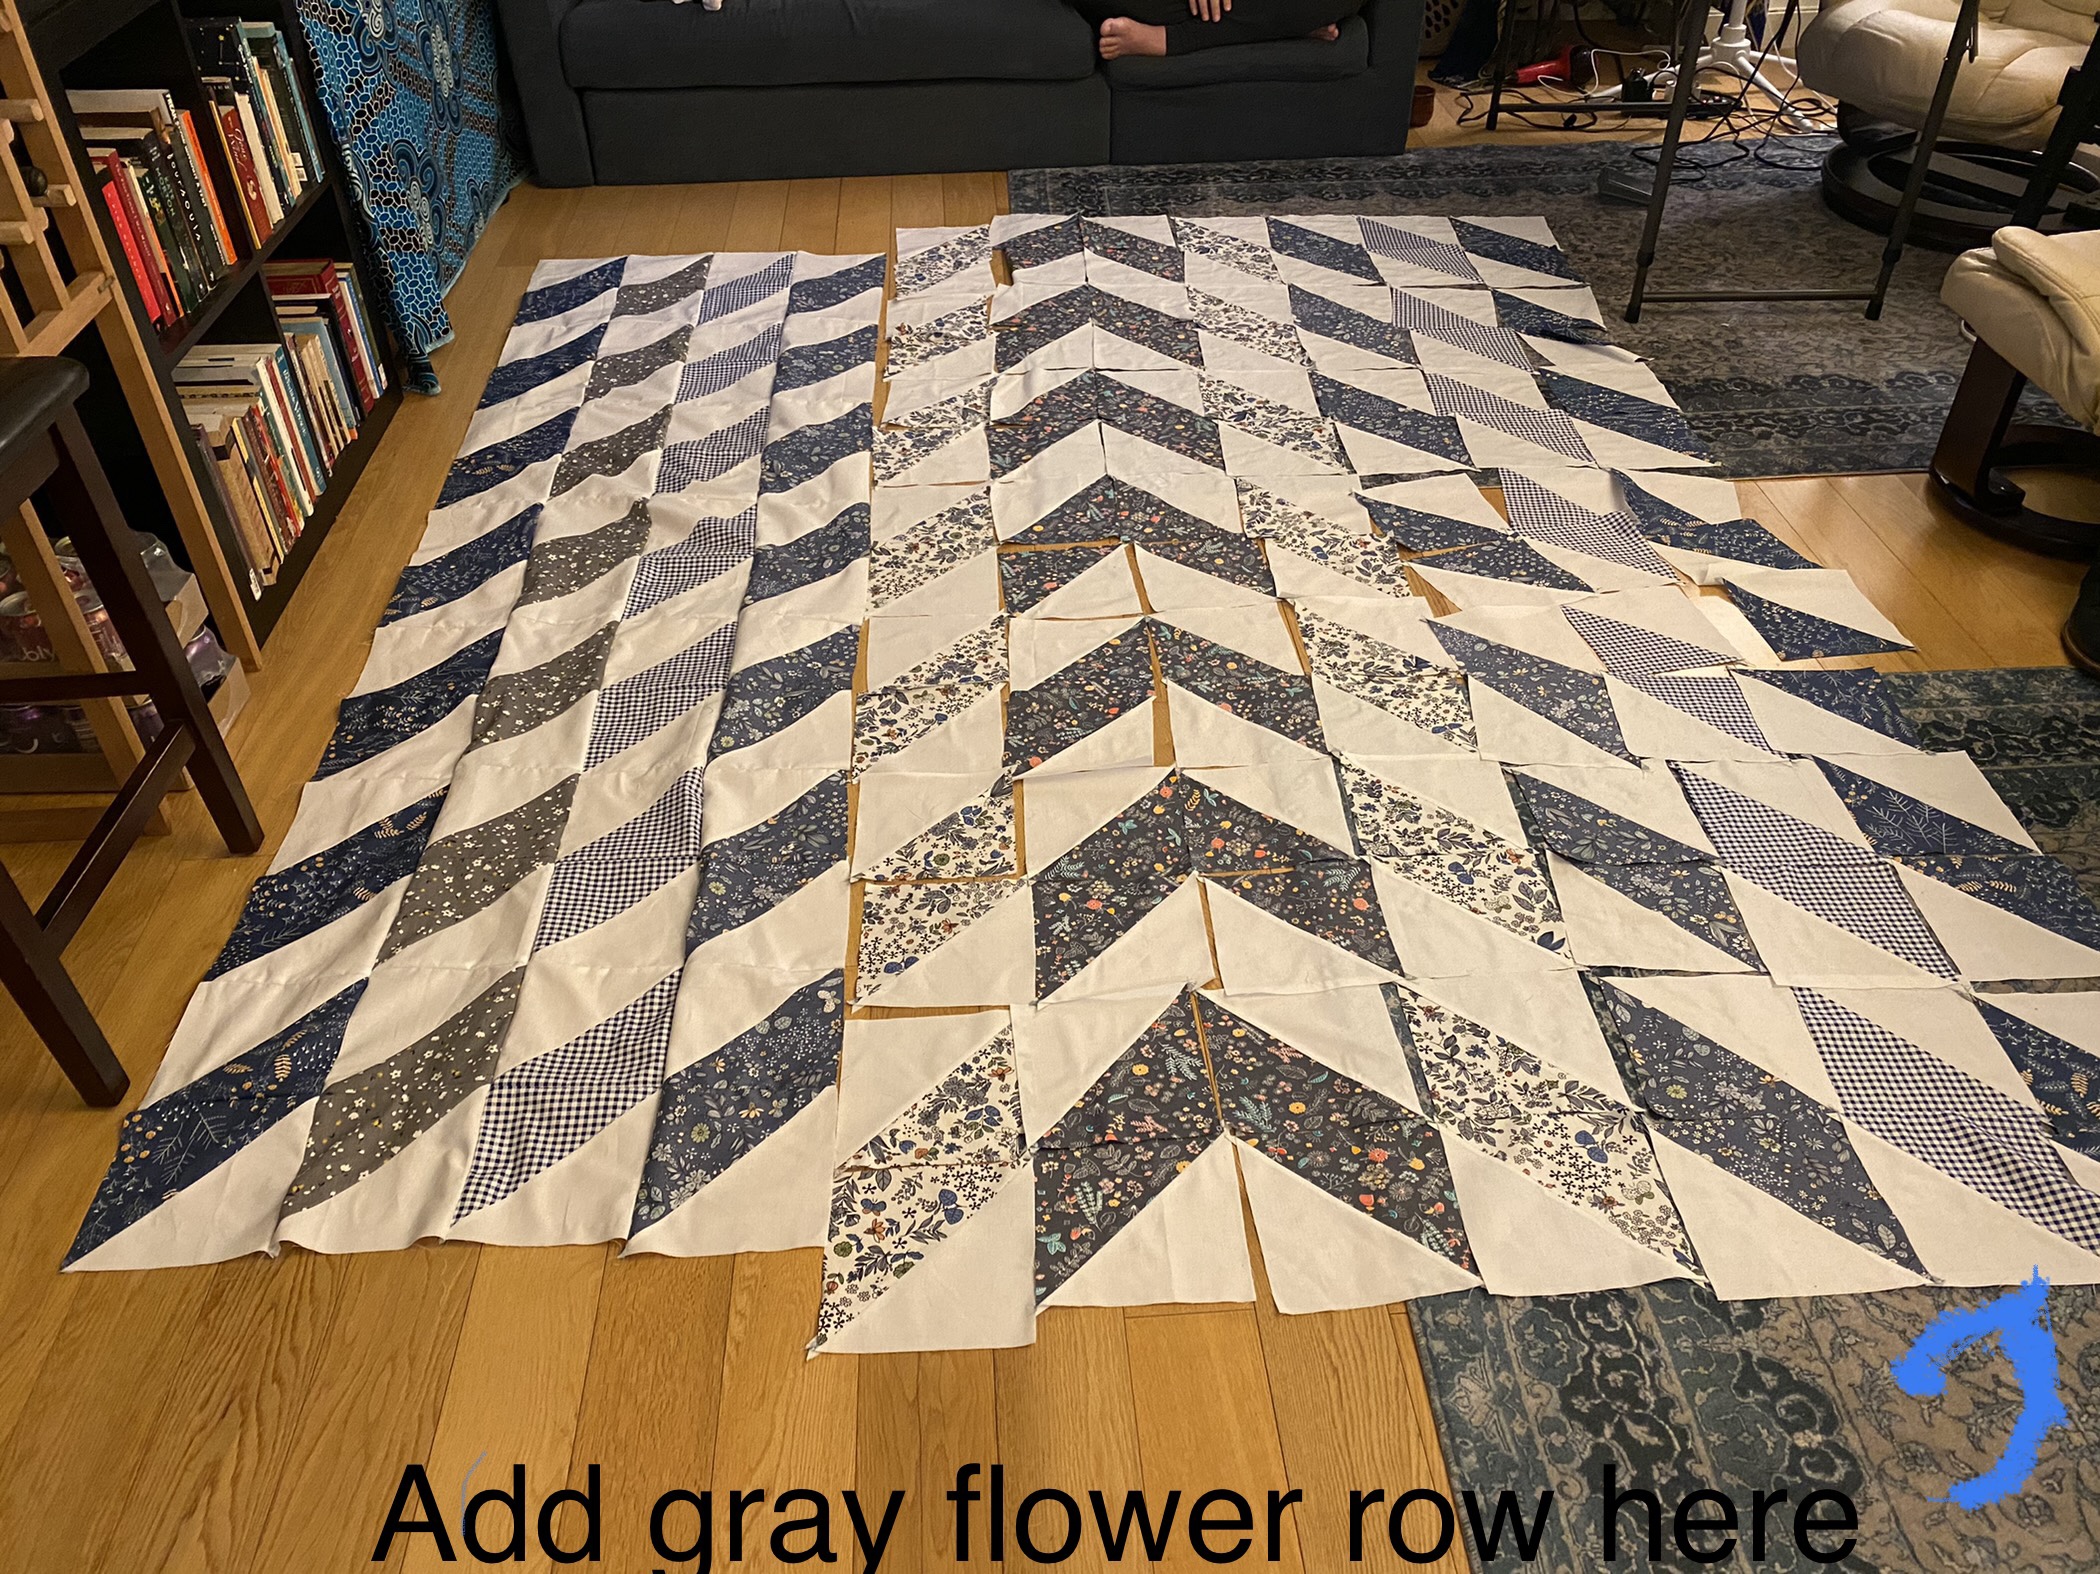
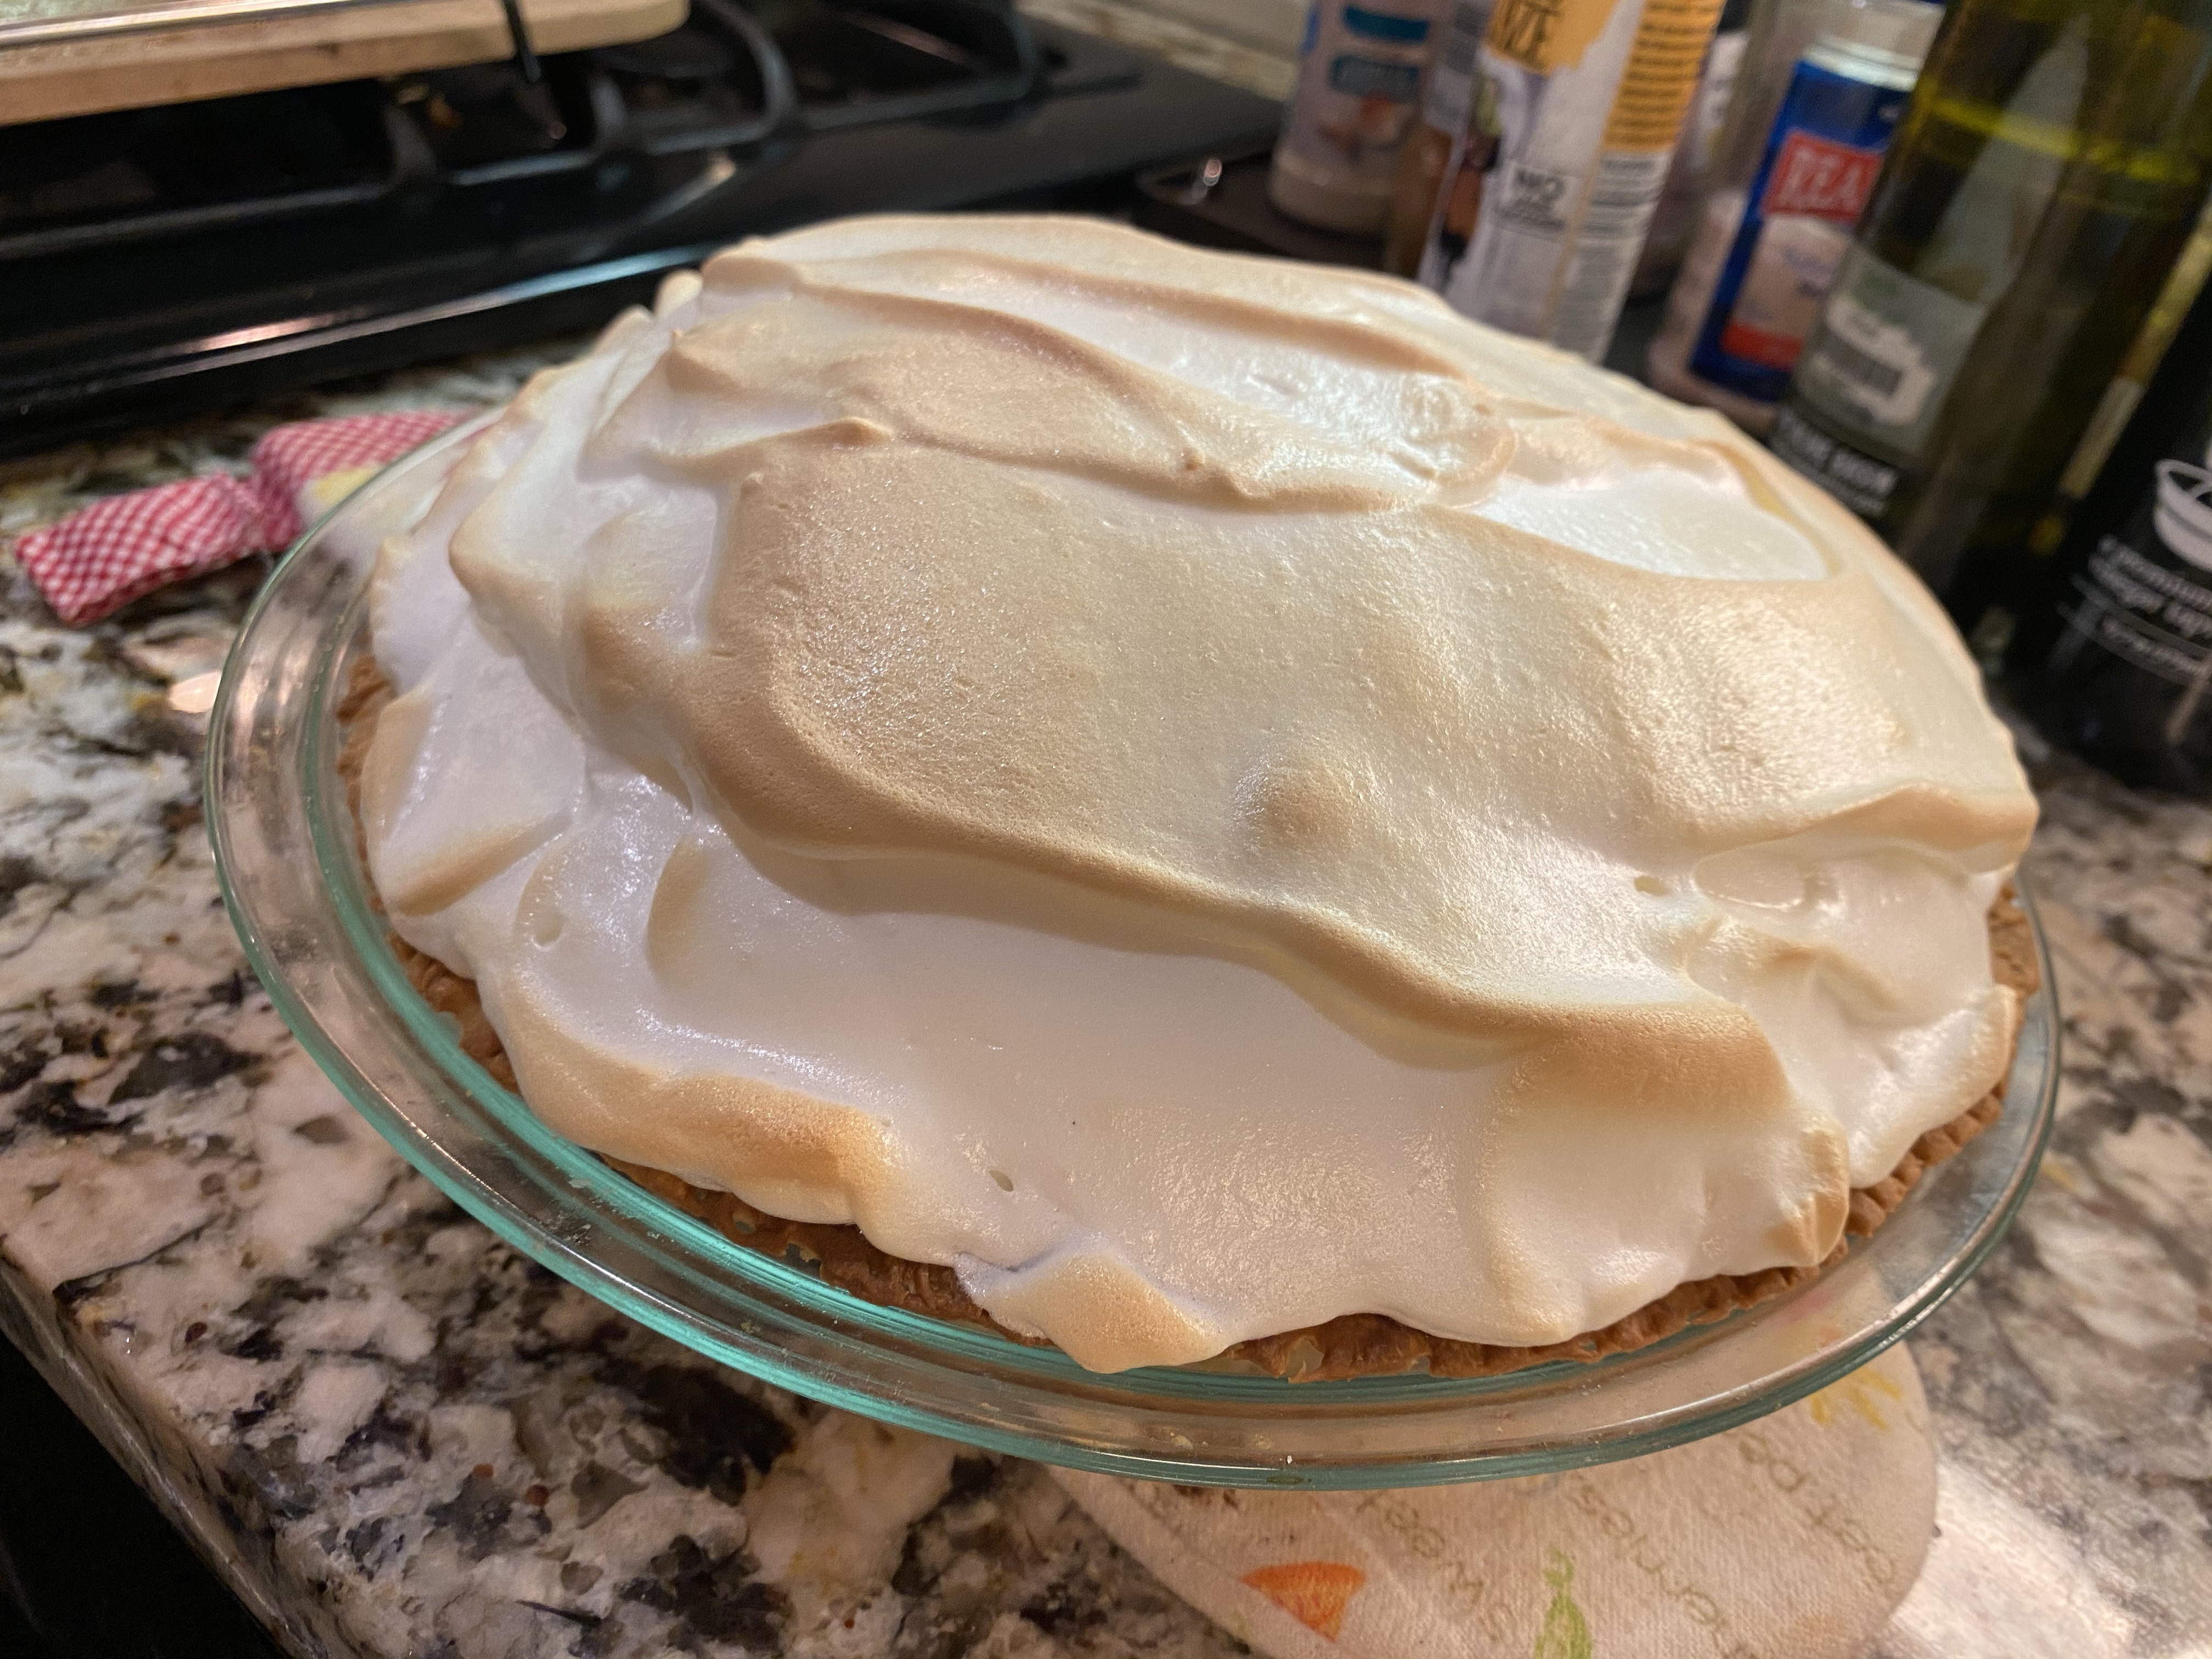
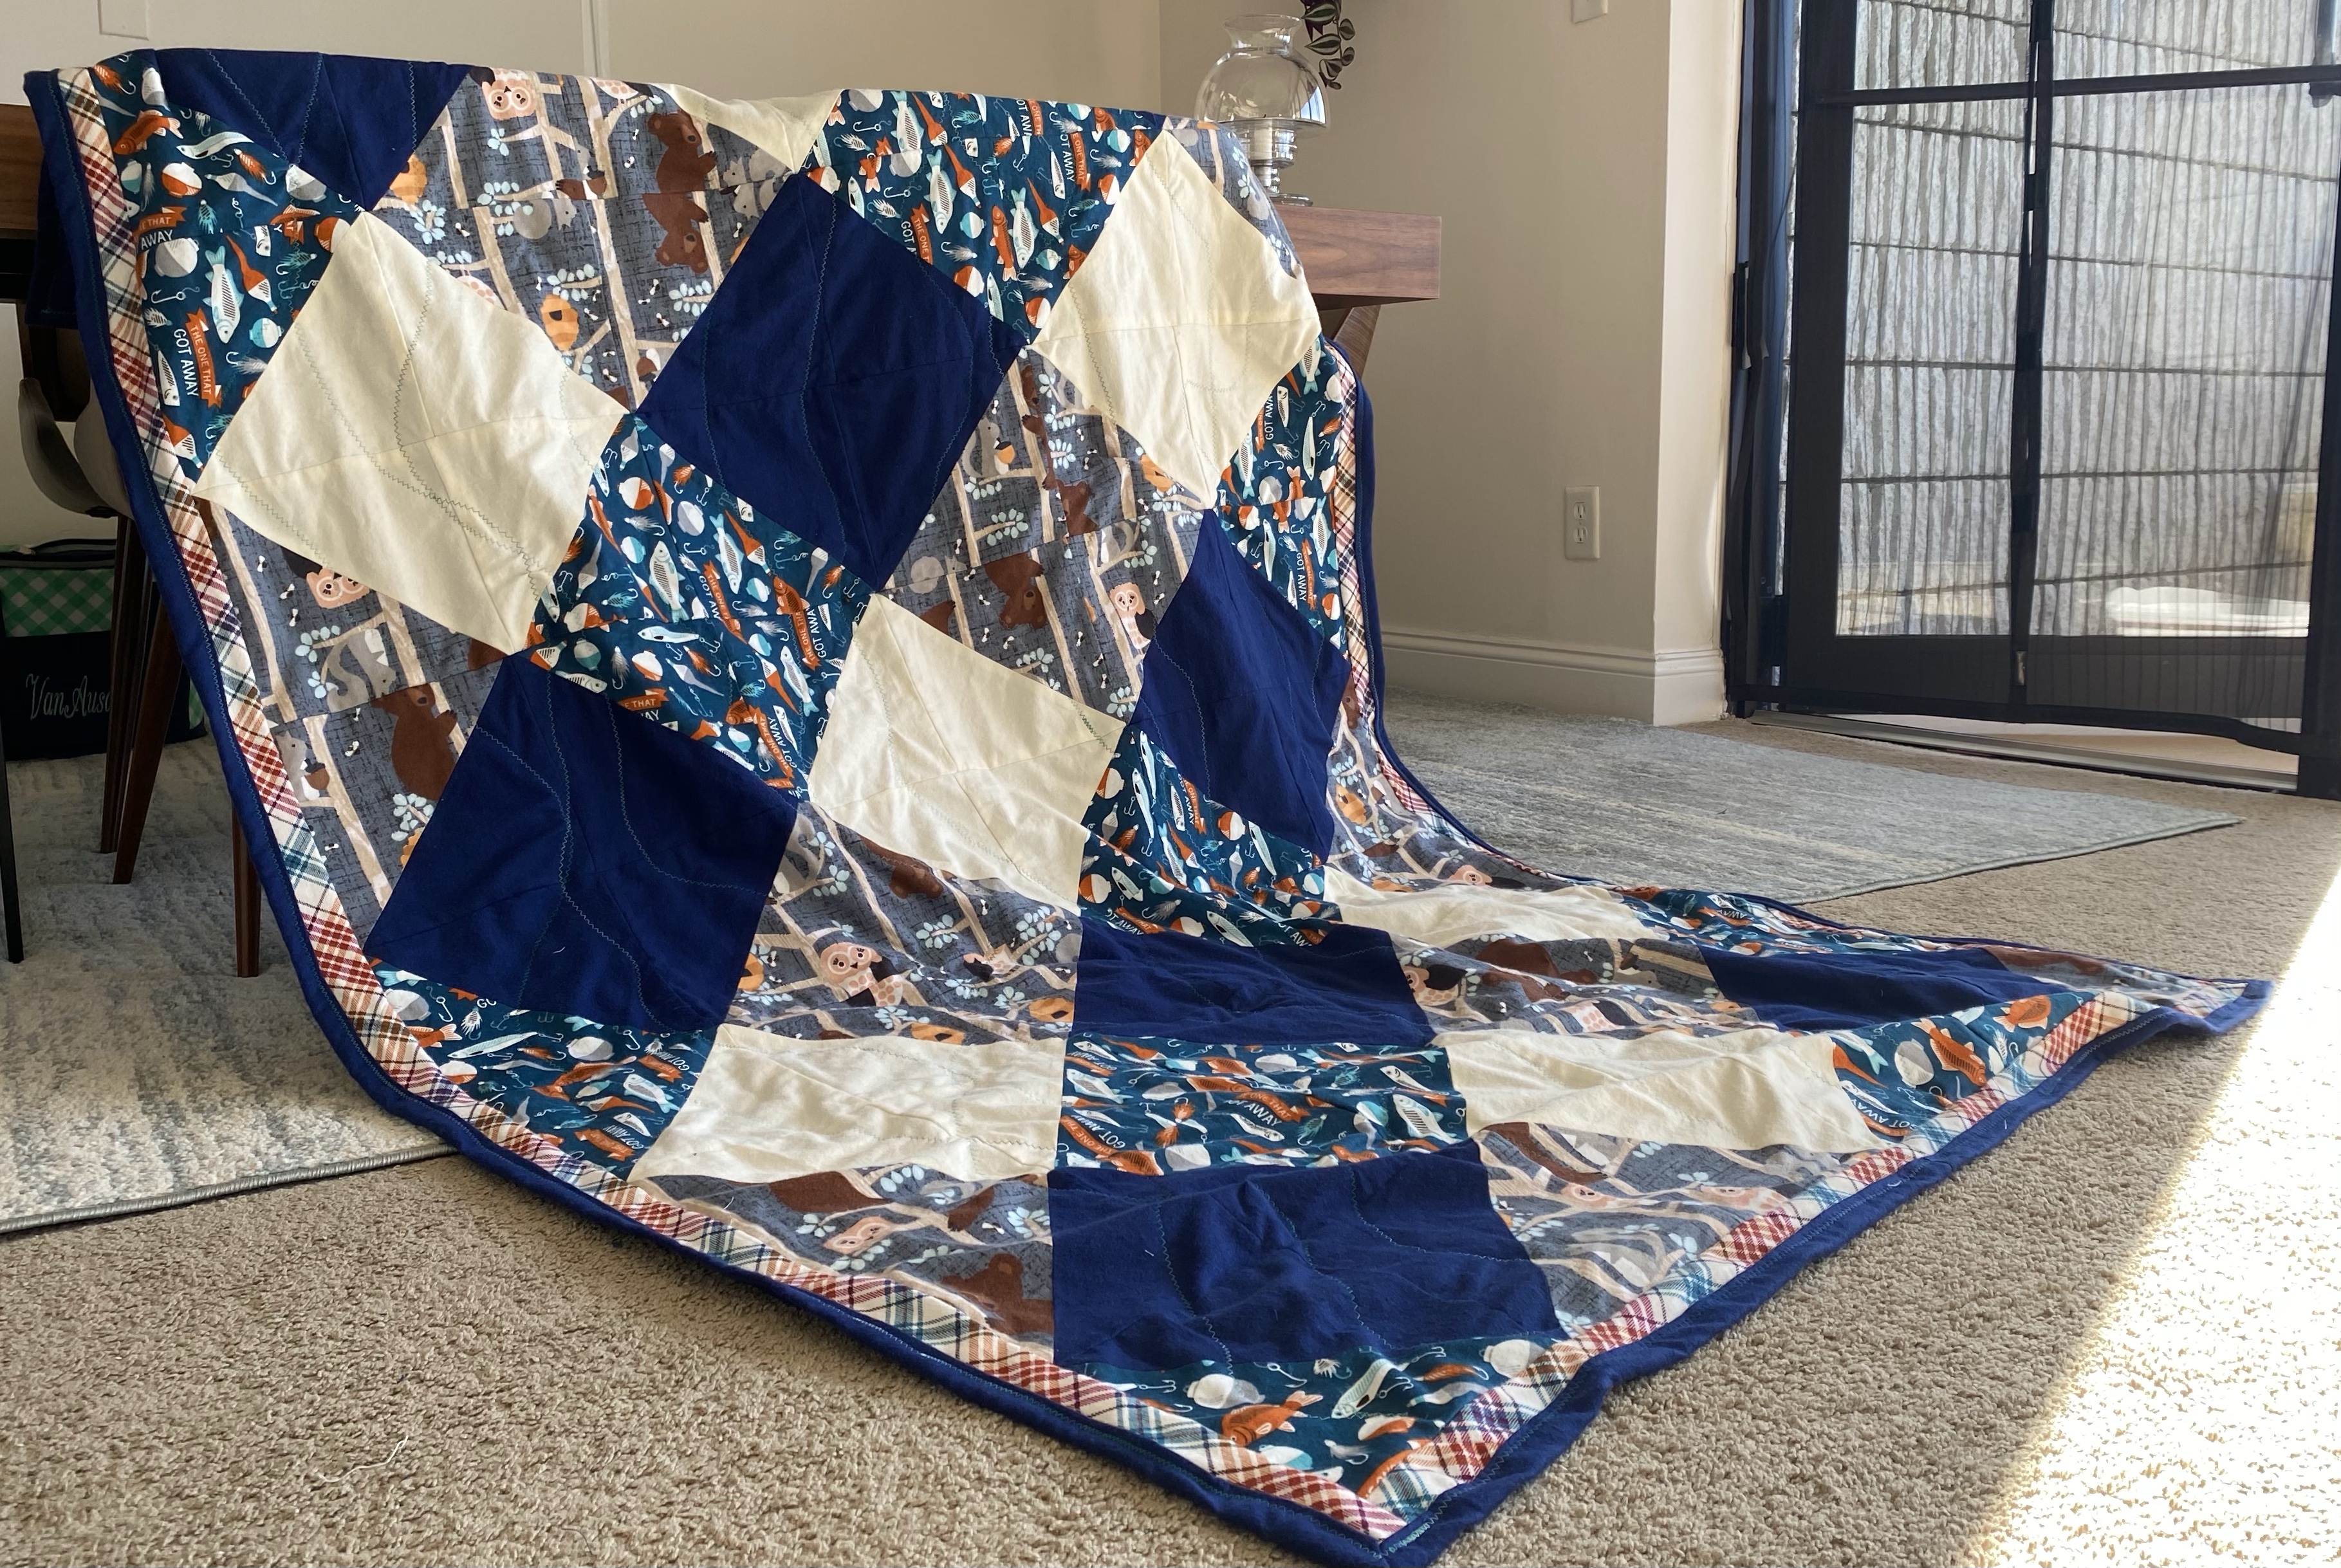
I’ve made a couple of quilts (I’m learning a lot), I’ve been practicing making bread (I’m getting better), I attempted to make a crepe cake (pretty disastrous), I made a lemon meringue pie (it tasted good, looked terrible), I made a pumpkin pie and an apple pie for Thanksgiving, and attempted a new cookie (pretty tasty).
I think I epitomize the phrase, “Jack of all trades, master of none.” Sometimes I’m a little disheartened by this fact… I’ve always wanted to be really good at one thing! But being okay at a bunch of things is okay too, I suppose.
Pie for Thanksgiving
in-progress quilt
Amy’s Cookies (chocolate shortbread with peppermint Hershey’s kisses inside)
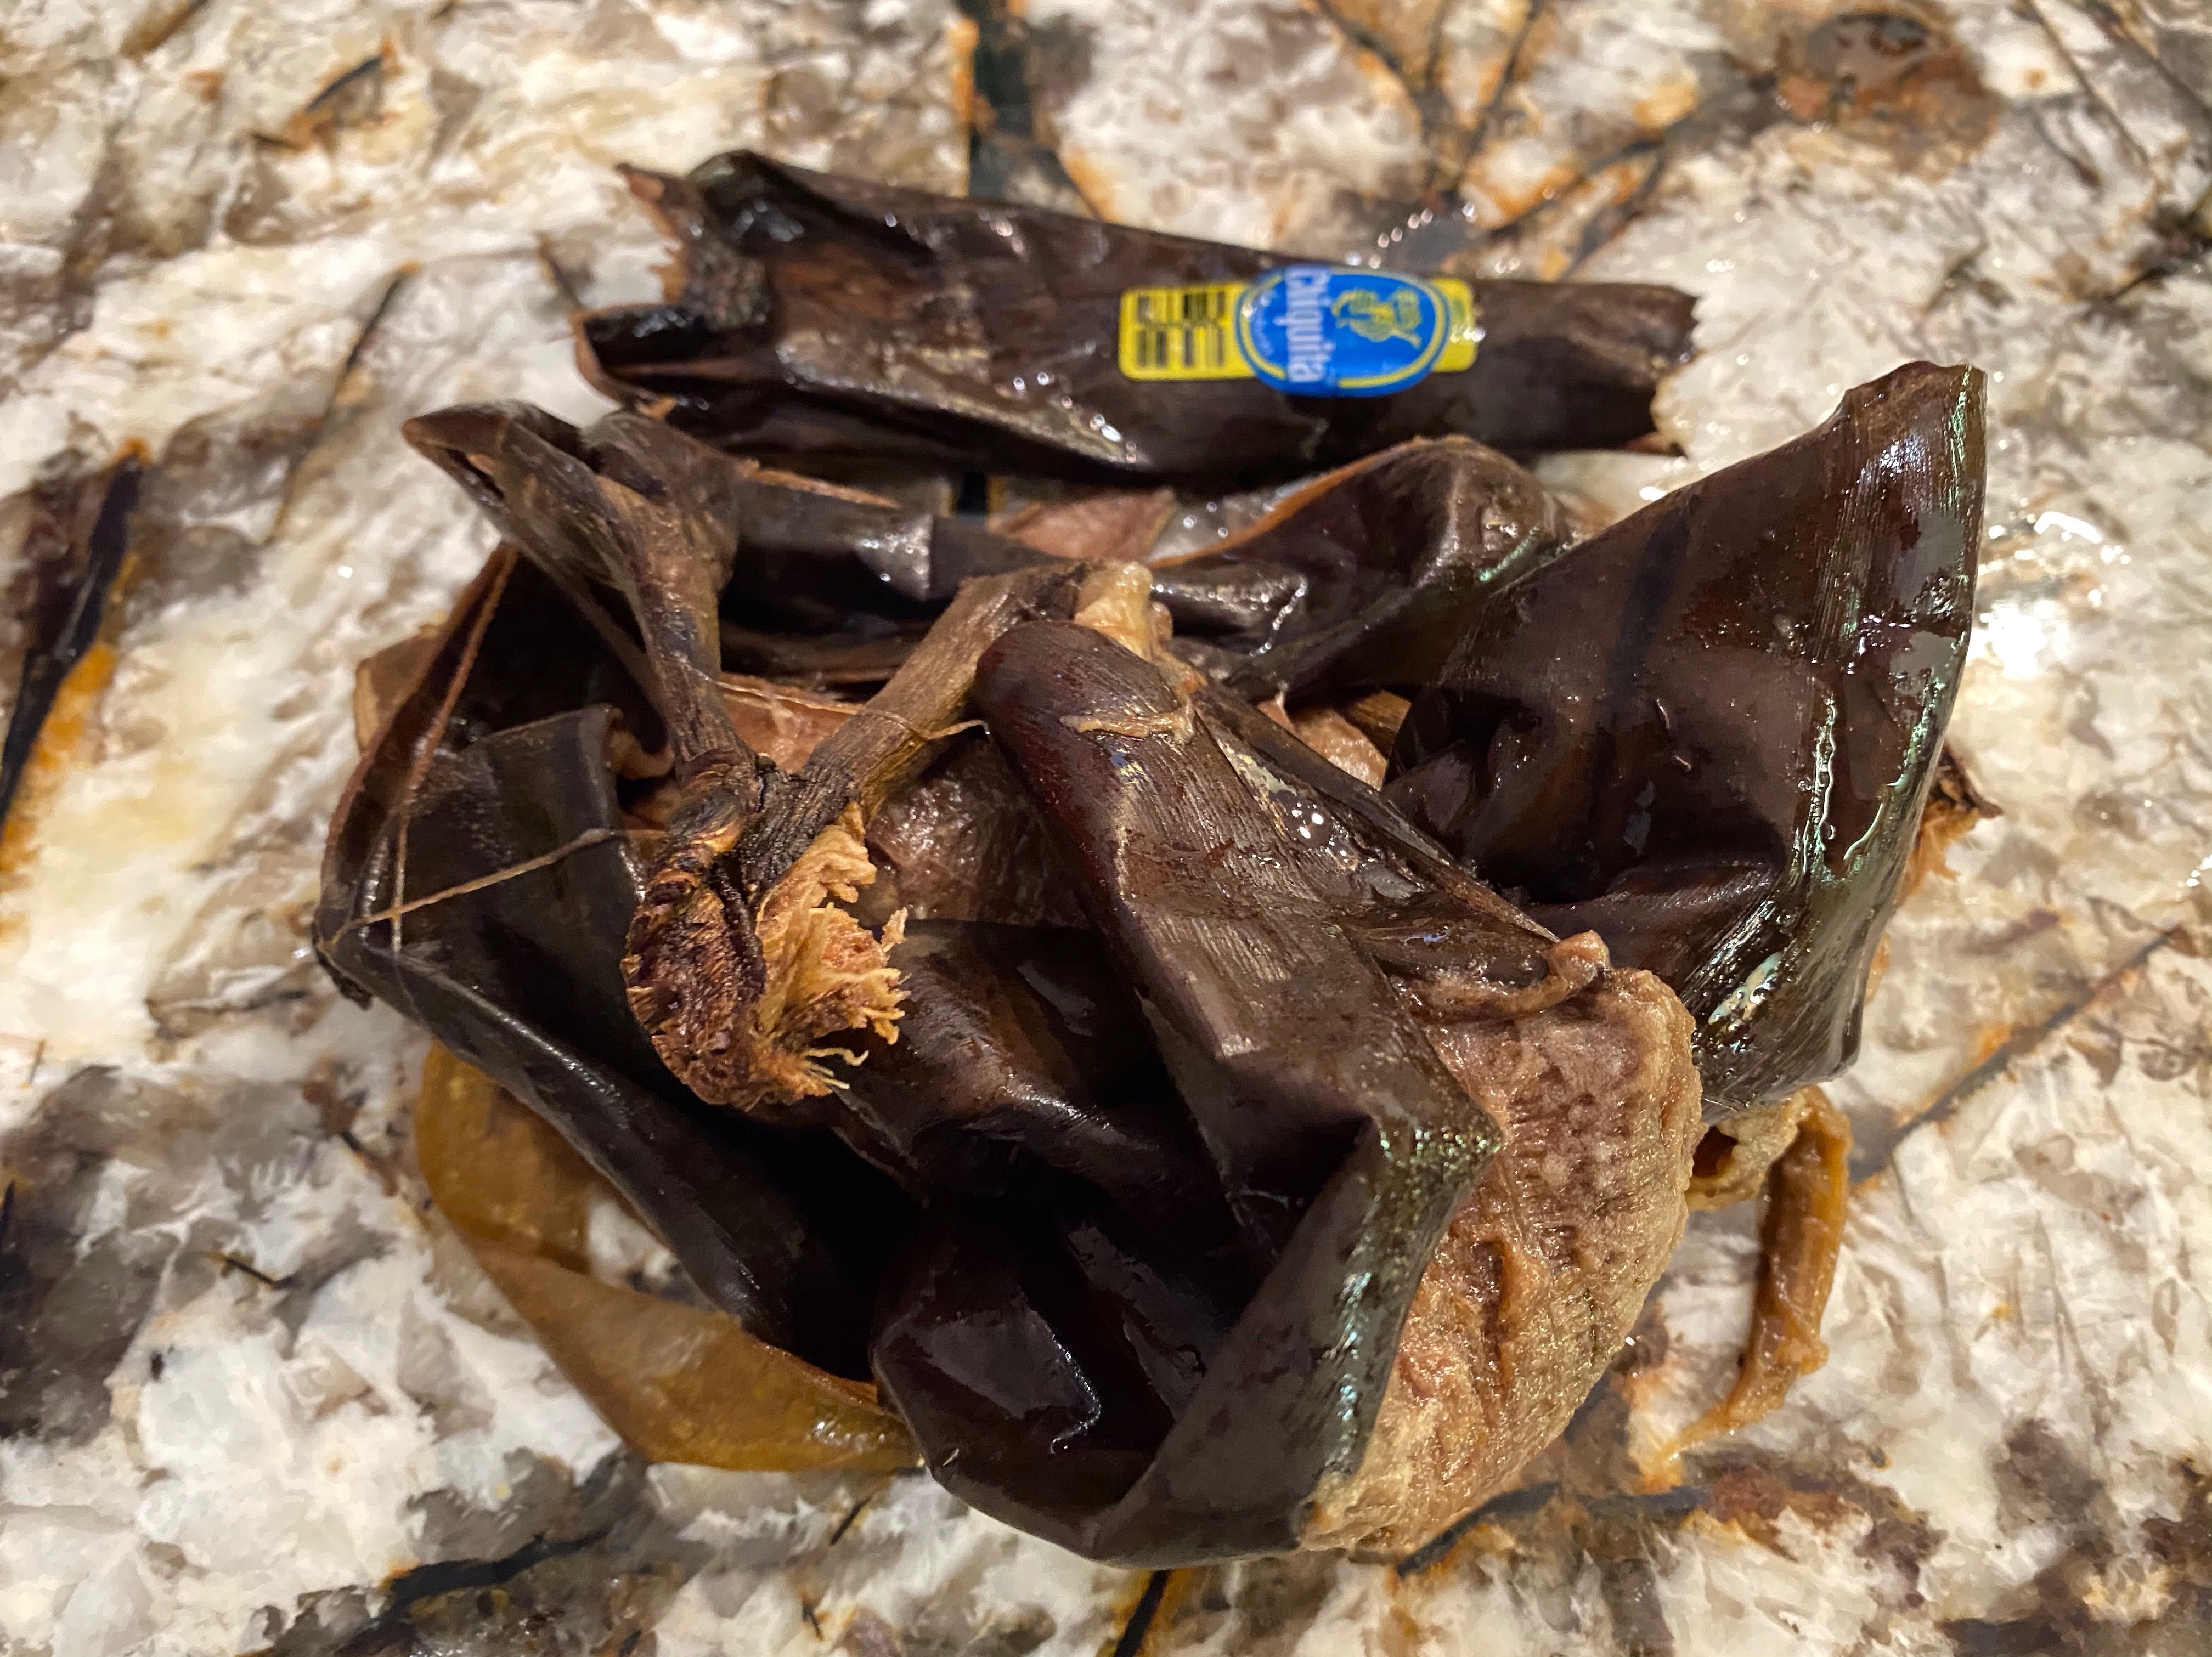
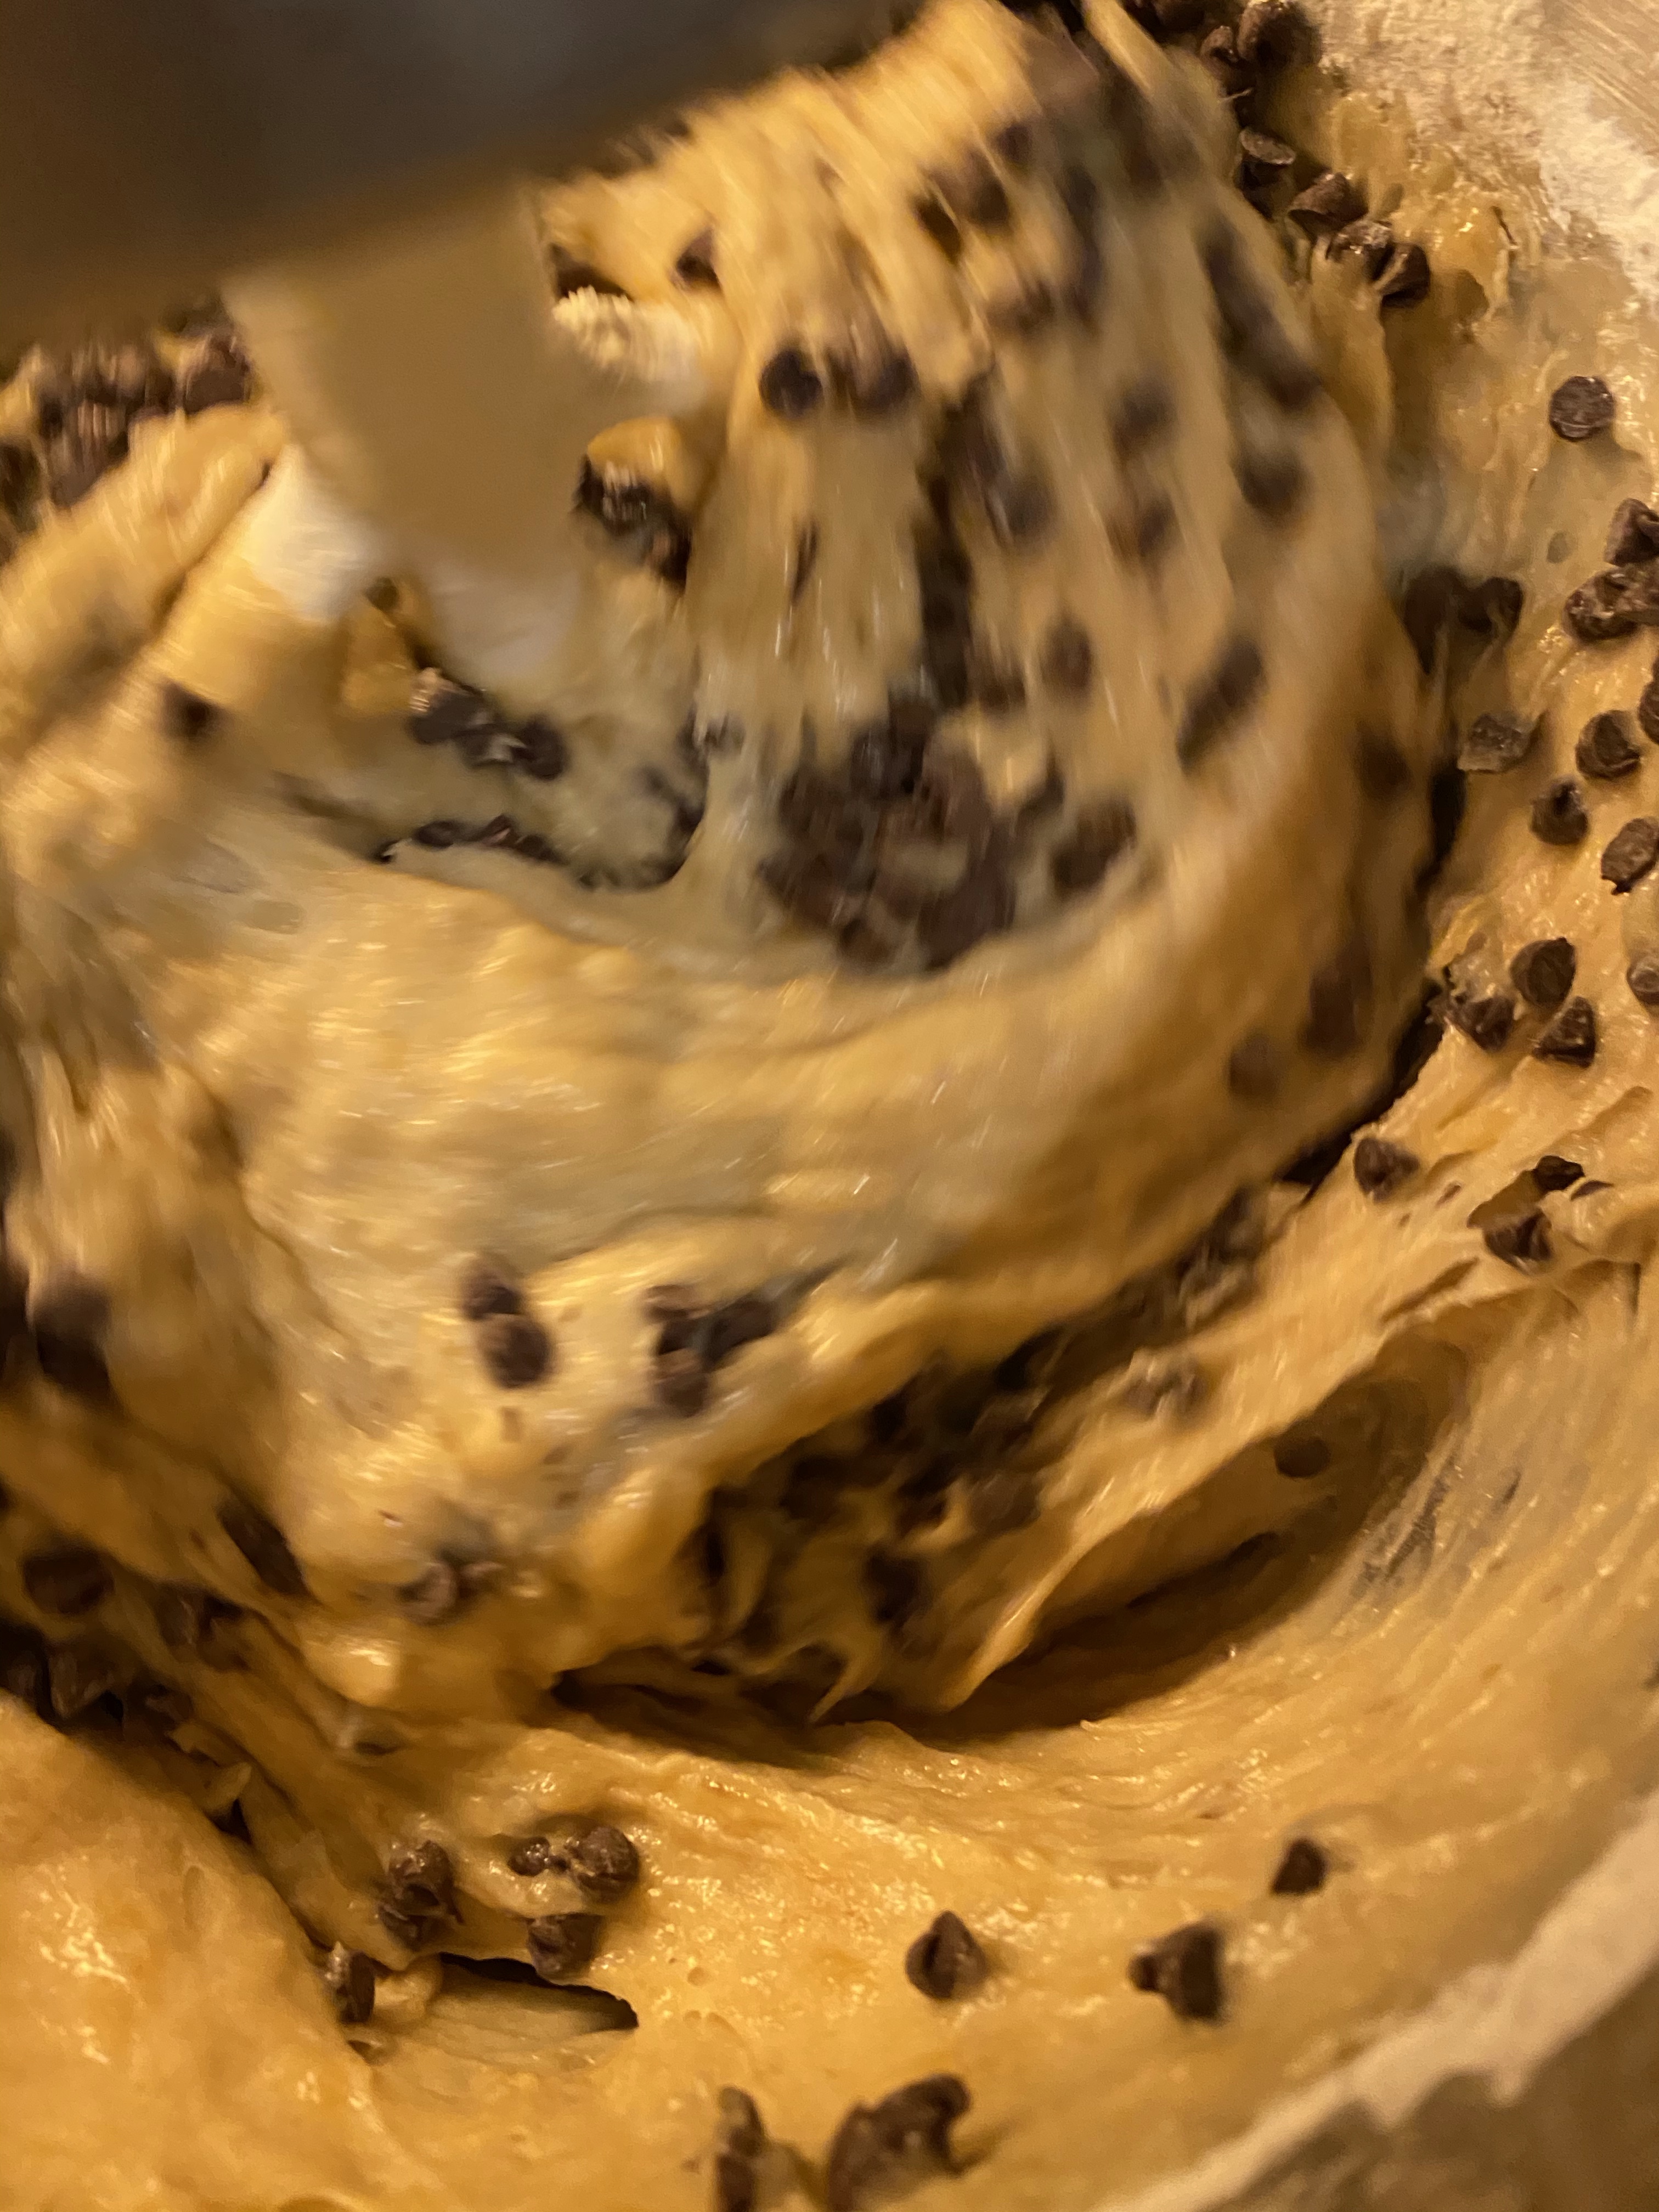
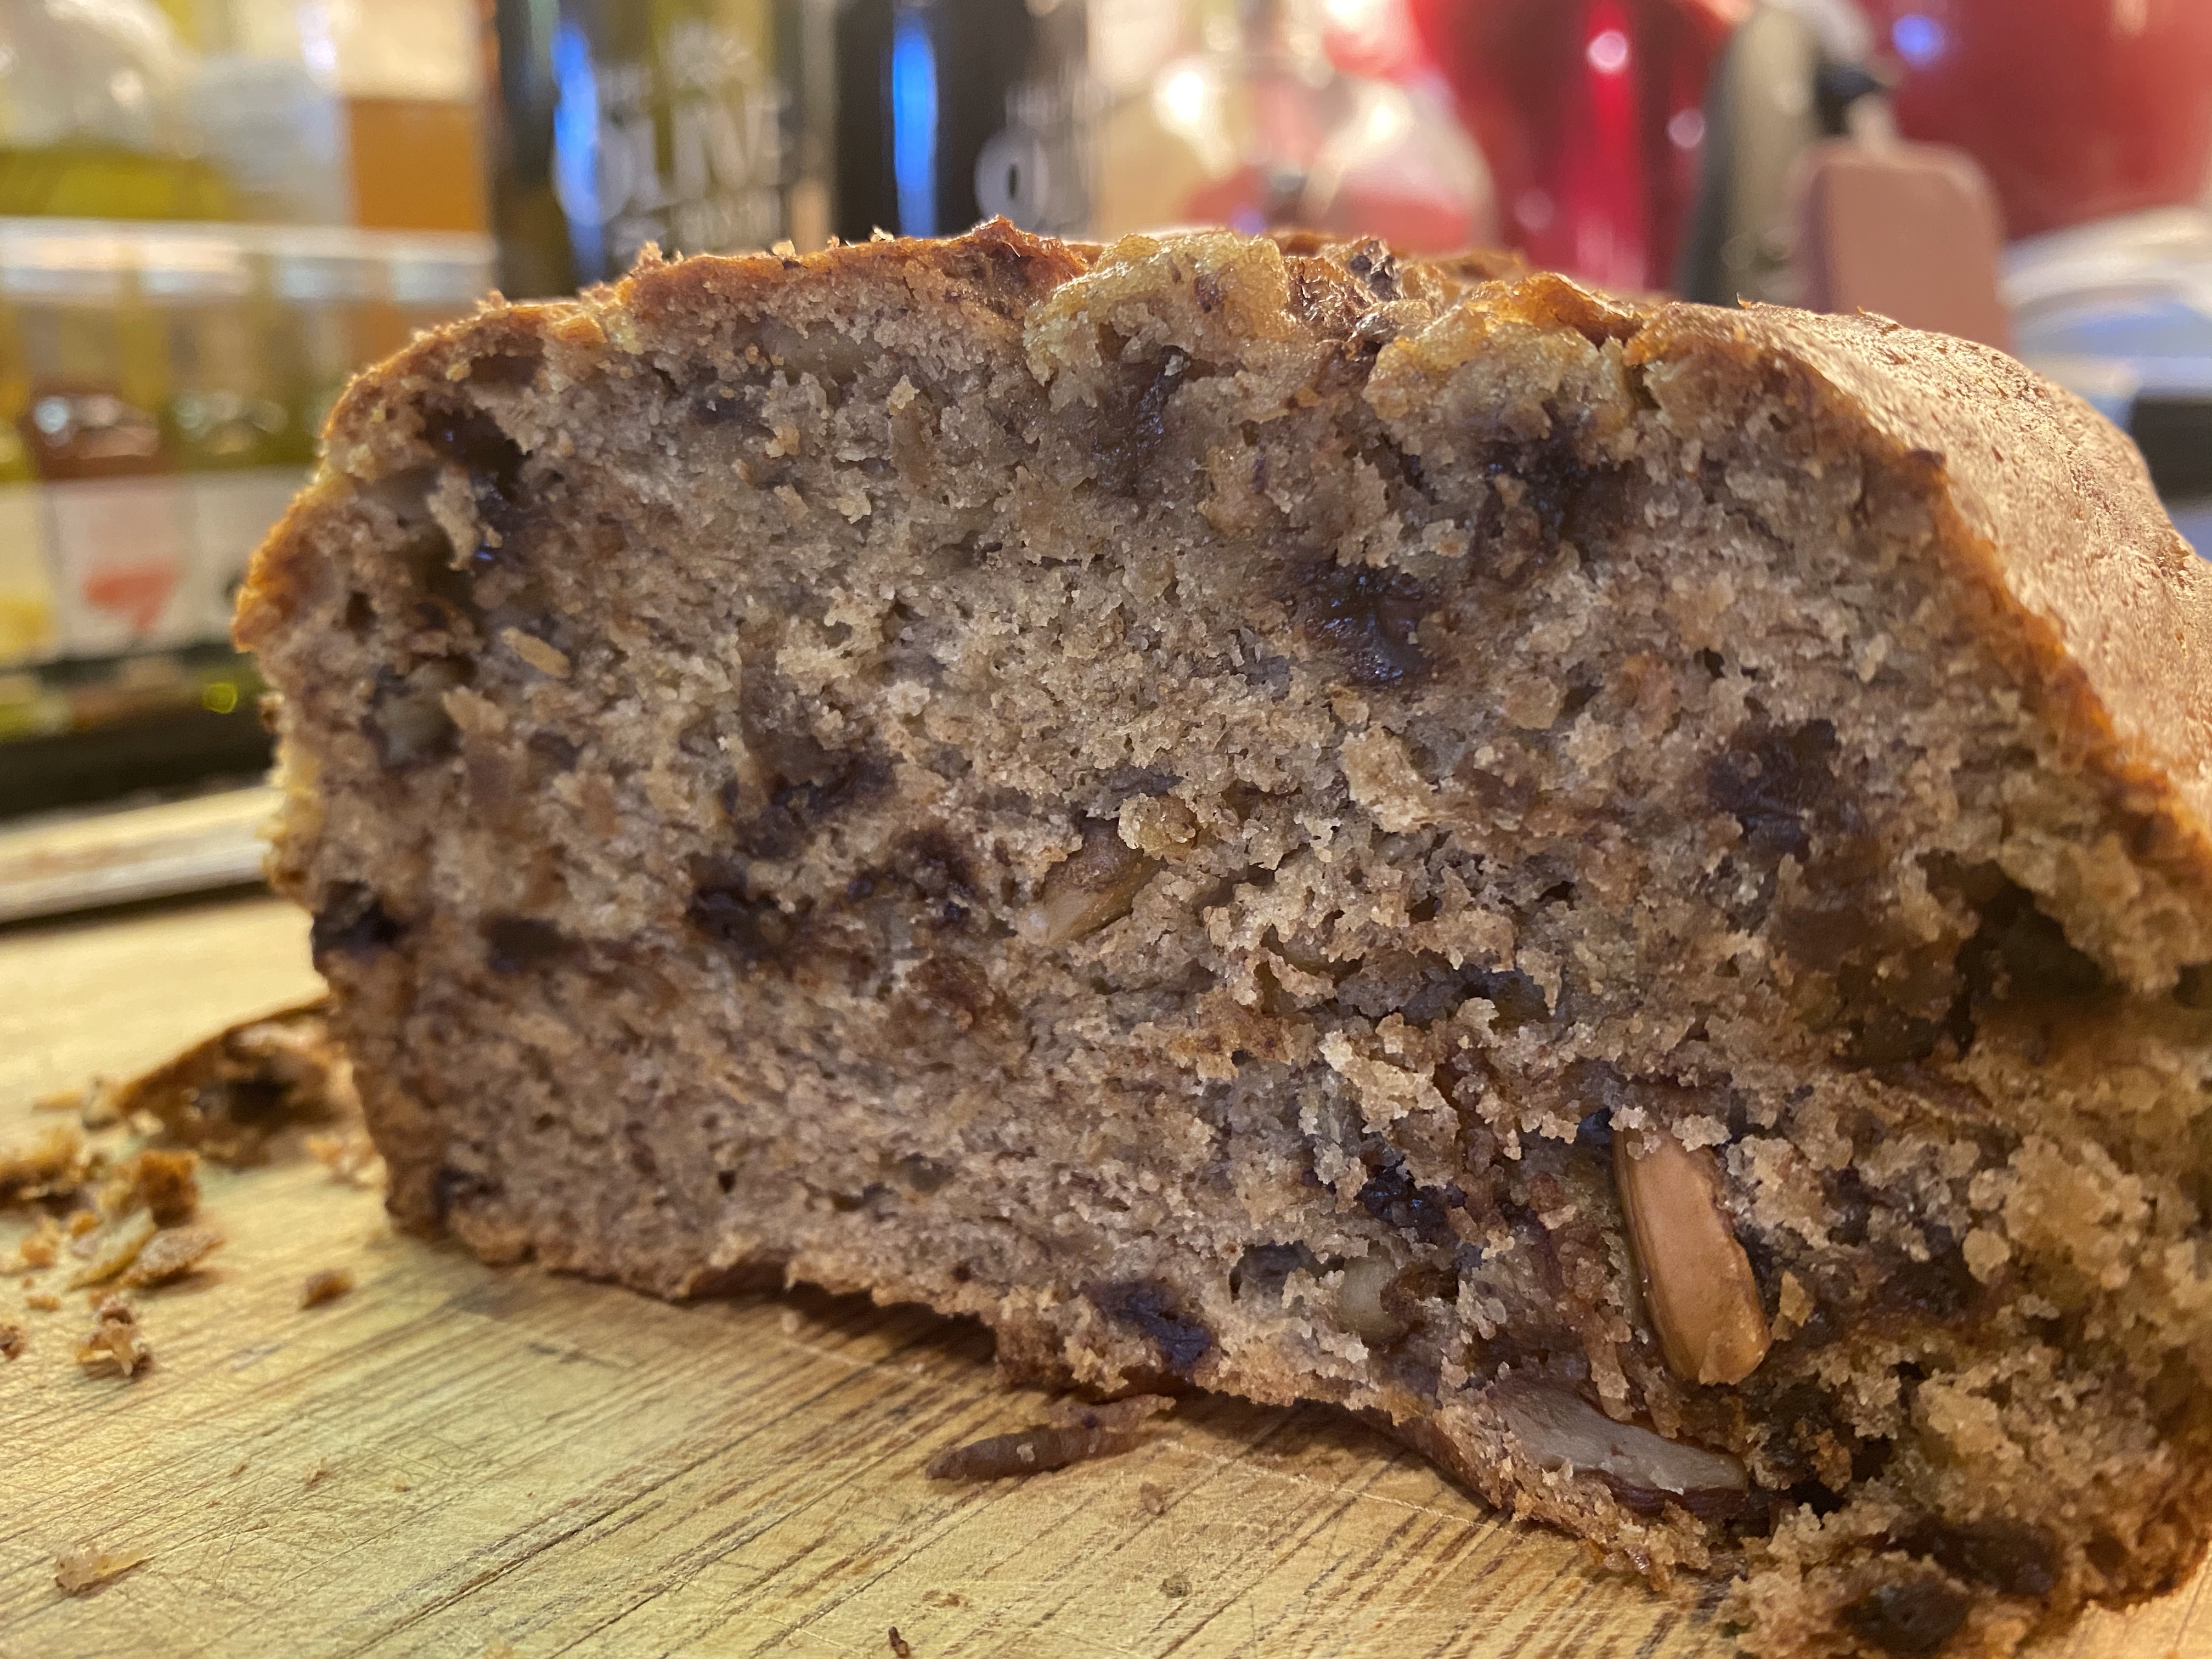
I should start this post by saying that I don’t actually like bananas that much. I like the idea of them, I guess. Or I like them in certain scenarios, like smoothies, banana pudding, and fruit salad. But to just eat a banana? Blech. And yet, I always buy bananas. My husband does eat them, but usually not fast enough, so I throw the brown bananas in the freezer.
And they sit. And they sit.
I’m always going to “make banana bread.” But I never make banana bread. Seriously. I’ve literally never made banana bread. They just sit in my freezer until I run out of room, and I might use them in a smoothie, but more likely than not, they eventually get thrown away.
I hate throwing away food.
Anyway, we have a member in one of our congregations that is in a nursing home. The pandemic has been really tough on her since she can’t have visitors, and she’s not really able to leave the nursing home either. We receive her mail for her, so Lewis was going to take her mail to her and I decided I wanted to make a special treat for her. I opened my freezer to see what ingredients I had available, and this is when I spied several bunches of brown bananas, just sitting there, mocking me.
I scanned the internet for recipes for banana bread, but none seemed to have all the ingredients that (in my mind) should go in banana bread…. so I made up my own. So here it is, along with photos of the process. At the end of the post I’ll mention some things that I would change.
Ingredients:
8 frozen bananas (thawed)
1 cup of sugar
1/2 a cup of brown sugar
1/2 a cup of butter (softened or melted)
1 teaspoon of vanilla extract
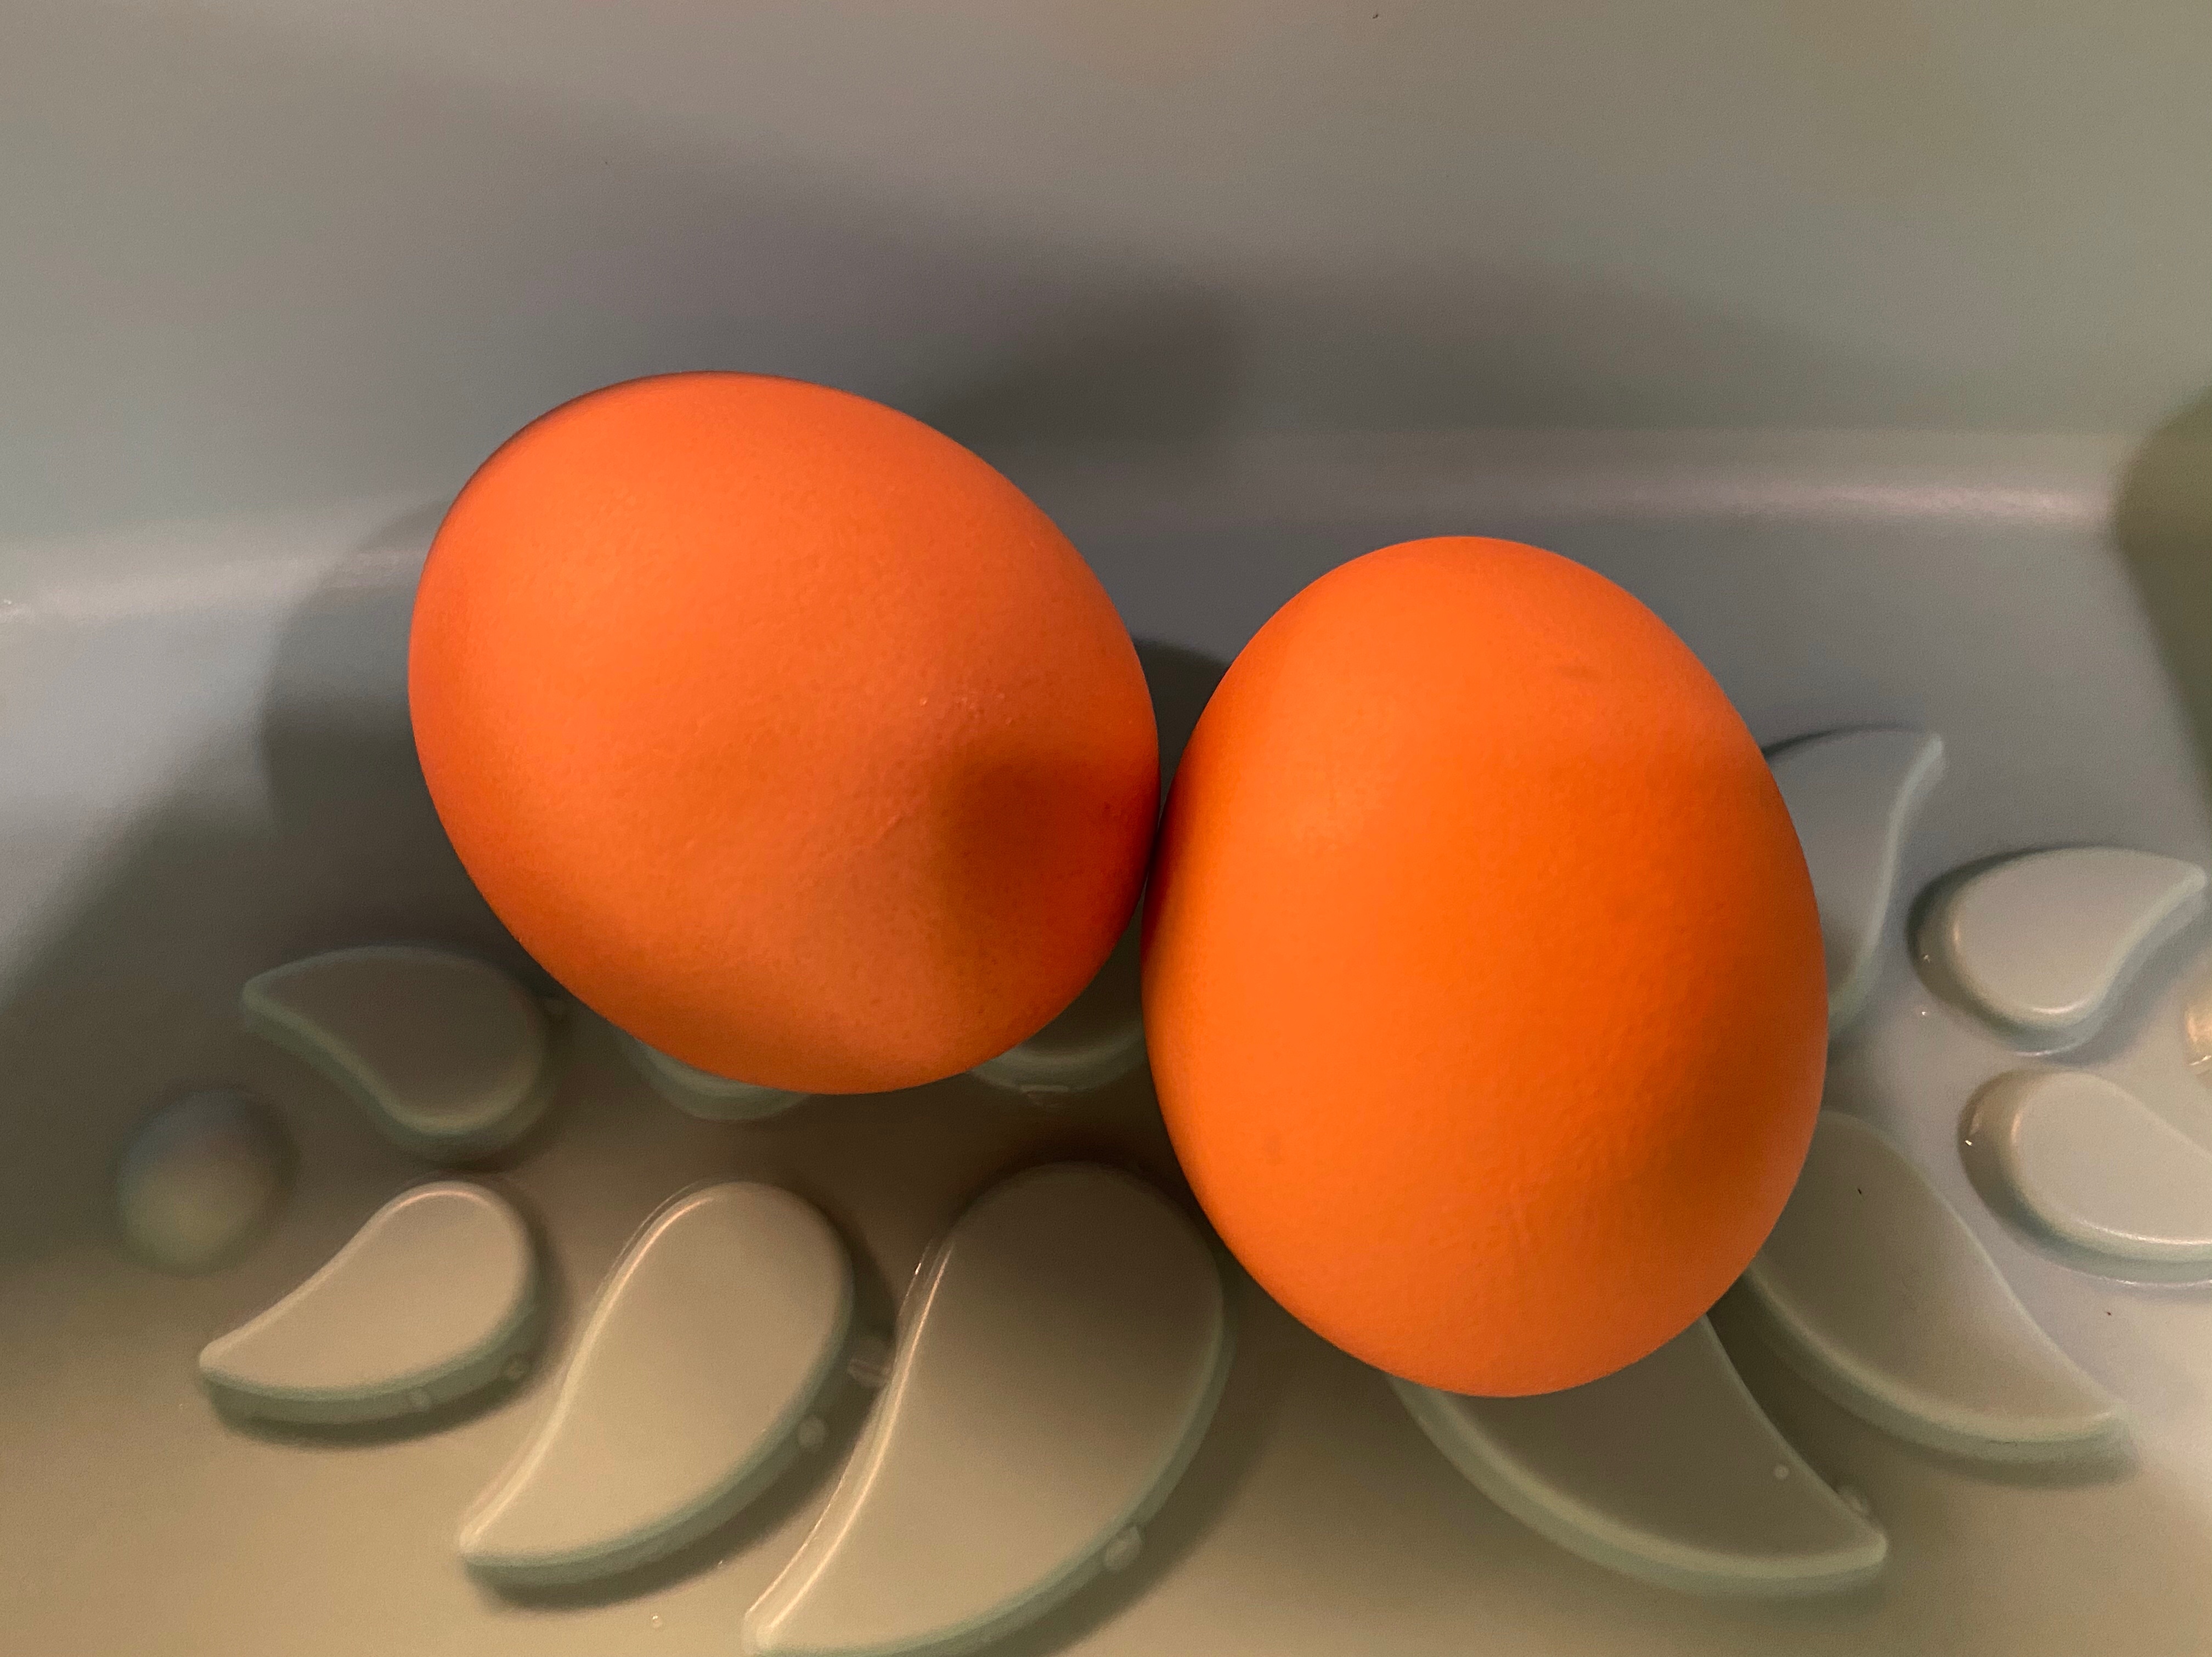
2 eggs
3 cups of flour
2 teaspoons of baking soda
1 teaspoon of Himalayan salt
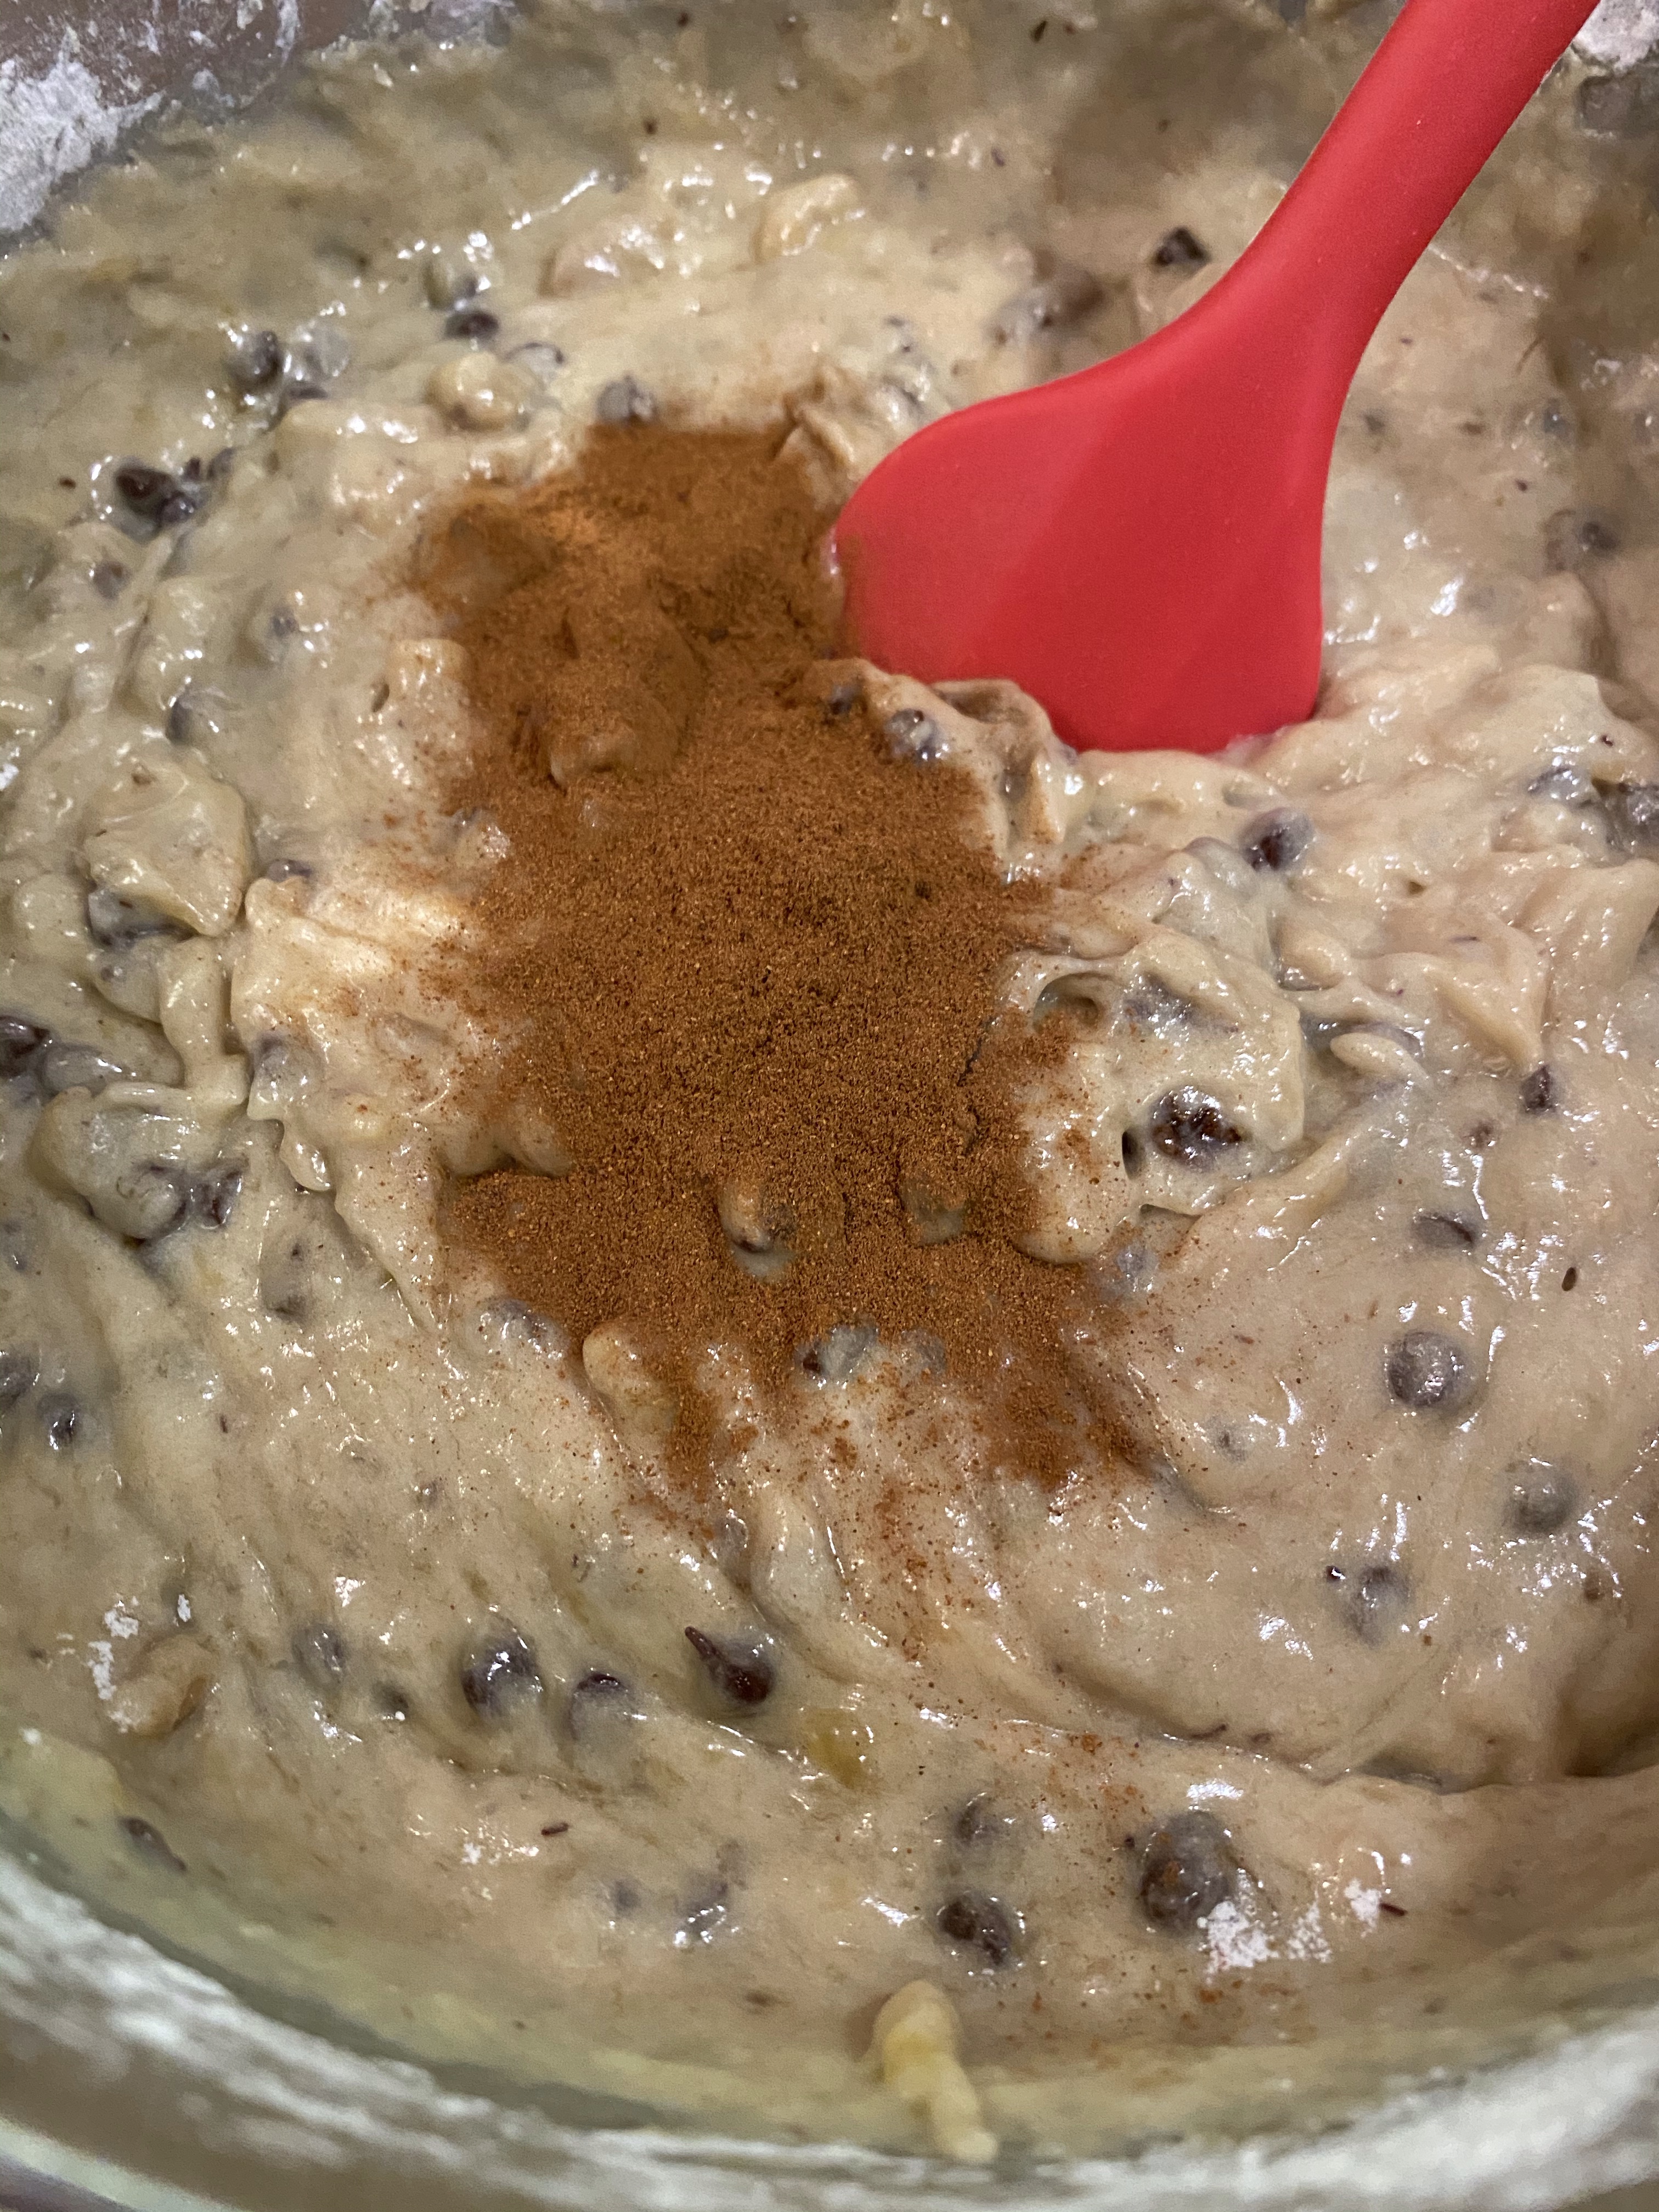
1 teaspoon of cinnamon
1 cup of mini chocolate chips
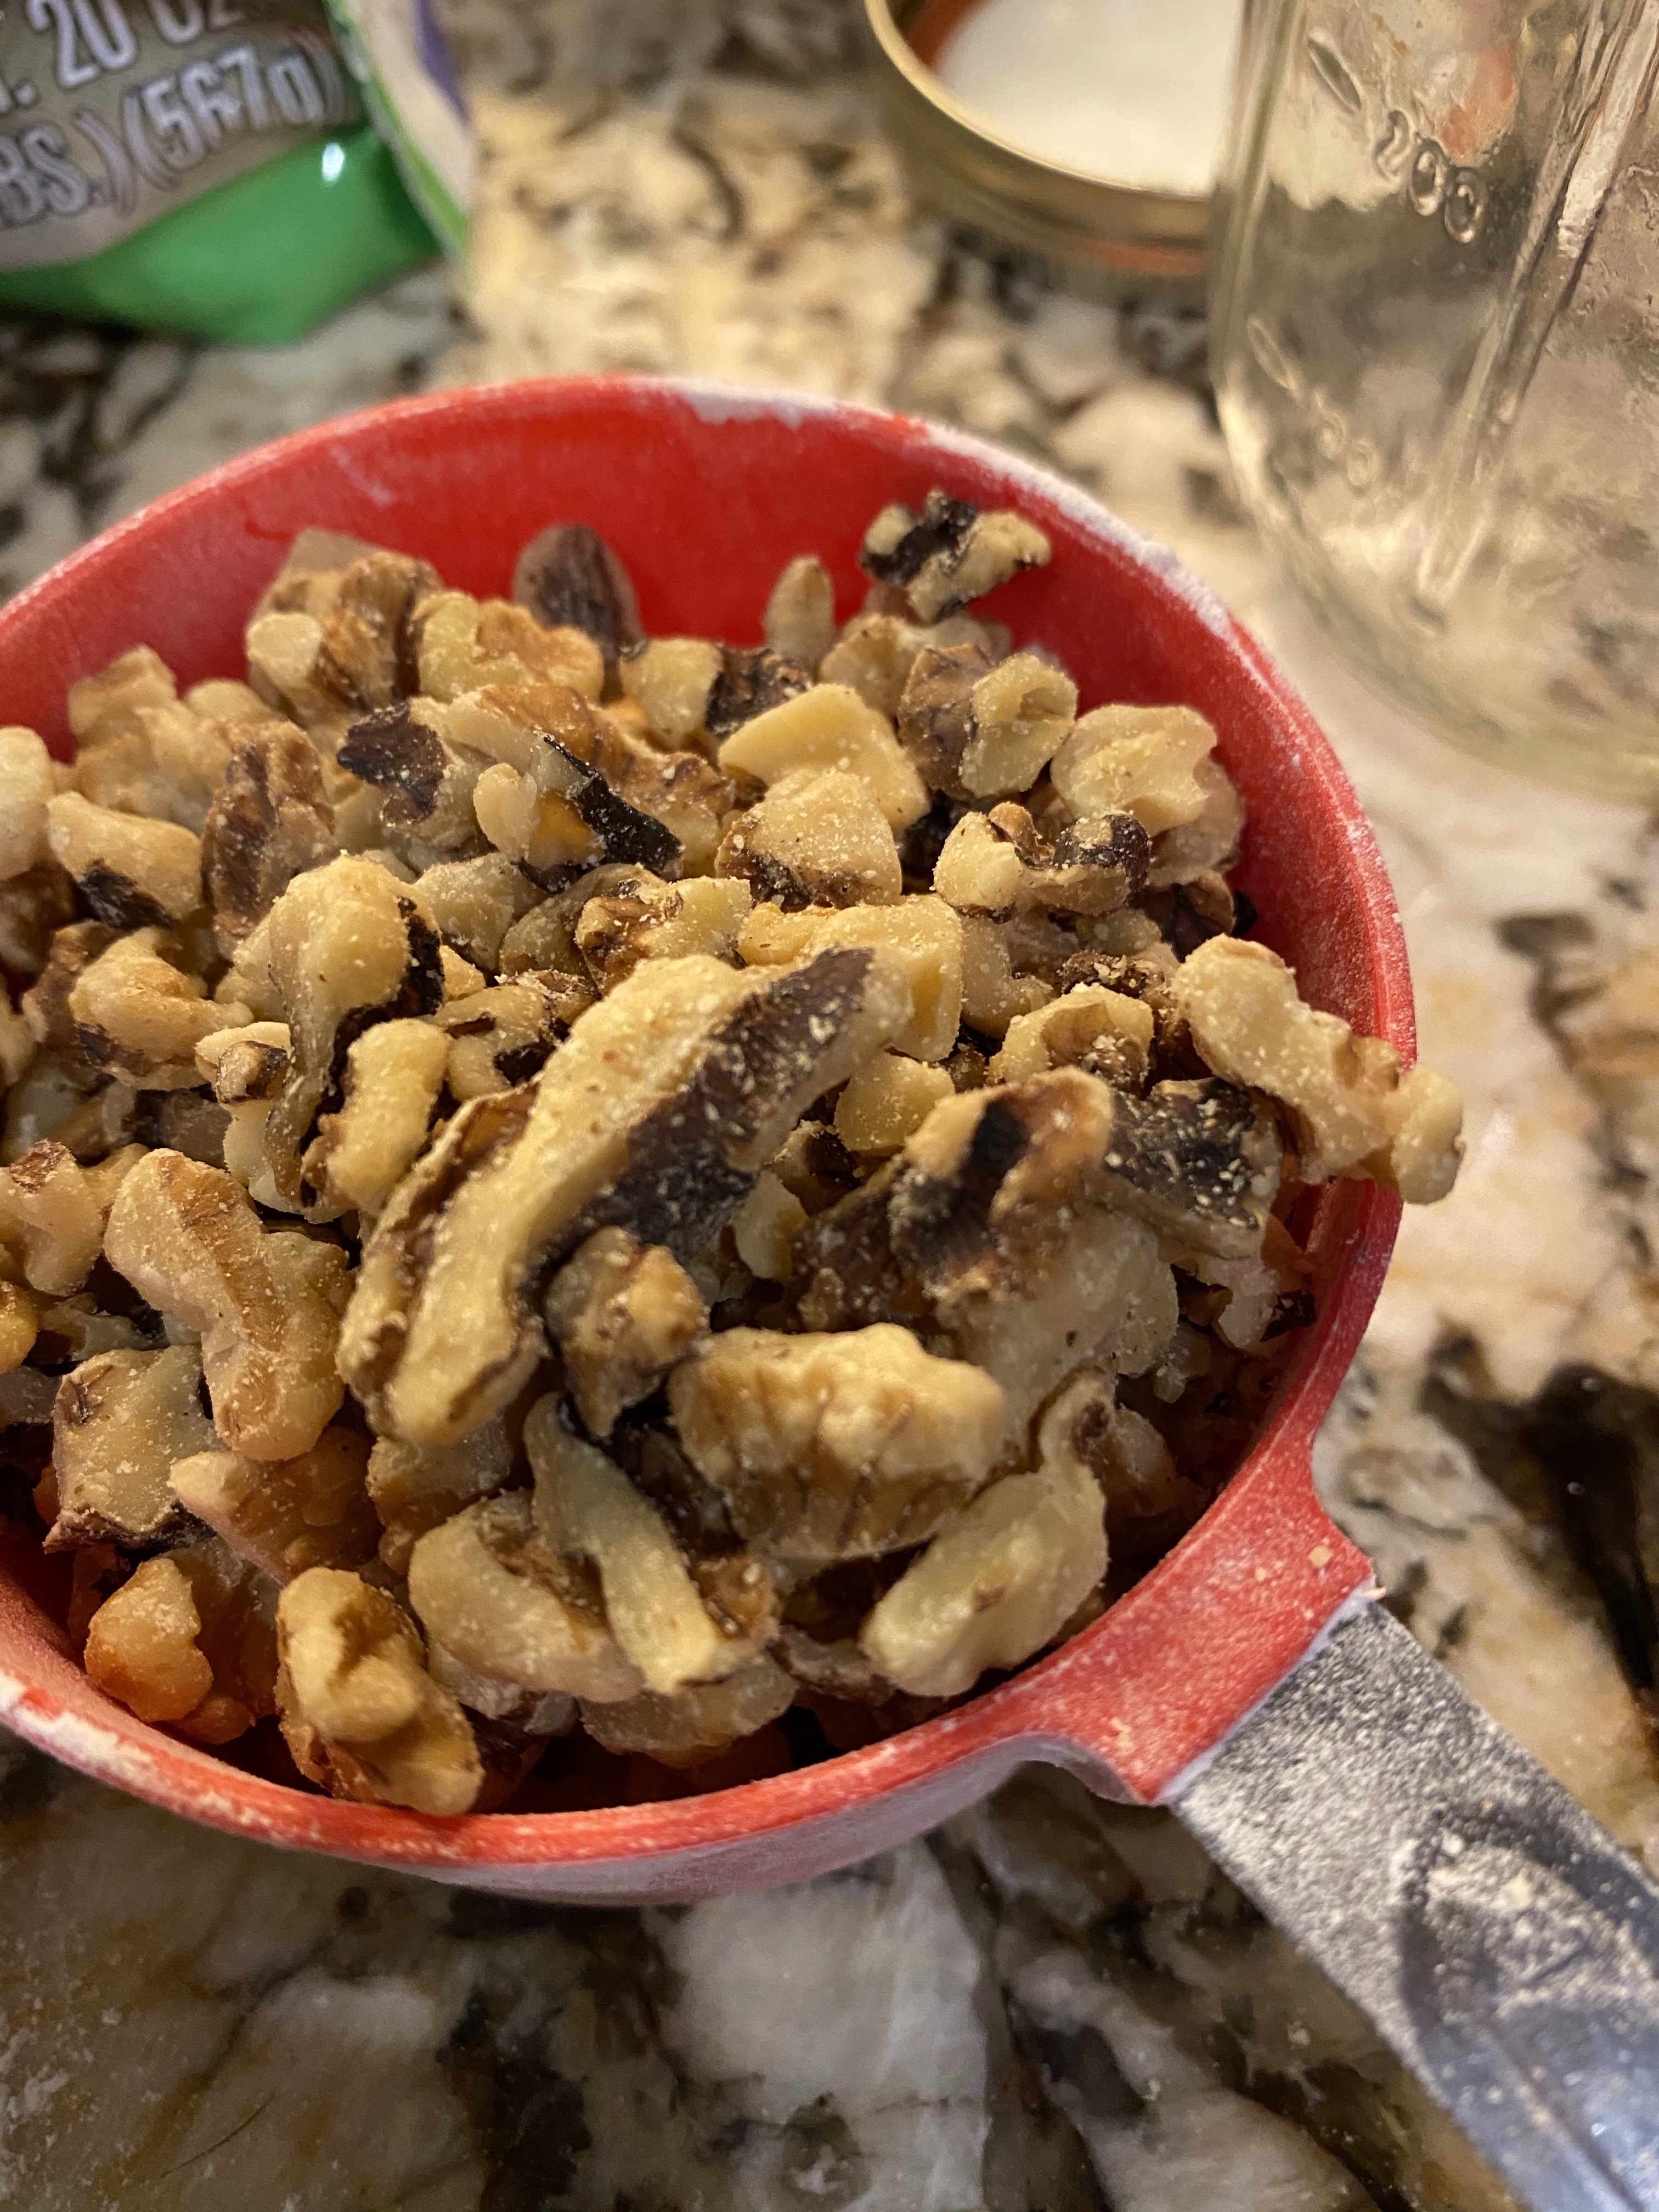
1 cup of chopped walnuts
Directions:
Preheat oven to 350°F
Grease two loaf pans (I use coconut oil)
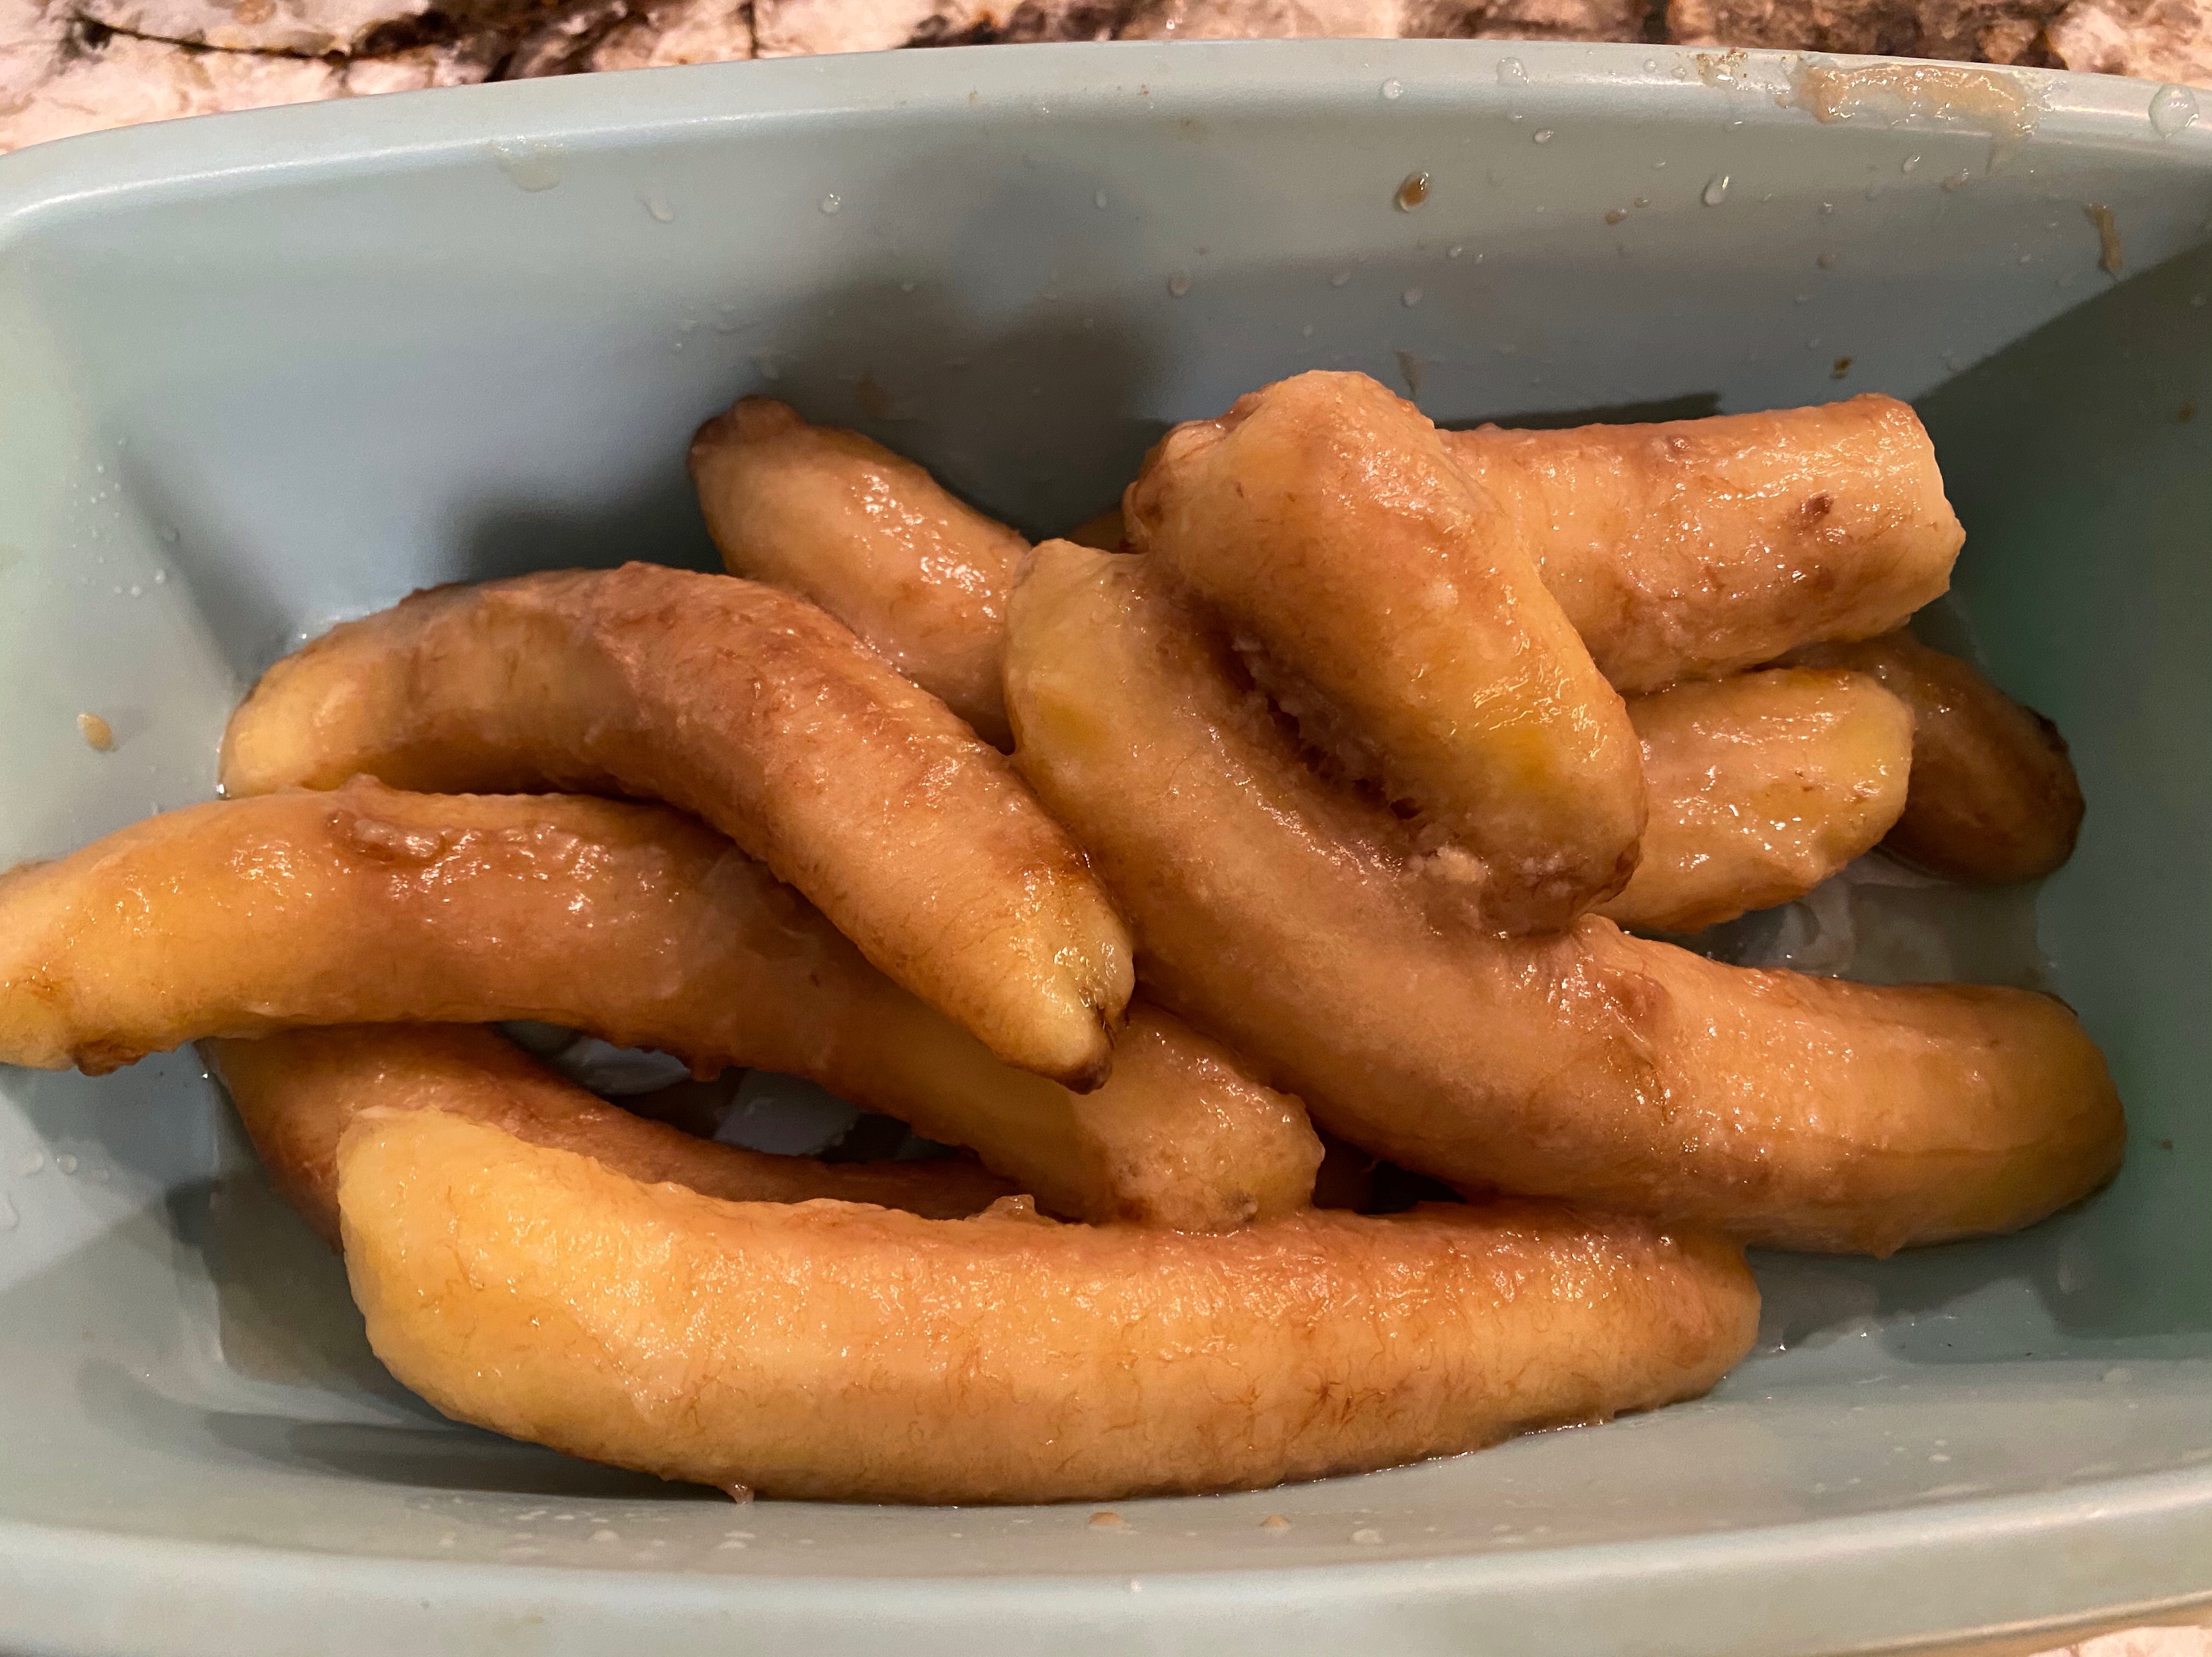
I always just throw my bananas into the freezer with peel and all, so I run the bananas under hot water until they are slightly softened; I peel them and then fully thaw them in the microwave for a minute or two.
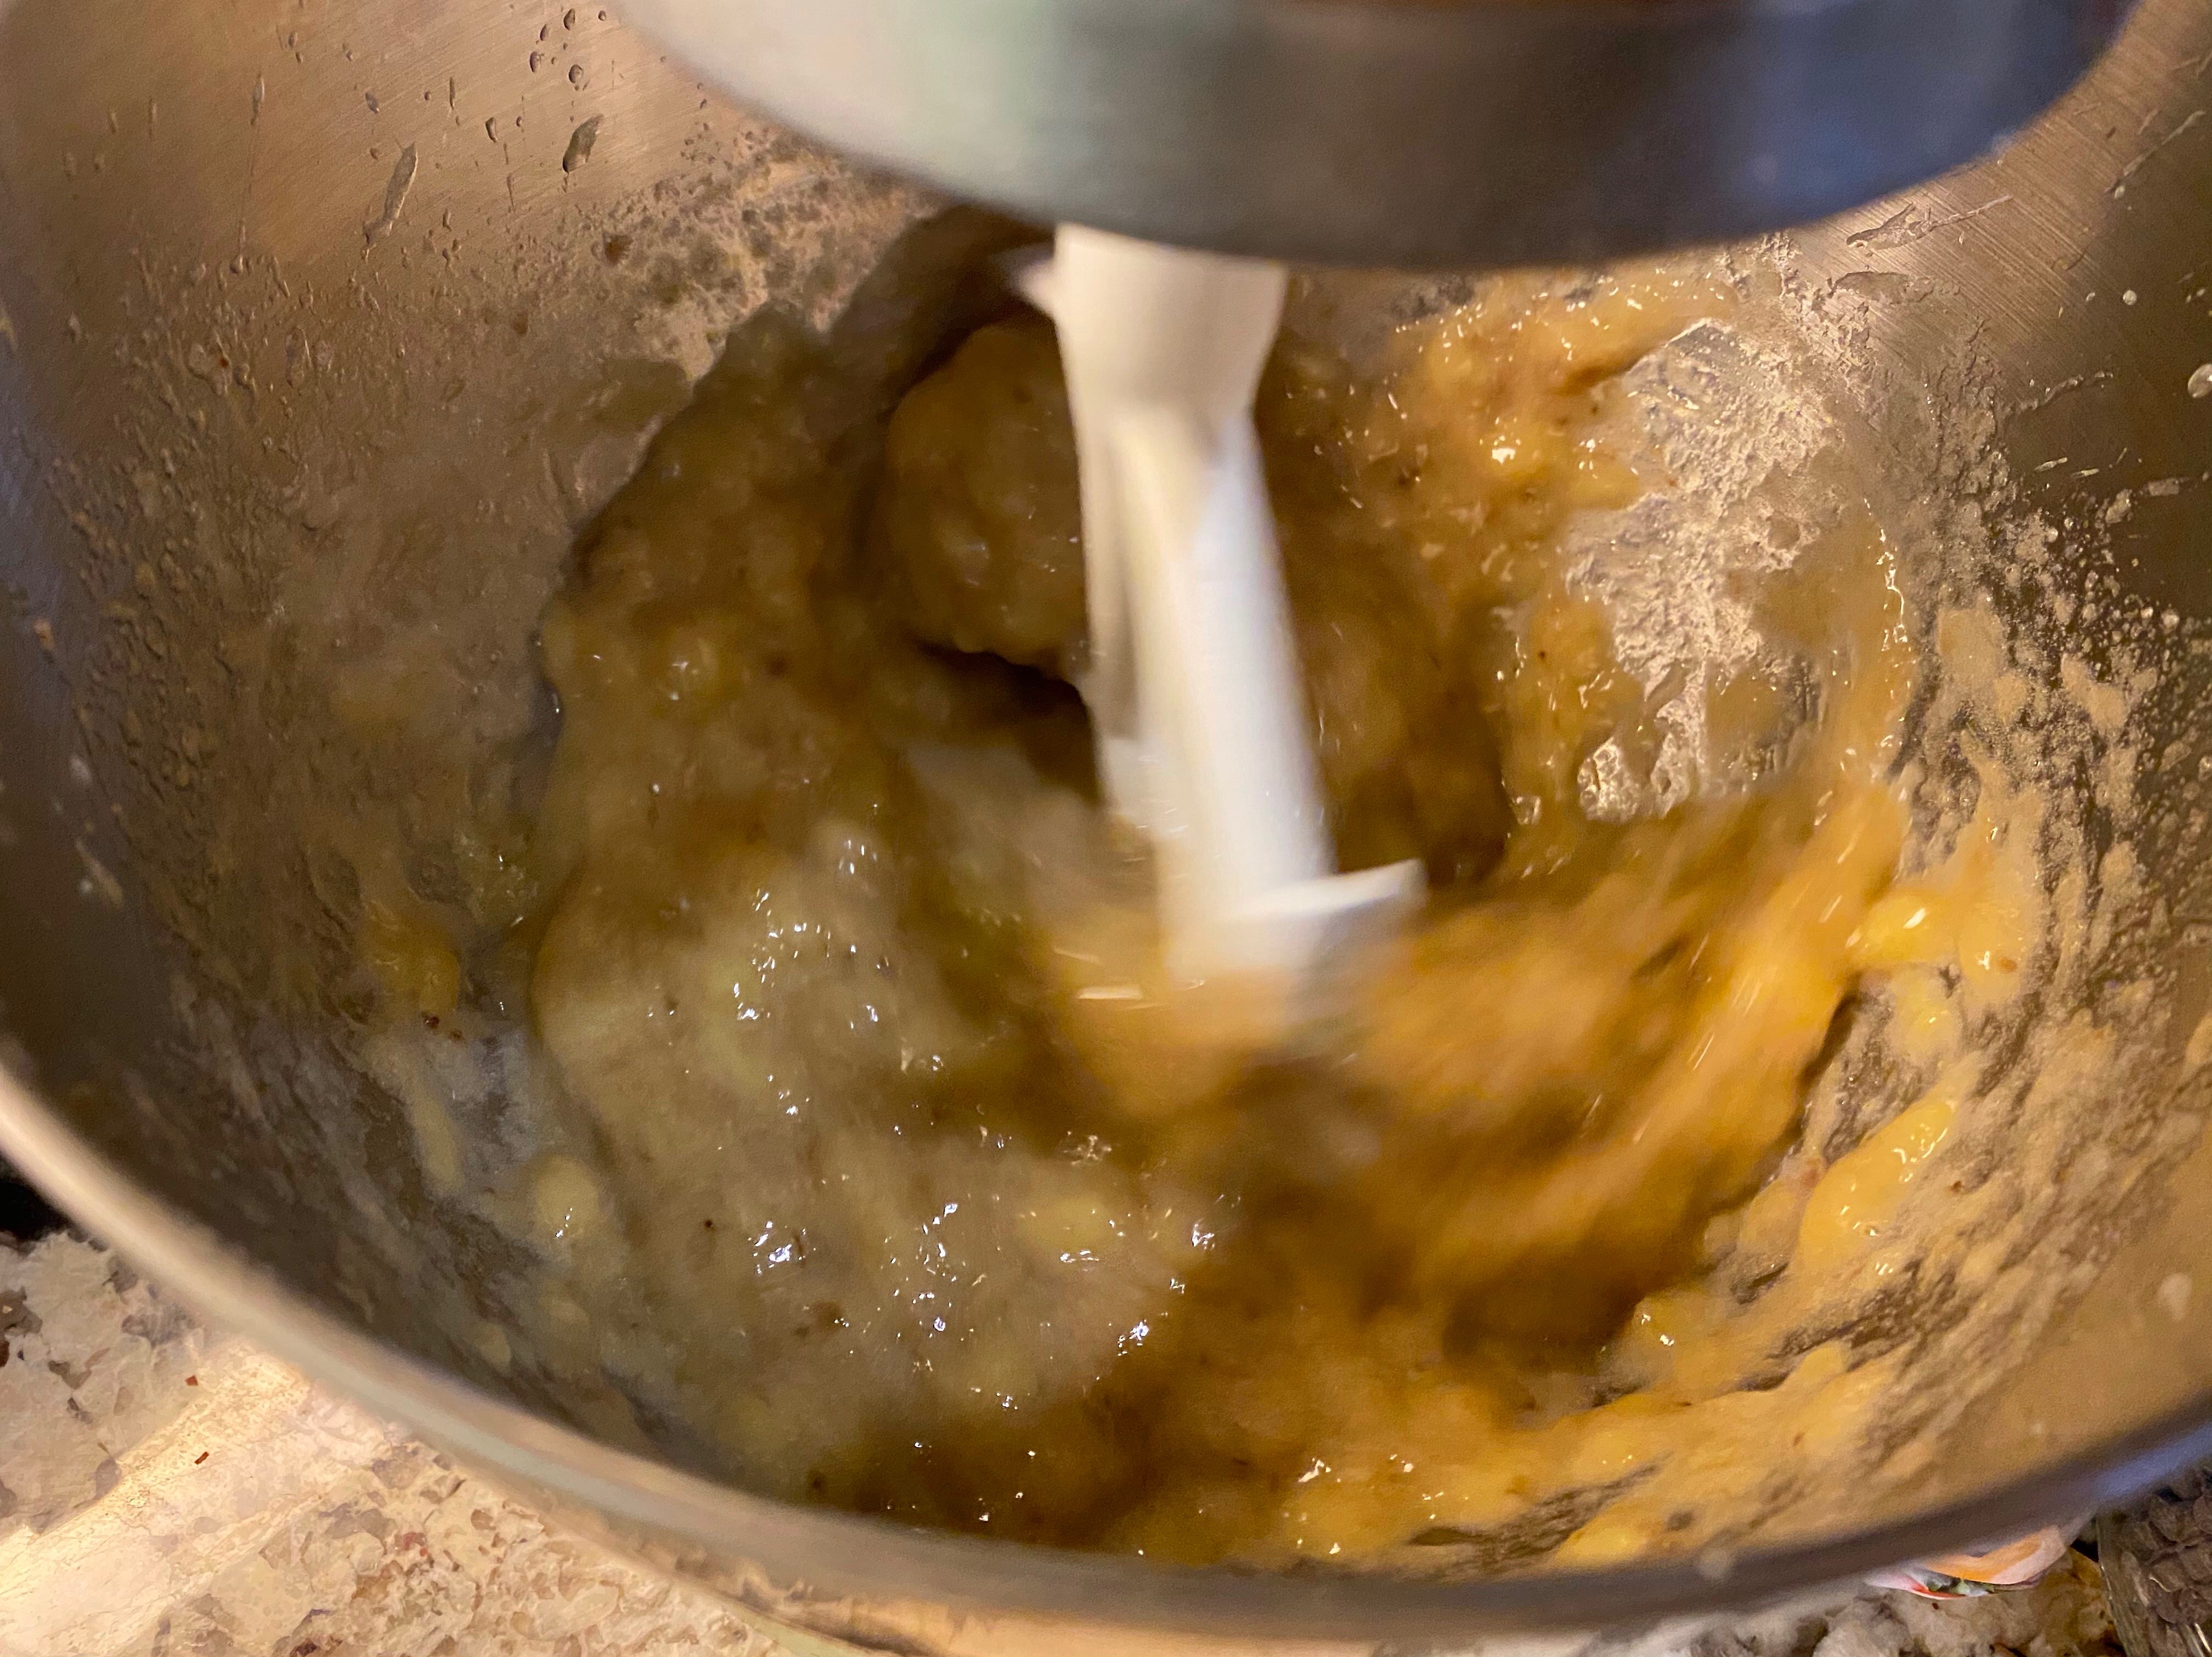
Mix thawed bananas (along with juices) with softened butter, sugar, brown sugar, and vanilla
Mix in eggs
Stir in all dry ingredients
Add chocolate chips and walnuts
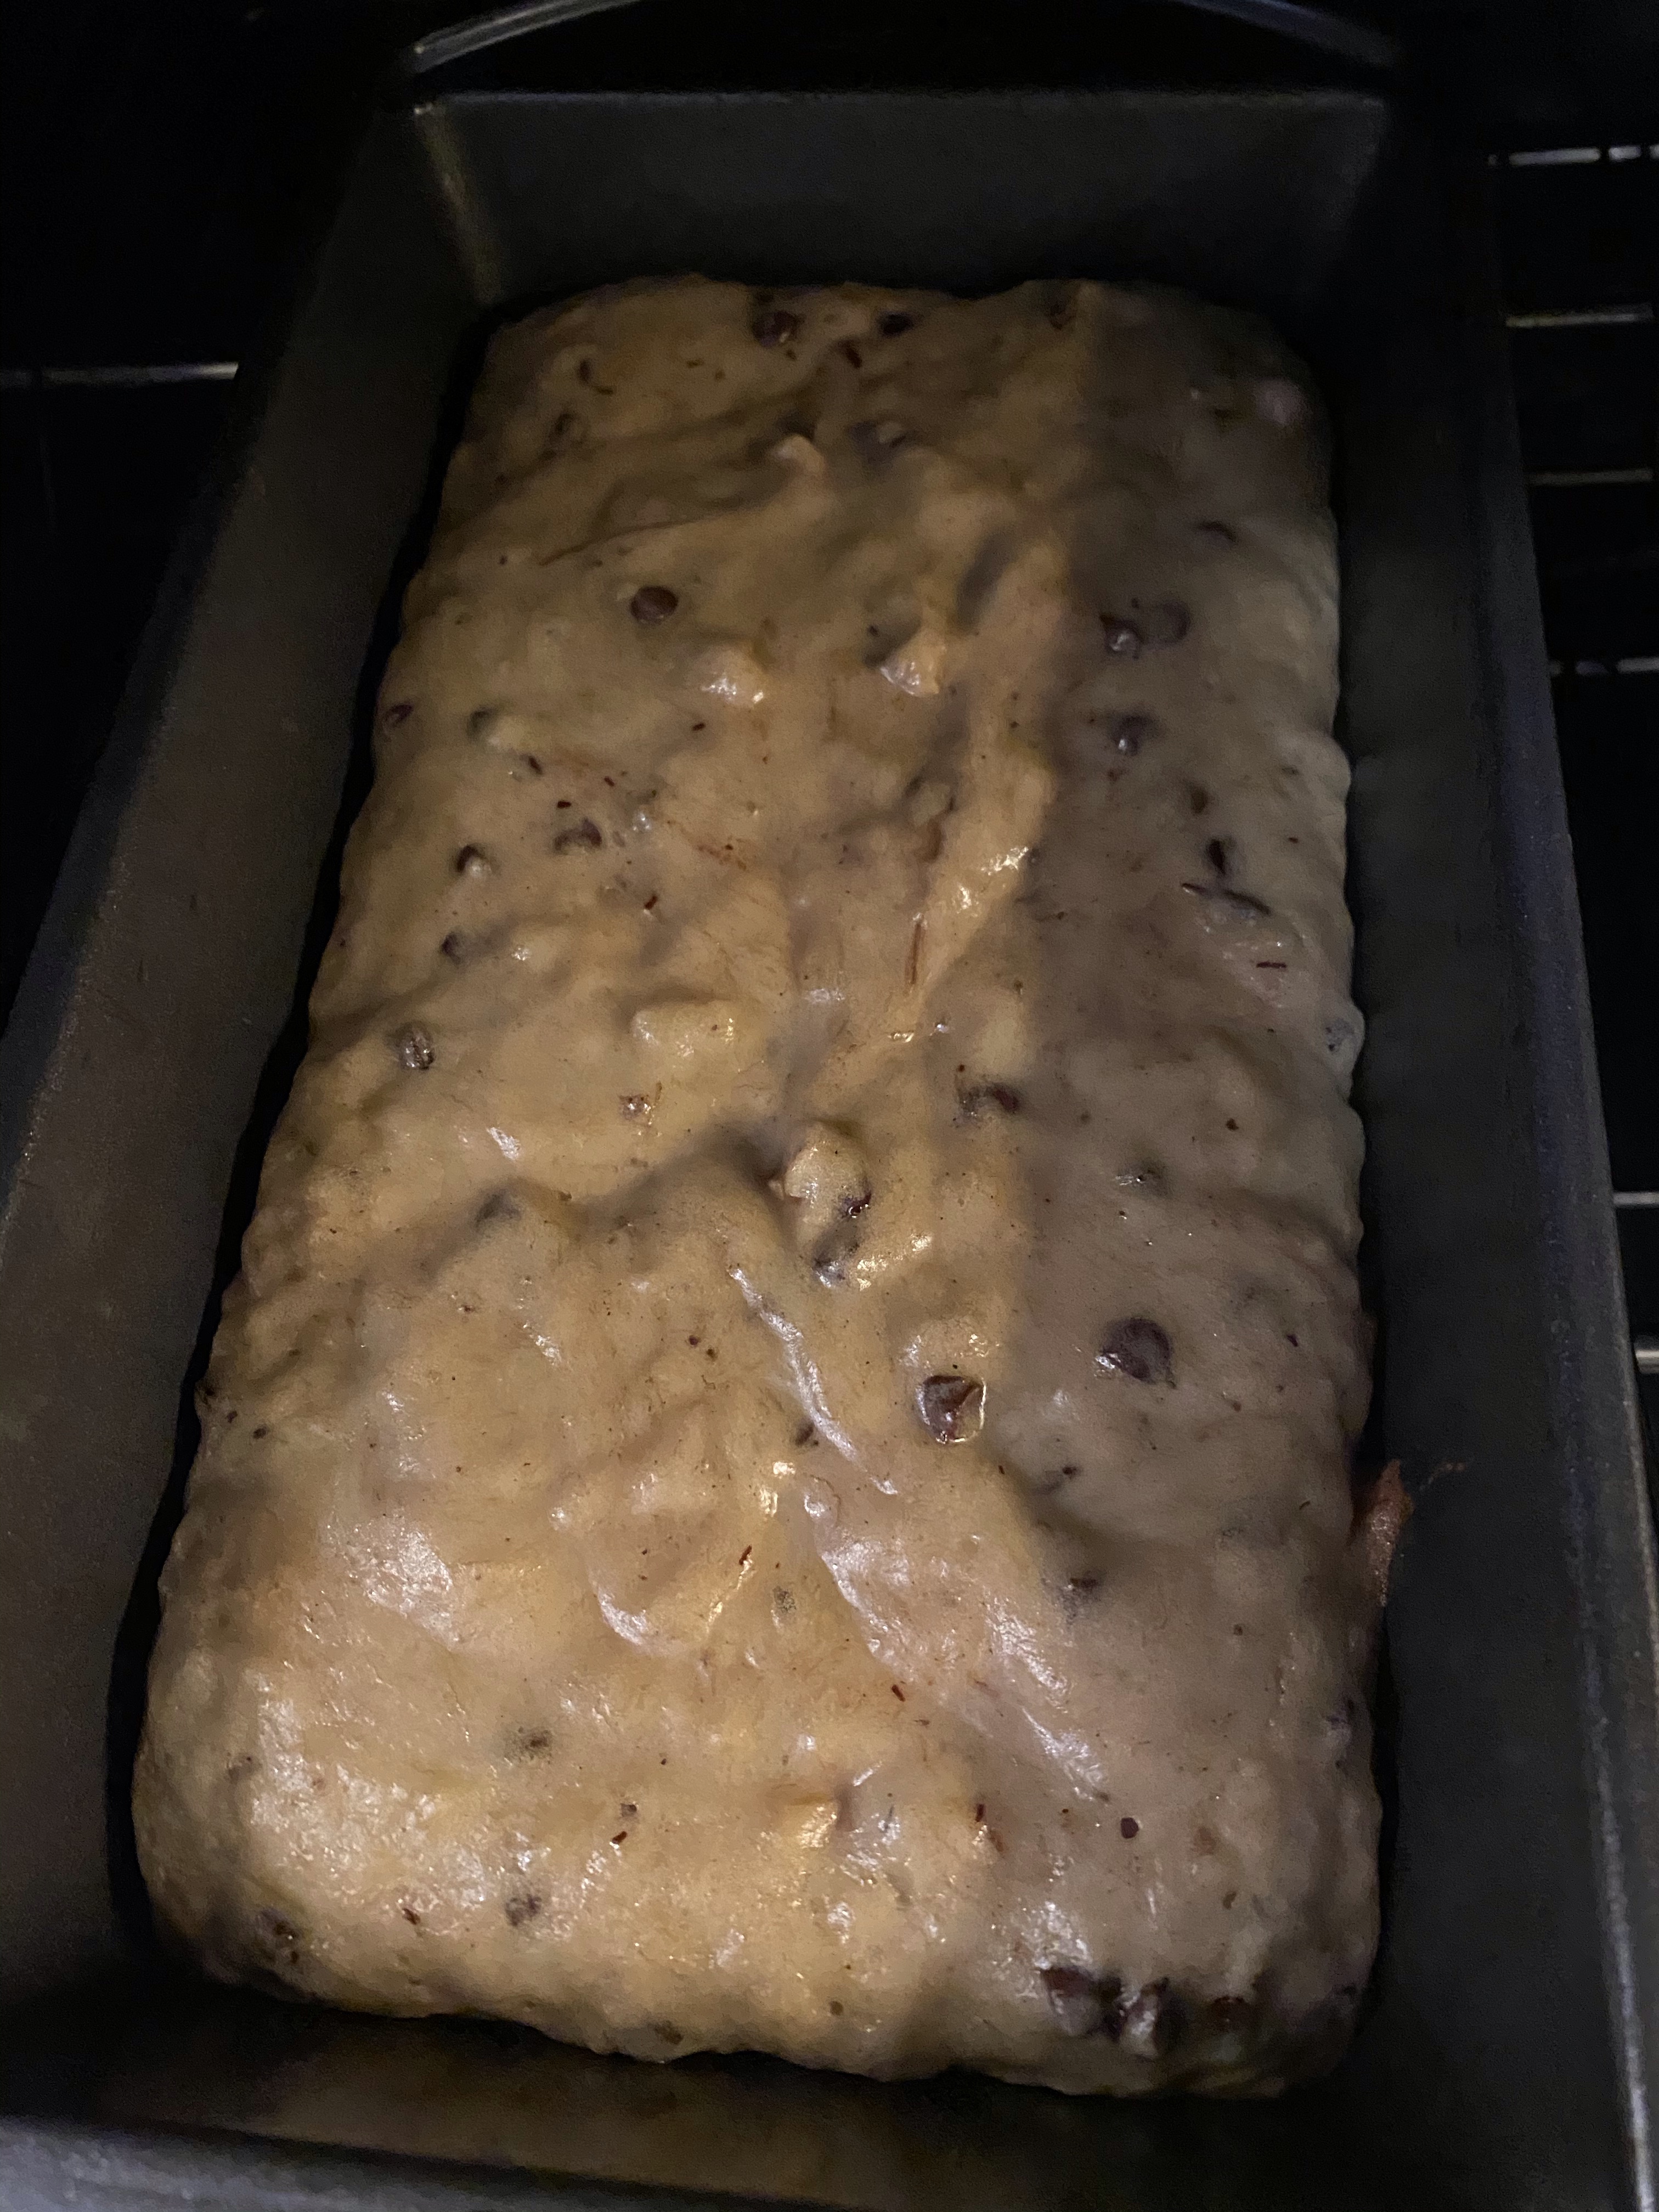
Divide batter between two loaf pans
Bake for 60 minutes or until a knife comes out clean
Frozen bananas (also when I realized I don’t have any microwave safe mixing bowls)
thawed bananas and juices
Mixing the bananas and sugar
Sugar
Brown sugar
Vanilla
Eggs
Flour
Mini chocolate chips
Mixing in
Walnuts
Cinnamon
In the pan
Fresh out of the oven
Slice of bread
Things I would change: I think I would use more brown sugar and less white sugar, and cut down the total amount of sugar by just a bit (maybe 1 1/4 cup instead of 1 1/2 cup). I would do two teaspoons of cinnamon, instead of one. I would add another 1/2 teaspoon of salt. I would add another teaspoon of vanilla. I would use regular sized chocolate chips, rather than the minis. And I would toast the walnuts before mixing them in.
Otherwise, this is a decent loaf of banana bread. The texture is good, with a nice crust on the outside. The chocolate chips are a great pop of flavor and the walnuts add a nice crunch.
I’m terrible about remembering to document my steps… so this will only have photos of the finished product… hopefully I’ll get the hang of this blogging thing soon! 😳
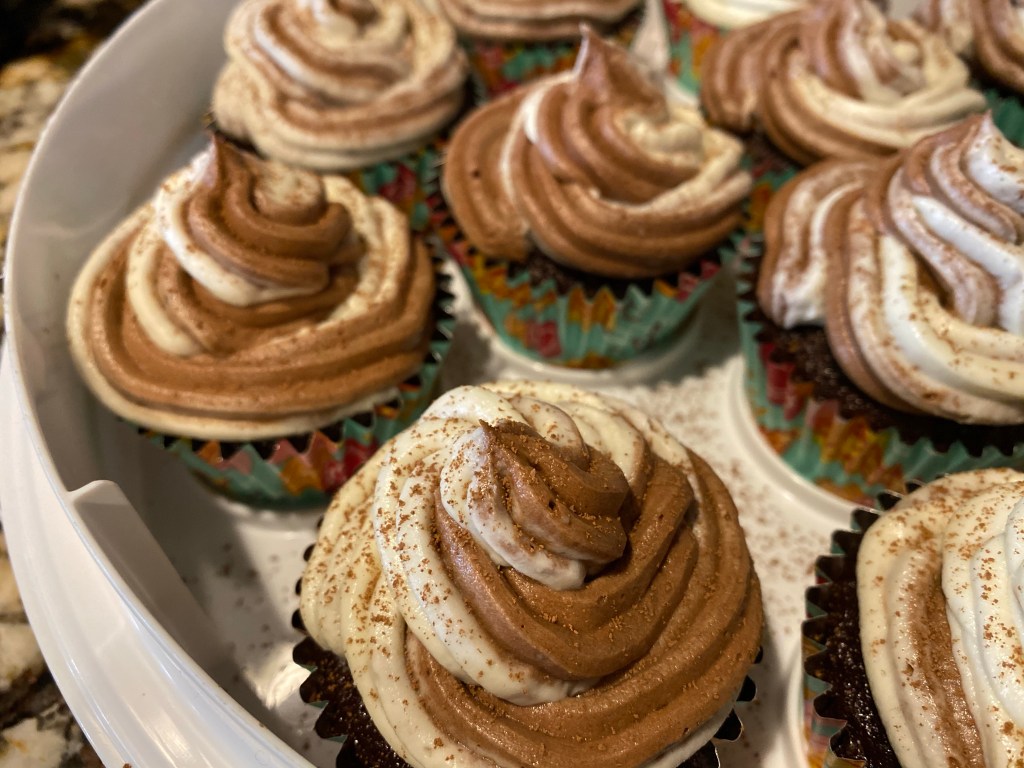
I made the cupcake recipe as was published (the link is below). It was fine. I wasn’t super wowed by it, but it will do the job as a basic chocolate cupcake.
I did not, however, use their frosting recipe; I used my own (which I will include below). Overall a pretty good combination. Be aware that my frosting recipe uses less sugar than many standard recipes call for, so it will be a somewhat tangy frosting, especially with the addition of the cocoa powder.
Cream Cheese Frosting
2 Sticks of butter (softened at room temperature)
2 8oz packages of cream cheese (softened at room temperature)
1.5 cups of powdered sugar
2.5 teaspoons of vanilla extract
.5 cup of cocoa powder
Cream together butter and cream cheese. Mix well after the addition of each of the following ingredients: add vanilla, add powdered sugar, add cocoa powder (for a swirl frosting — as pictured — remove 1/2 the frosting before adding the cocoa powder).
*If you want a more sweet frosting add an extra .5 cup of powdered sugar to the recipe above.
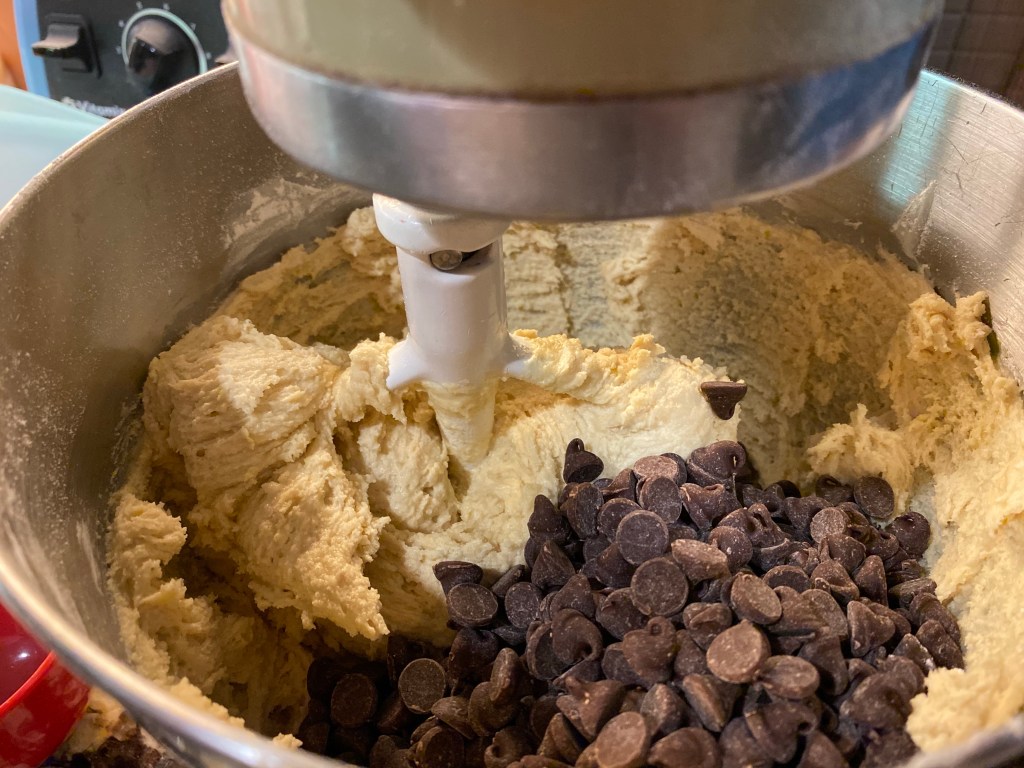
I have yet to find a better recipe for chocolate chip cookies than the one you find on the nestle bag.
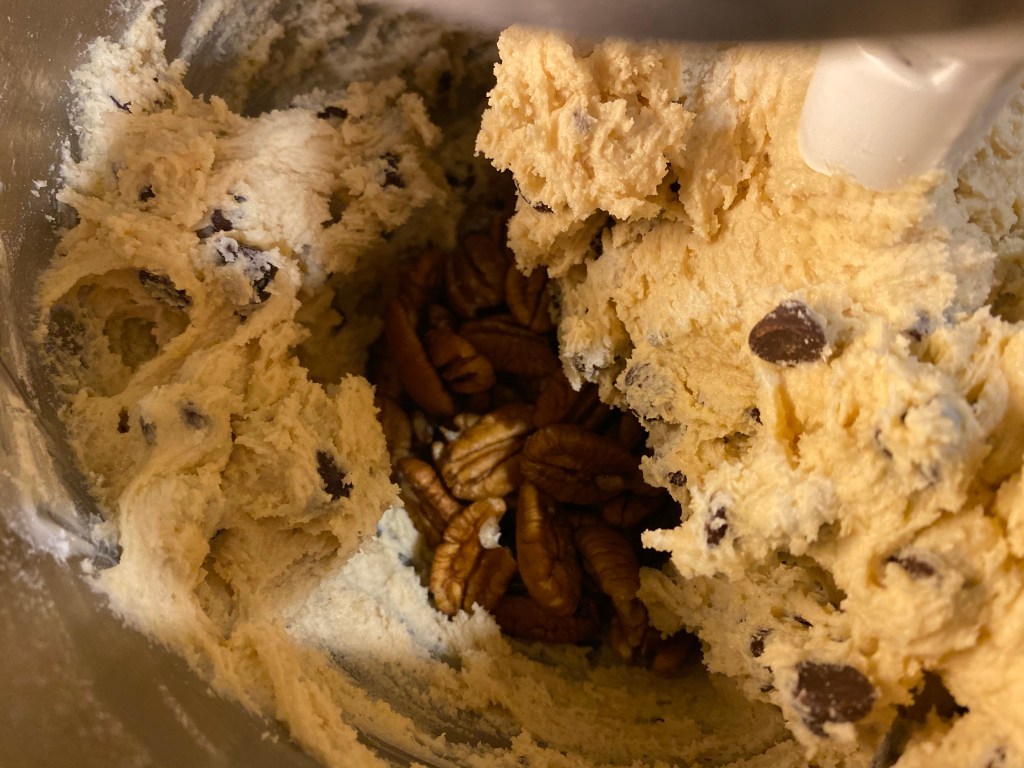
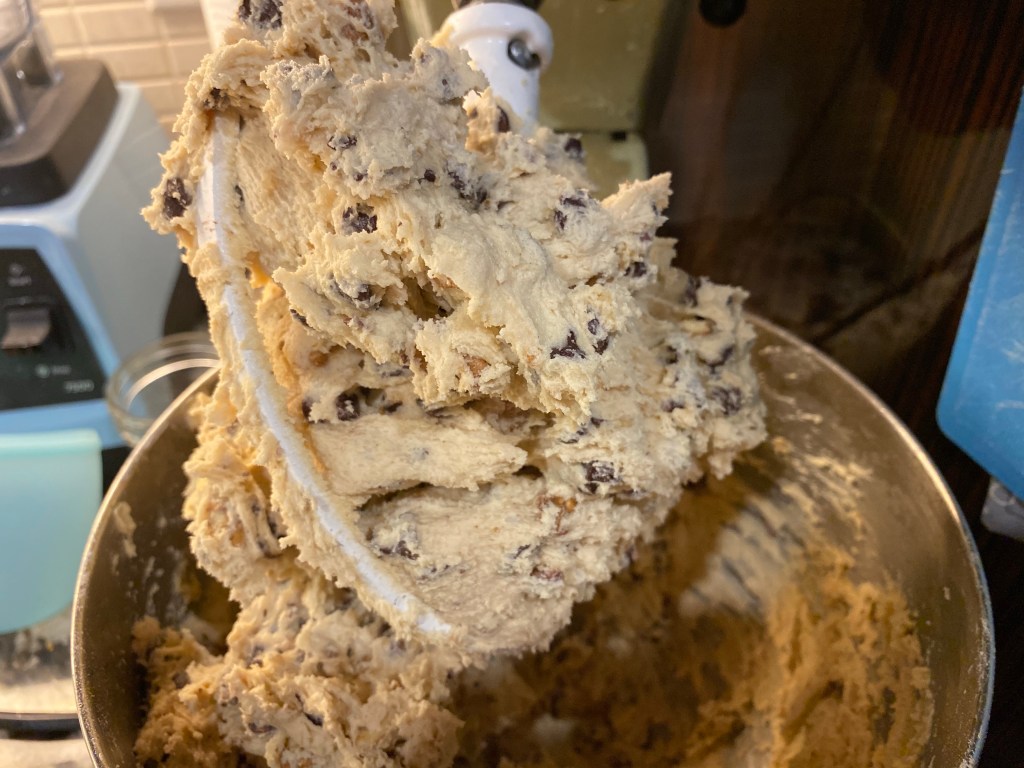
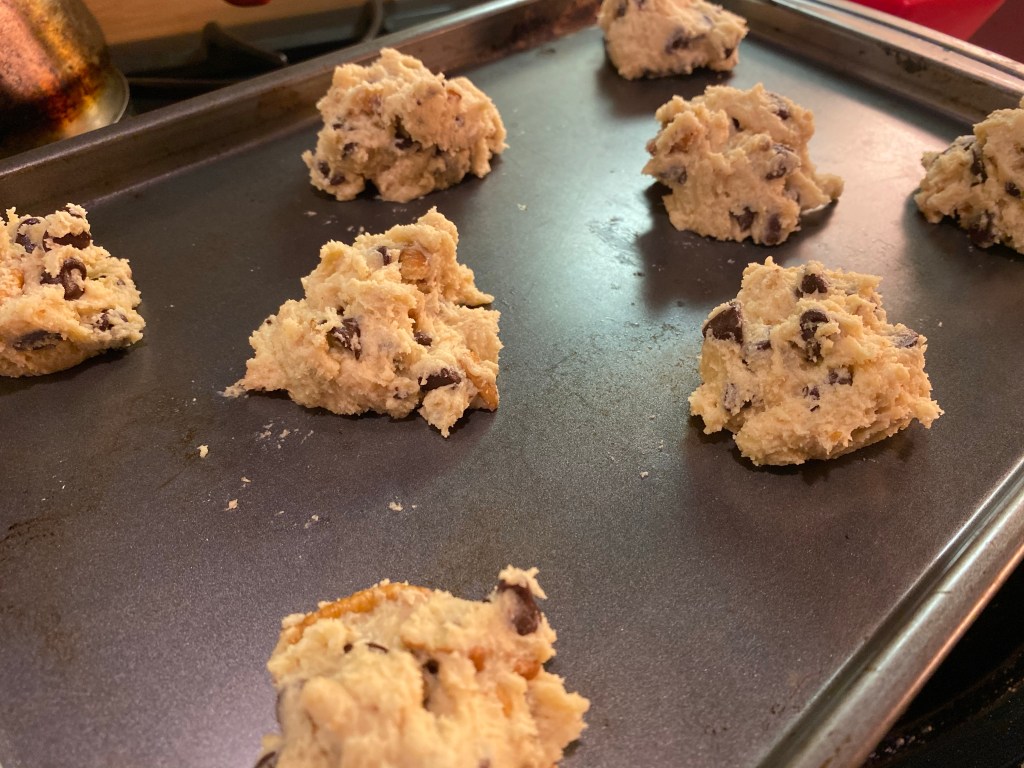
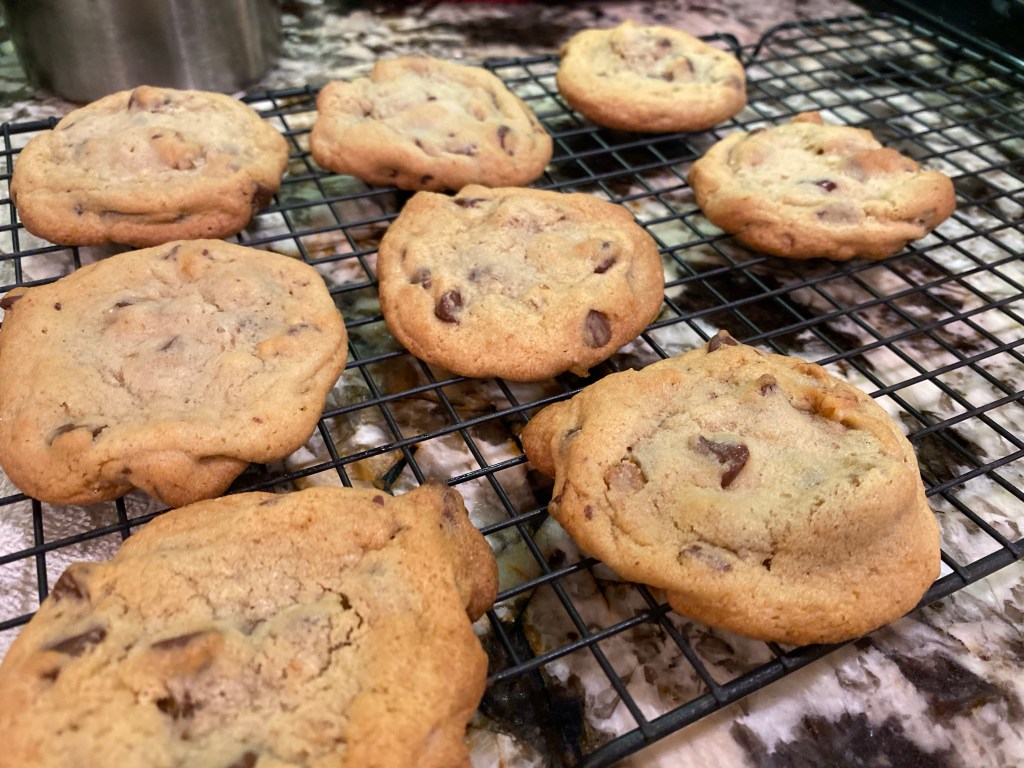
And I love a good homemade cookie… I mean, given the choice, I’d rather eat pie or, honestly, something savory anytime. But a good, homemade cookie is tough to beat. So, when your 72 year old friend asks you to make pecan chocolate chip cookies for her husband’s 73rd birthday, you make pecan chocolate chip cookies for her husband.
Tips for great cookies.
Use real butter
Take the time for your butter to soften at room temperature
Bake your cookies for the lower end of the recommended time (10 minutes in my oven).
Tap the pan when you pull the cookies from the oven
Allow the cookies to cool for 10 minutes on the pan before moving them to a wire rack
Dough, pre-chocolate chipsAdding chocolate chips Adding the pecansAll mixed upReady for the ovenIn the ovenPost “tap”All done!
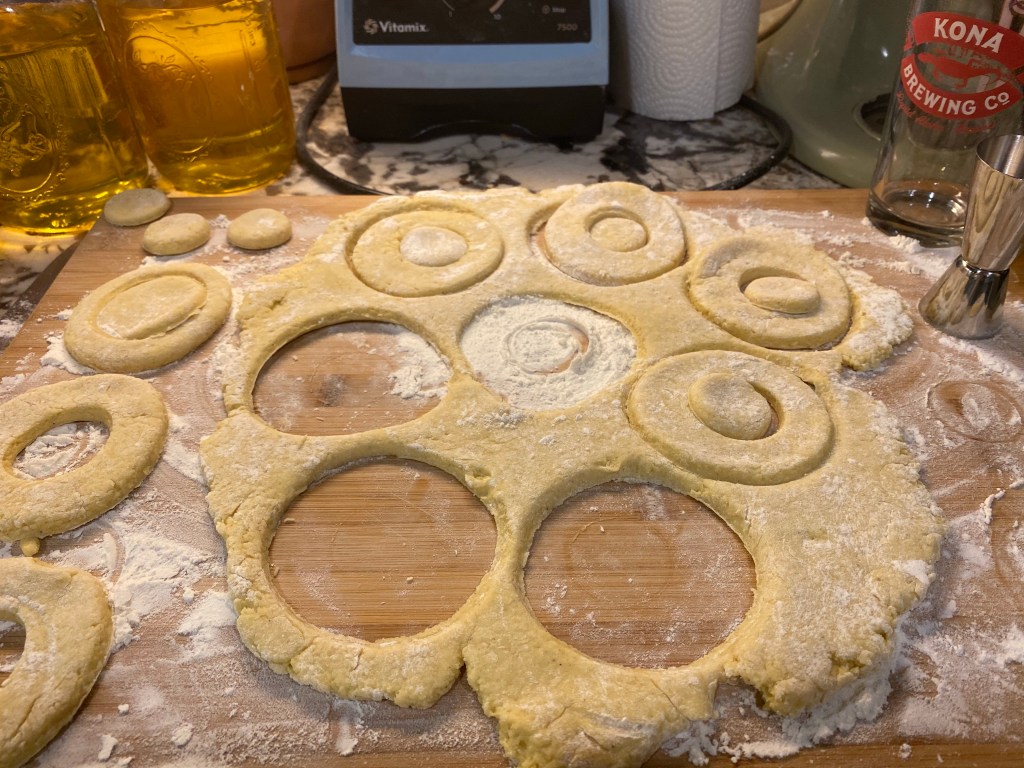
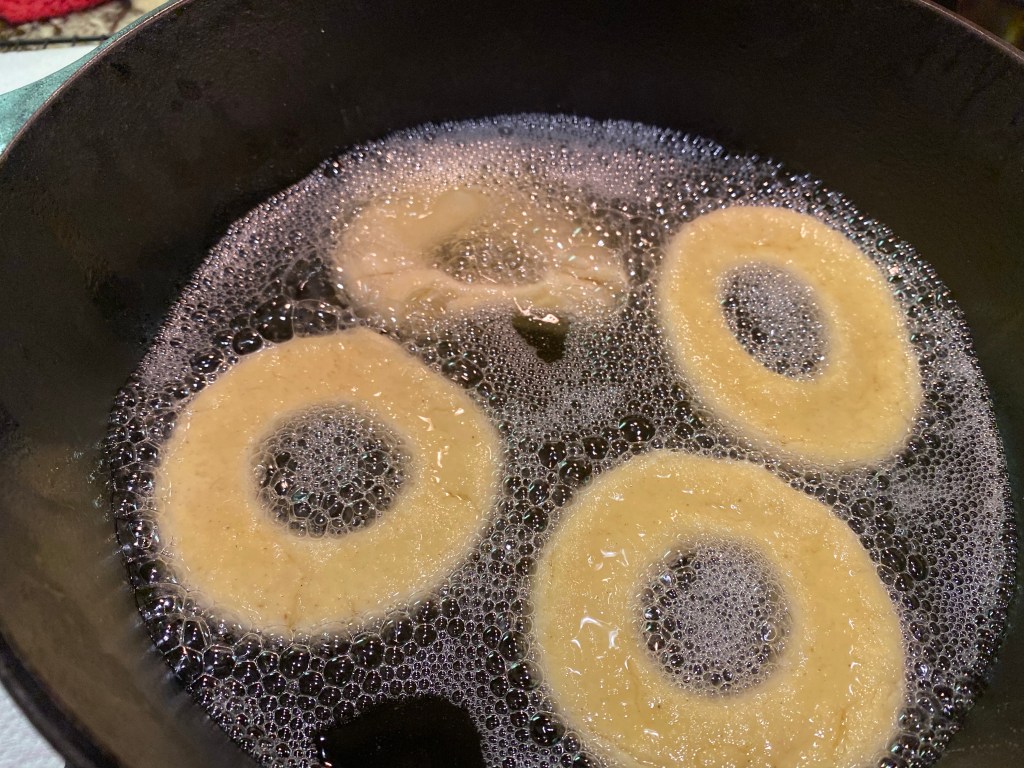
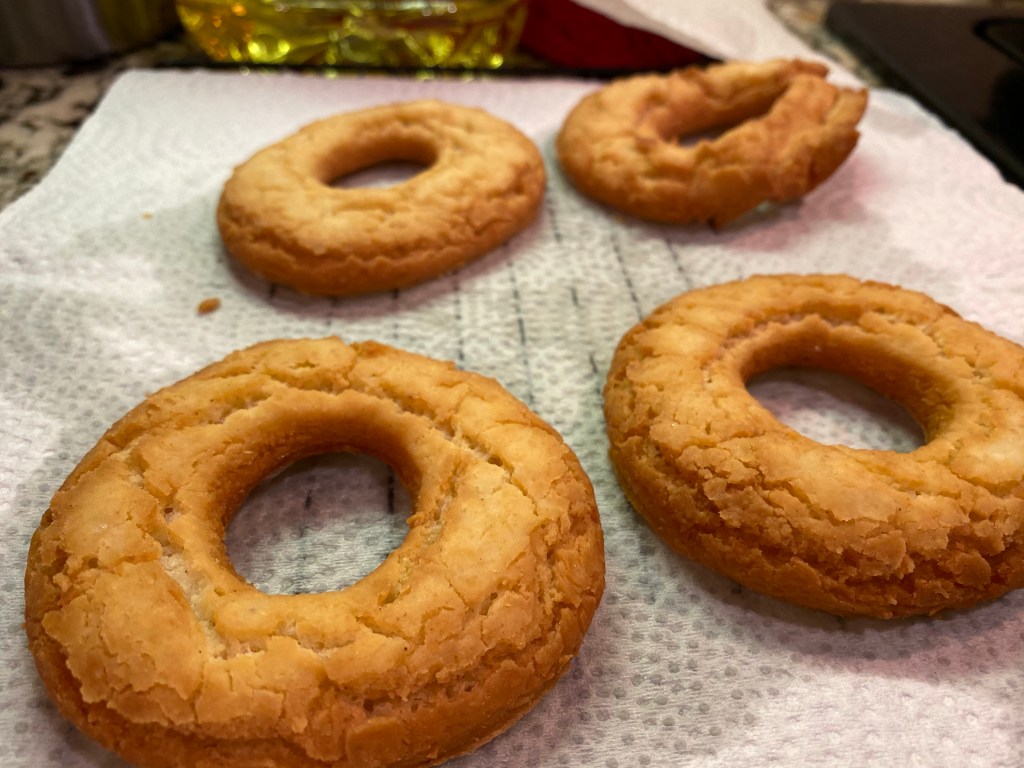
It’s the Sabbath, so I made a Sabbath treat – Old Fashioned Sour Cream Donuts!
I searched a bunch of recipes, but I chose this one because it was posted by a sour cream company, clearly they should know how to make a sour cream donut.
Honestly… meh. It just tastes like a shortbread cookie, but it took way more work – no thank you.
I’m not used to taking photos of all the steps of my cooking, so I forgot… oops. But here are the photos, and I’ll link to the recipe, but honestly, I wouldn’t bother.
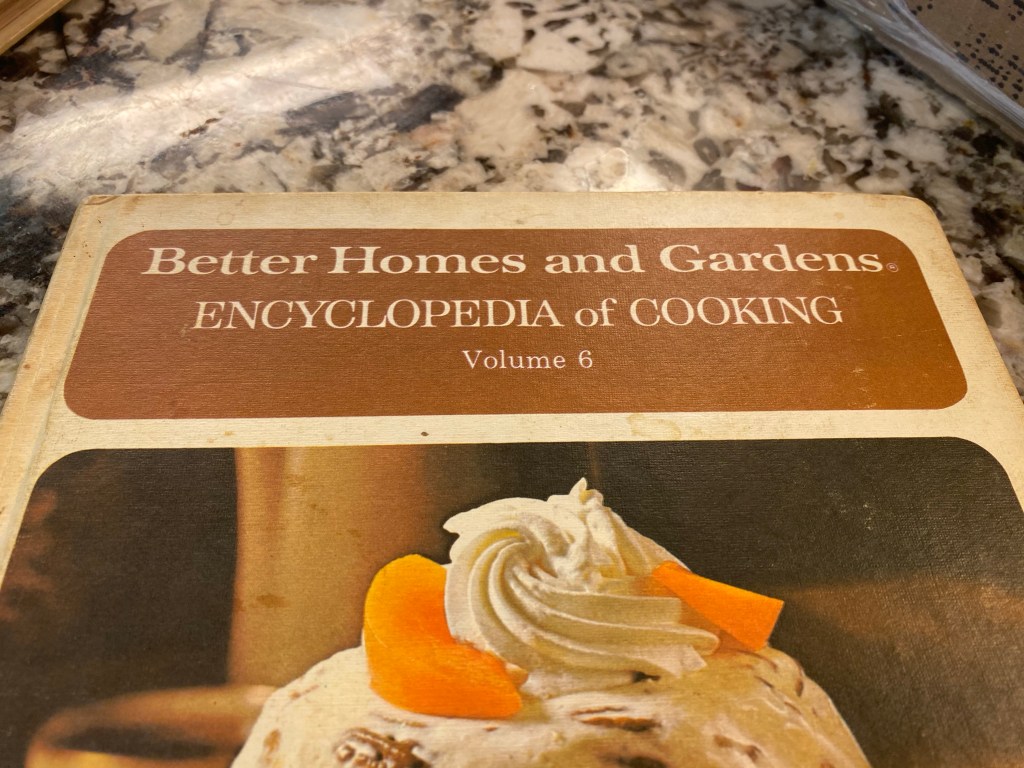
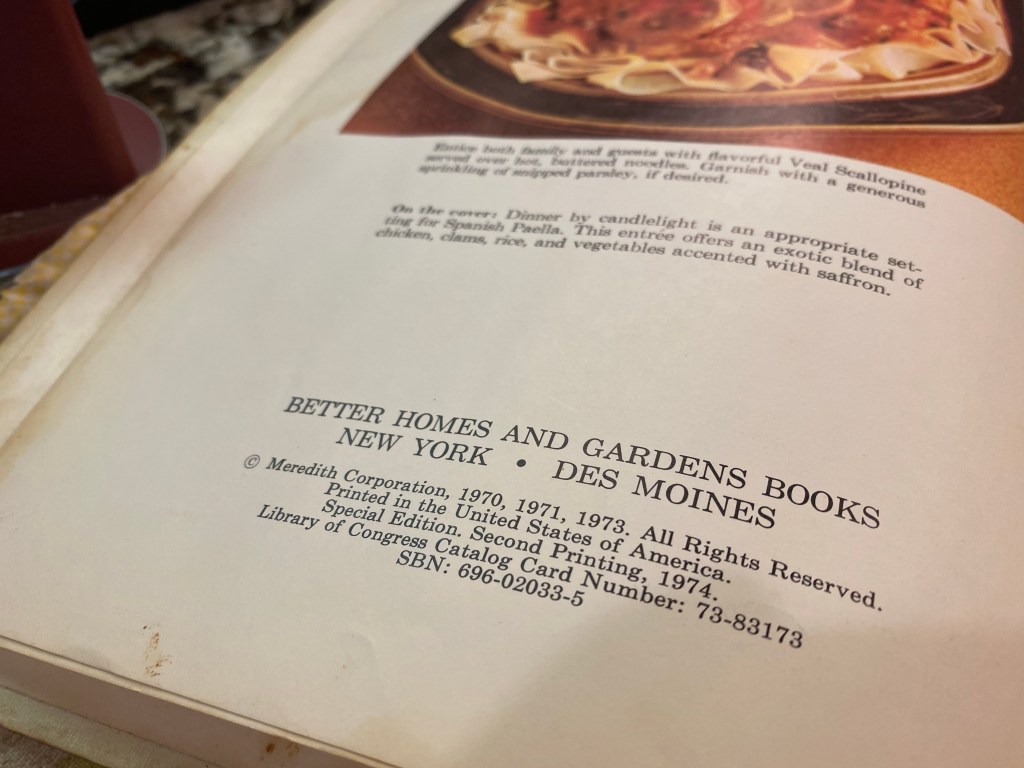
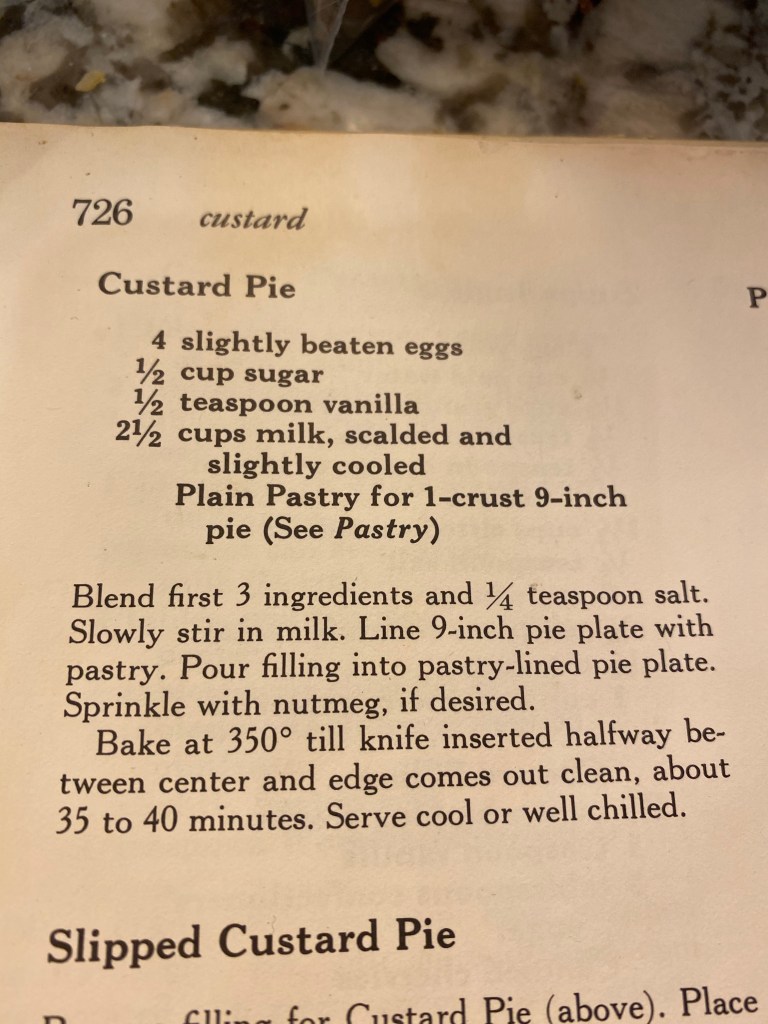
Growing up my mom had this old, well-used (read: total wreck) “Better Homes and Garden” cooking encyclopedia set, and I loved it. When I was older, I told mom that when she died, I called dibs on the set. Thankfully, my parents are still very much alive, but when they moved from Ohio to Texas they had to downsize just a bit, and she offered me her cookbook set. I was thrilled… but also, why did I want these cookbooks?! I don’t typically use cookbooks or even recipes for that matter. Unless of course I’m making something new, or baking… baking is science, man, you have to be precise. Anyway, I remembered why I wanted these cookbooks, they’ve got some great recipes. I mean, let’s be honest, these are from the late 60’s, early 70’s, there are some terrible recipes in there (not everything needs to be set in Jell-O, BHG!), but there are some real gems, and they give tips on why something might not be working out. This week I started jonesing for some custard pie… I love a good, homemade custard pie. So here are the results. I follow this recipe perfectly, except, I don’t sift the flour for the pastry, and I use butter instead of shortening. I like it warm or chilled.
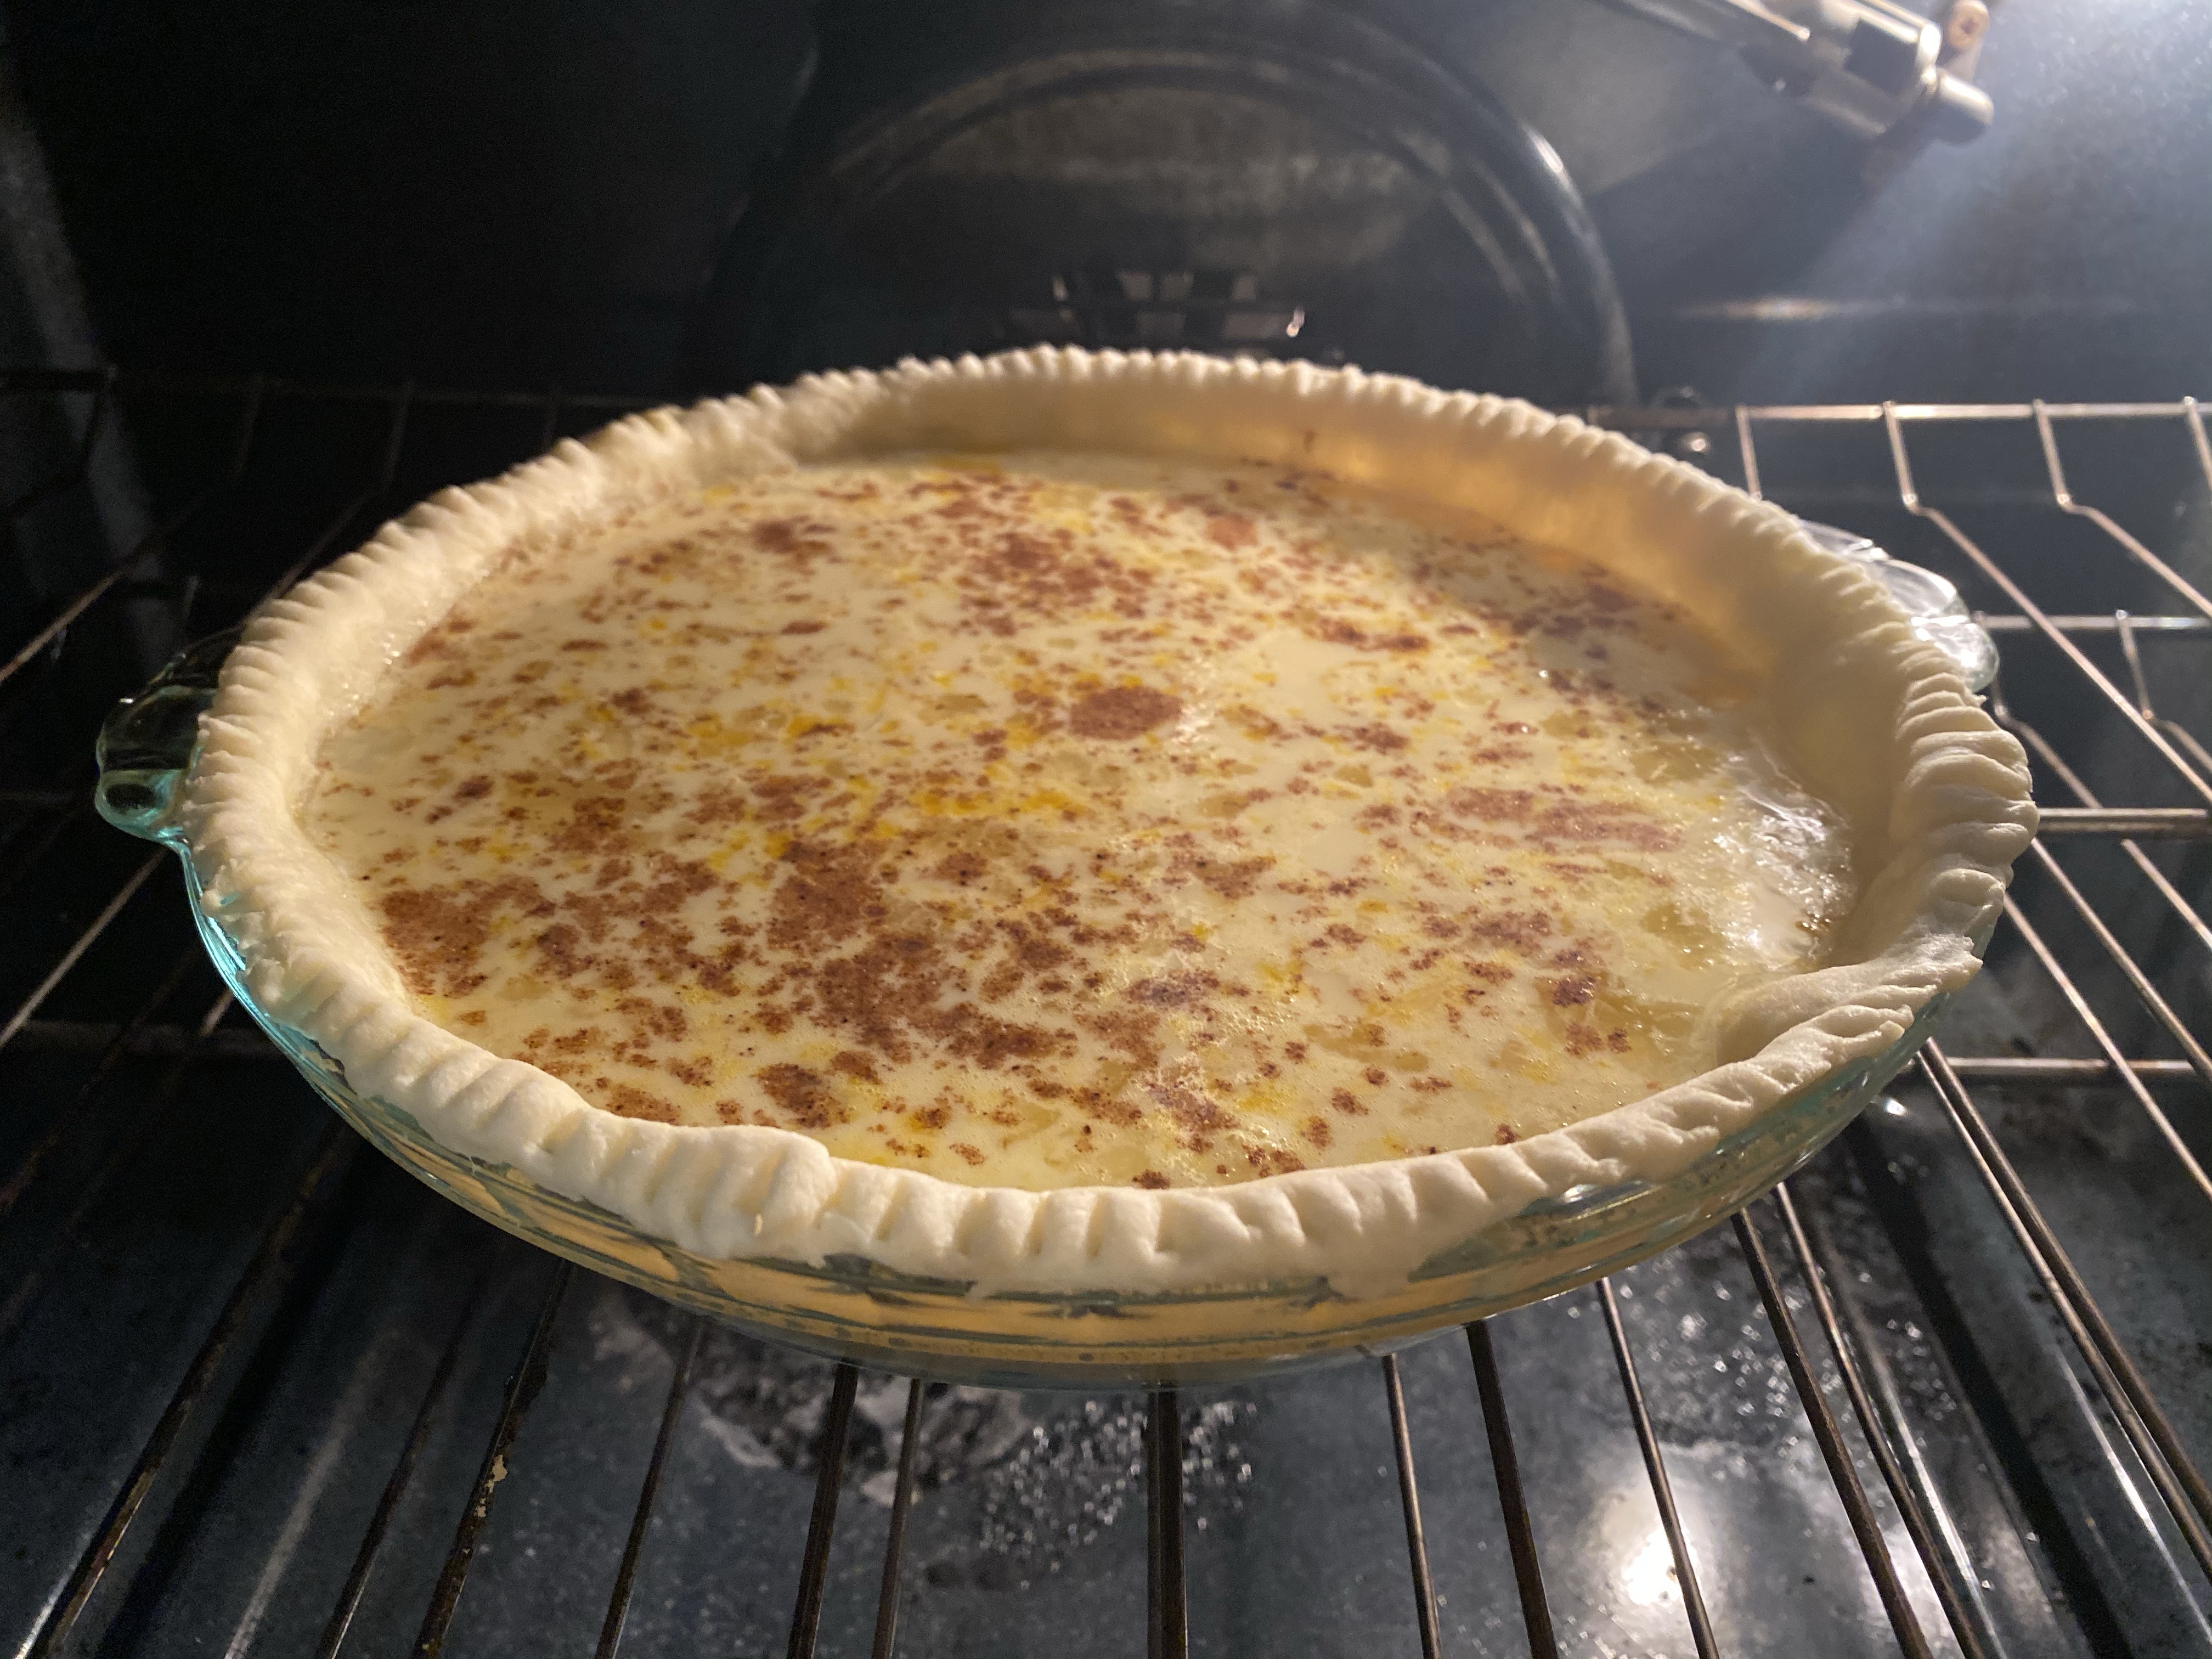
One of the volumesPublishing information An obviously well-used sectionIt says nutmeg “if desired,” but honestly, you’re a monster if you don’t use the nutmeg.
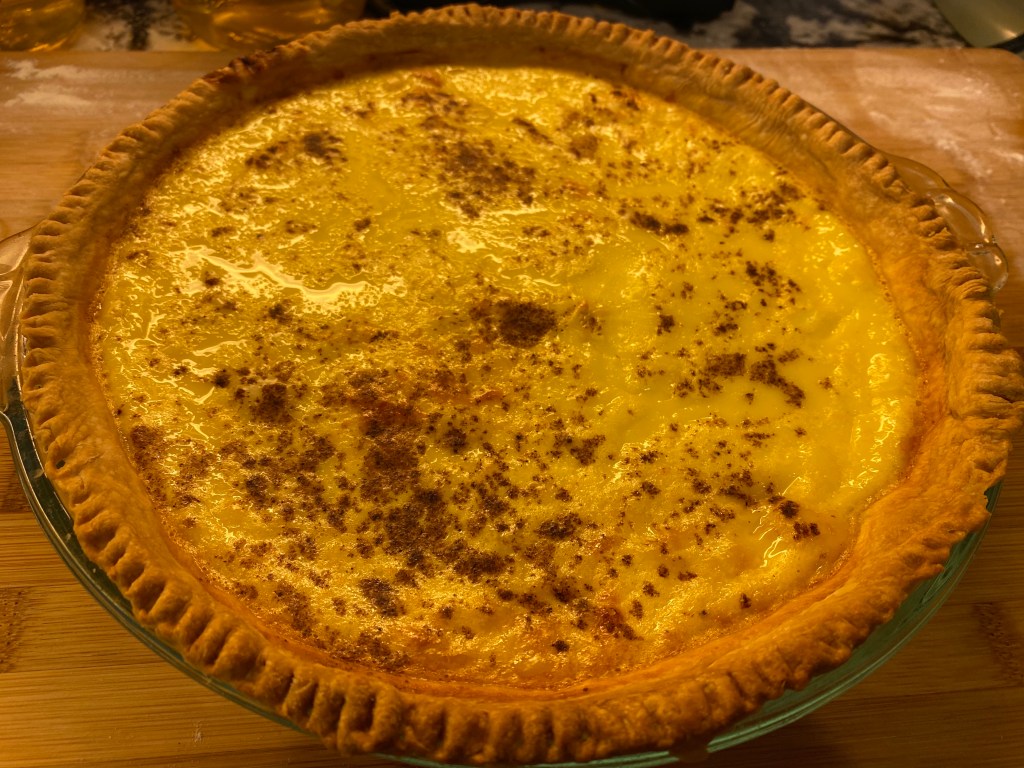
I don’t pre-bake the crust for this recipe.Fresh out of the oven
So good with fresh raspberries
The pastry recipe said it was for a single 9-inch pie, but I used a 9.5 inch and I still had leftover crust. So I made a bonus mini-blackberry pie. I only added a teaspoon of sugar… it was not enough, talk about tart, but still quite delicious.