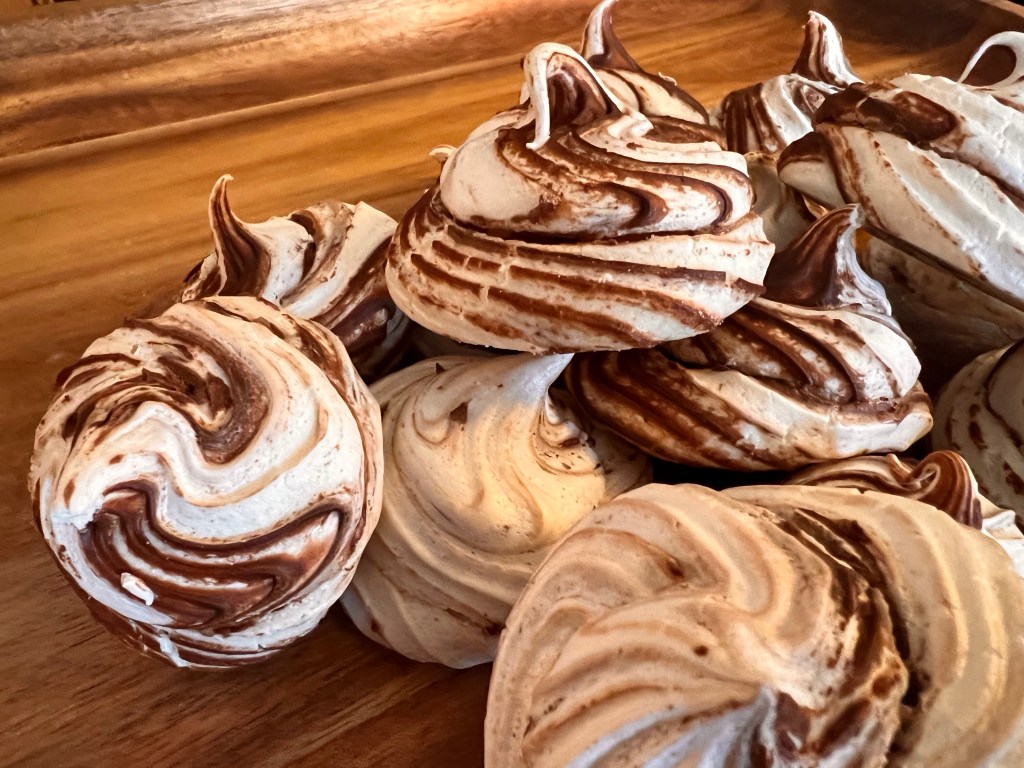
I’ve been experimenting with meringue cookies lately. I made a batch on a whim, and they were pretty good, but I wasn’t obsessed with them until a month or so ago.
Lewis and I decided to have lunch after our dentist appointment at a little cafe in Bay Ridge (a neighborhood in Brooklyn), and I noticed some ugly looking cookies that *might* have been meringue. So I asked our server, sure enough, it was different flavored meringue cookies. So I got one of each to try (I’d only made vanilla and chocolate swirl to that point), and I was so disappointed. The texture was terrible and the flavor was so subtle. So I decided to start experimenting, because clearly these could be done better (not that I plan on telling them that their cookies are terrible, but still… why have bad cookies when you can have great cookies?). And these are great cookies! They’re sweet with a crispy outside and a bit of a chewy center.
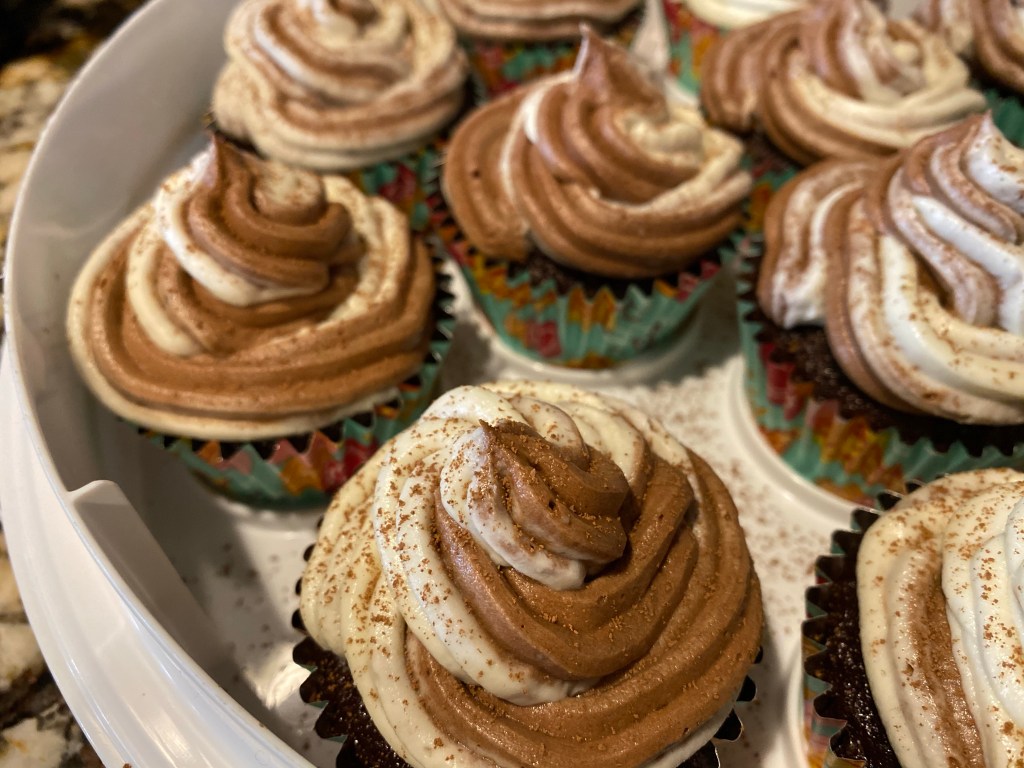
This is one flavor version, the base cookie recipe can be adapted pretty easily. I’ve made green tea, pistachio (still perfecting that one), and cherry almond so far.
I’m trying not to be the annoying blogger that forces you to read ten years of background on a dumb recipe. So here it is:
Ingredients:
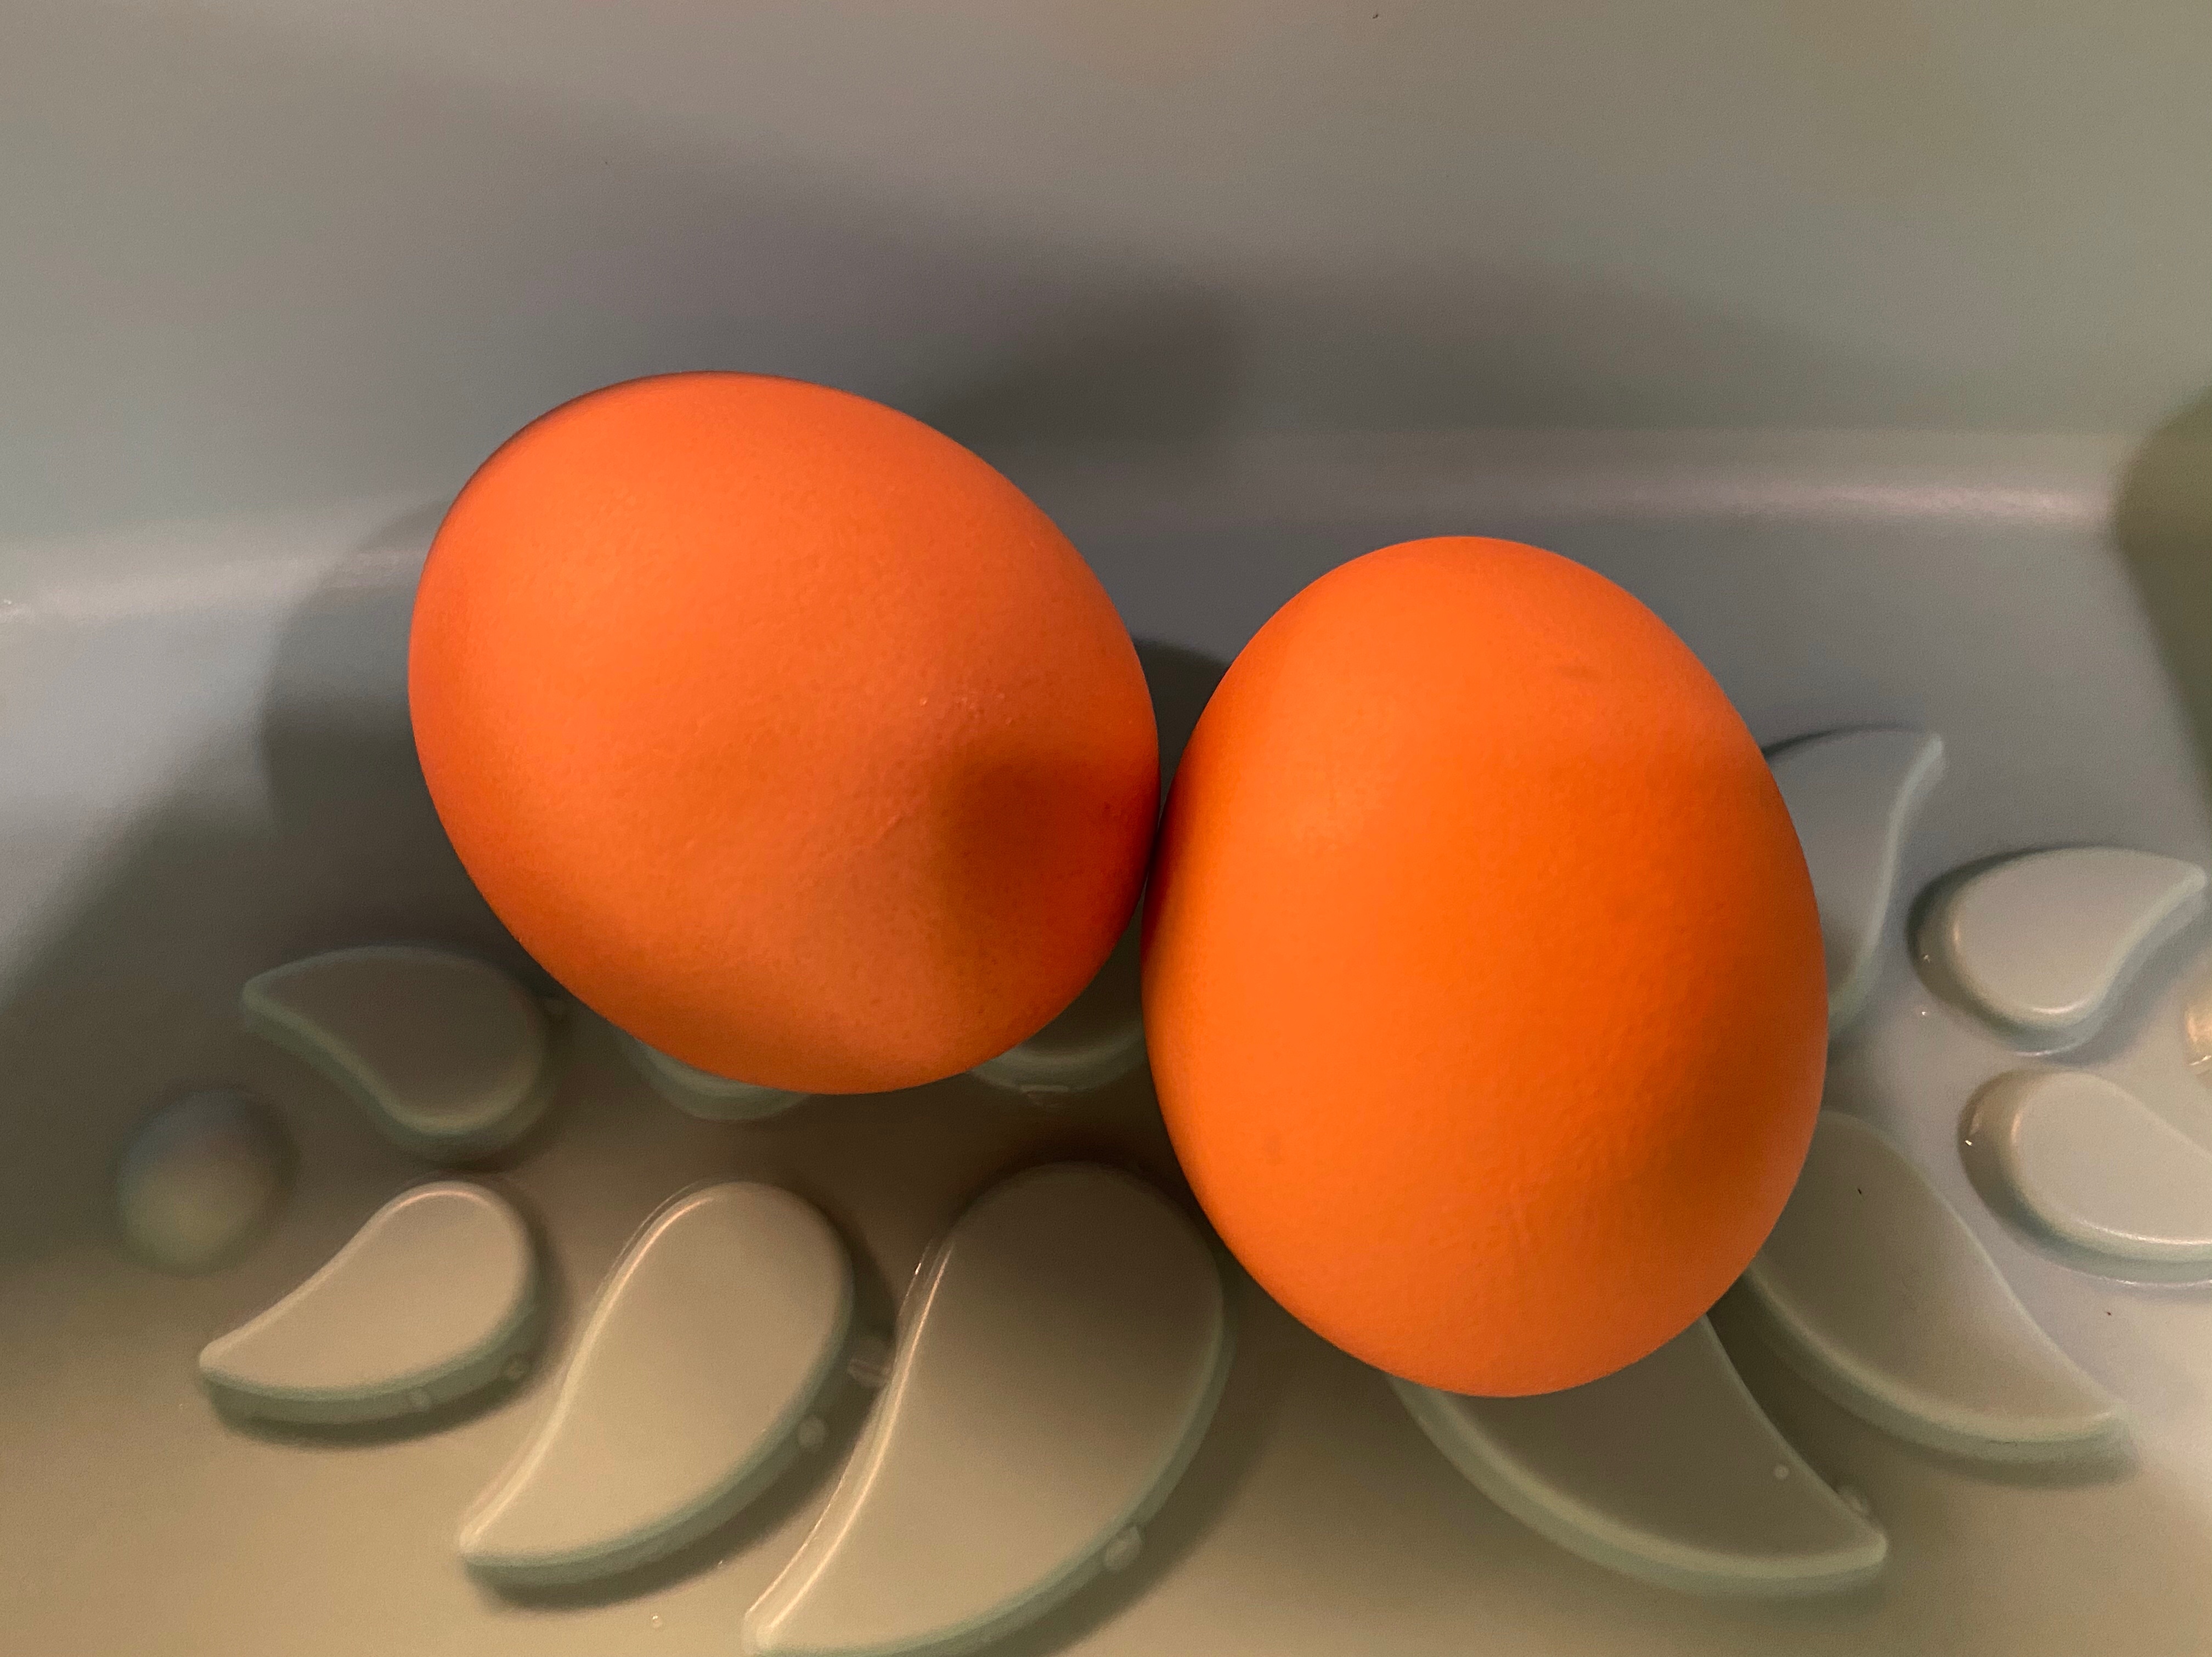
- 4 large egg whites
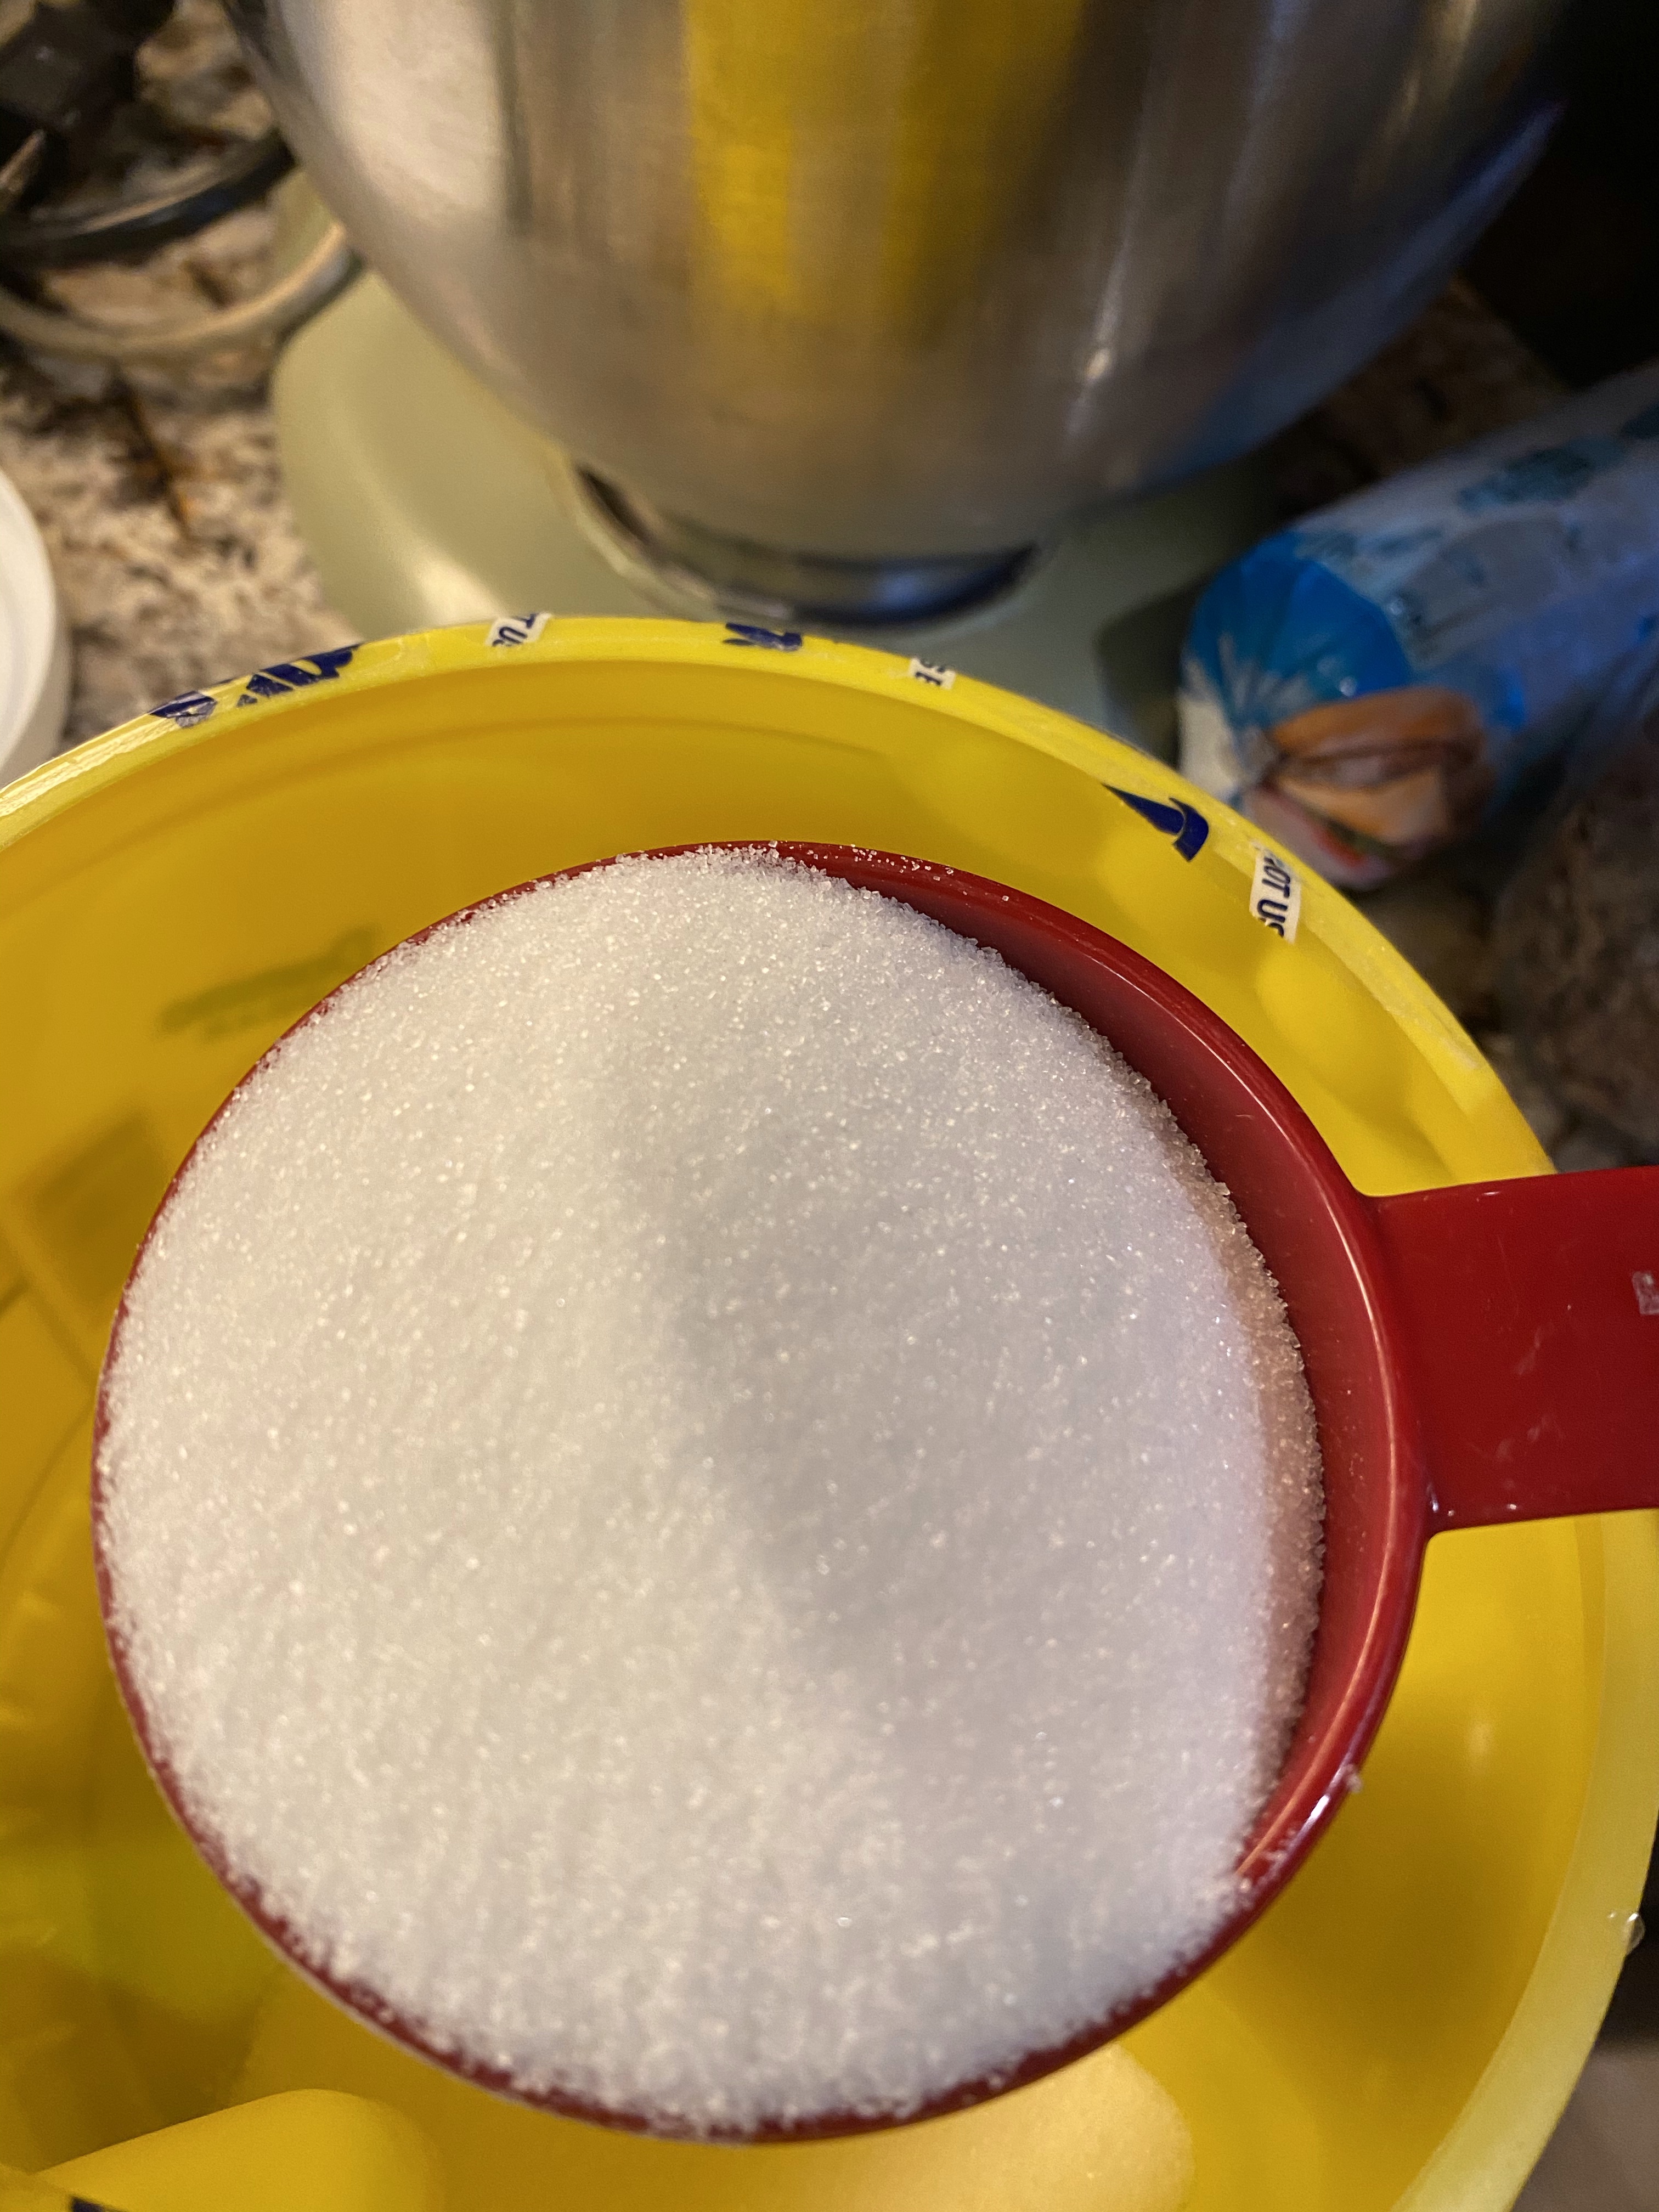
- 1 cup of cane sugar (I use Domino brand because it’s a more fine grain)
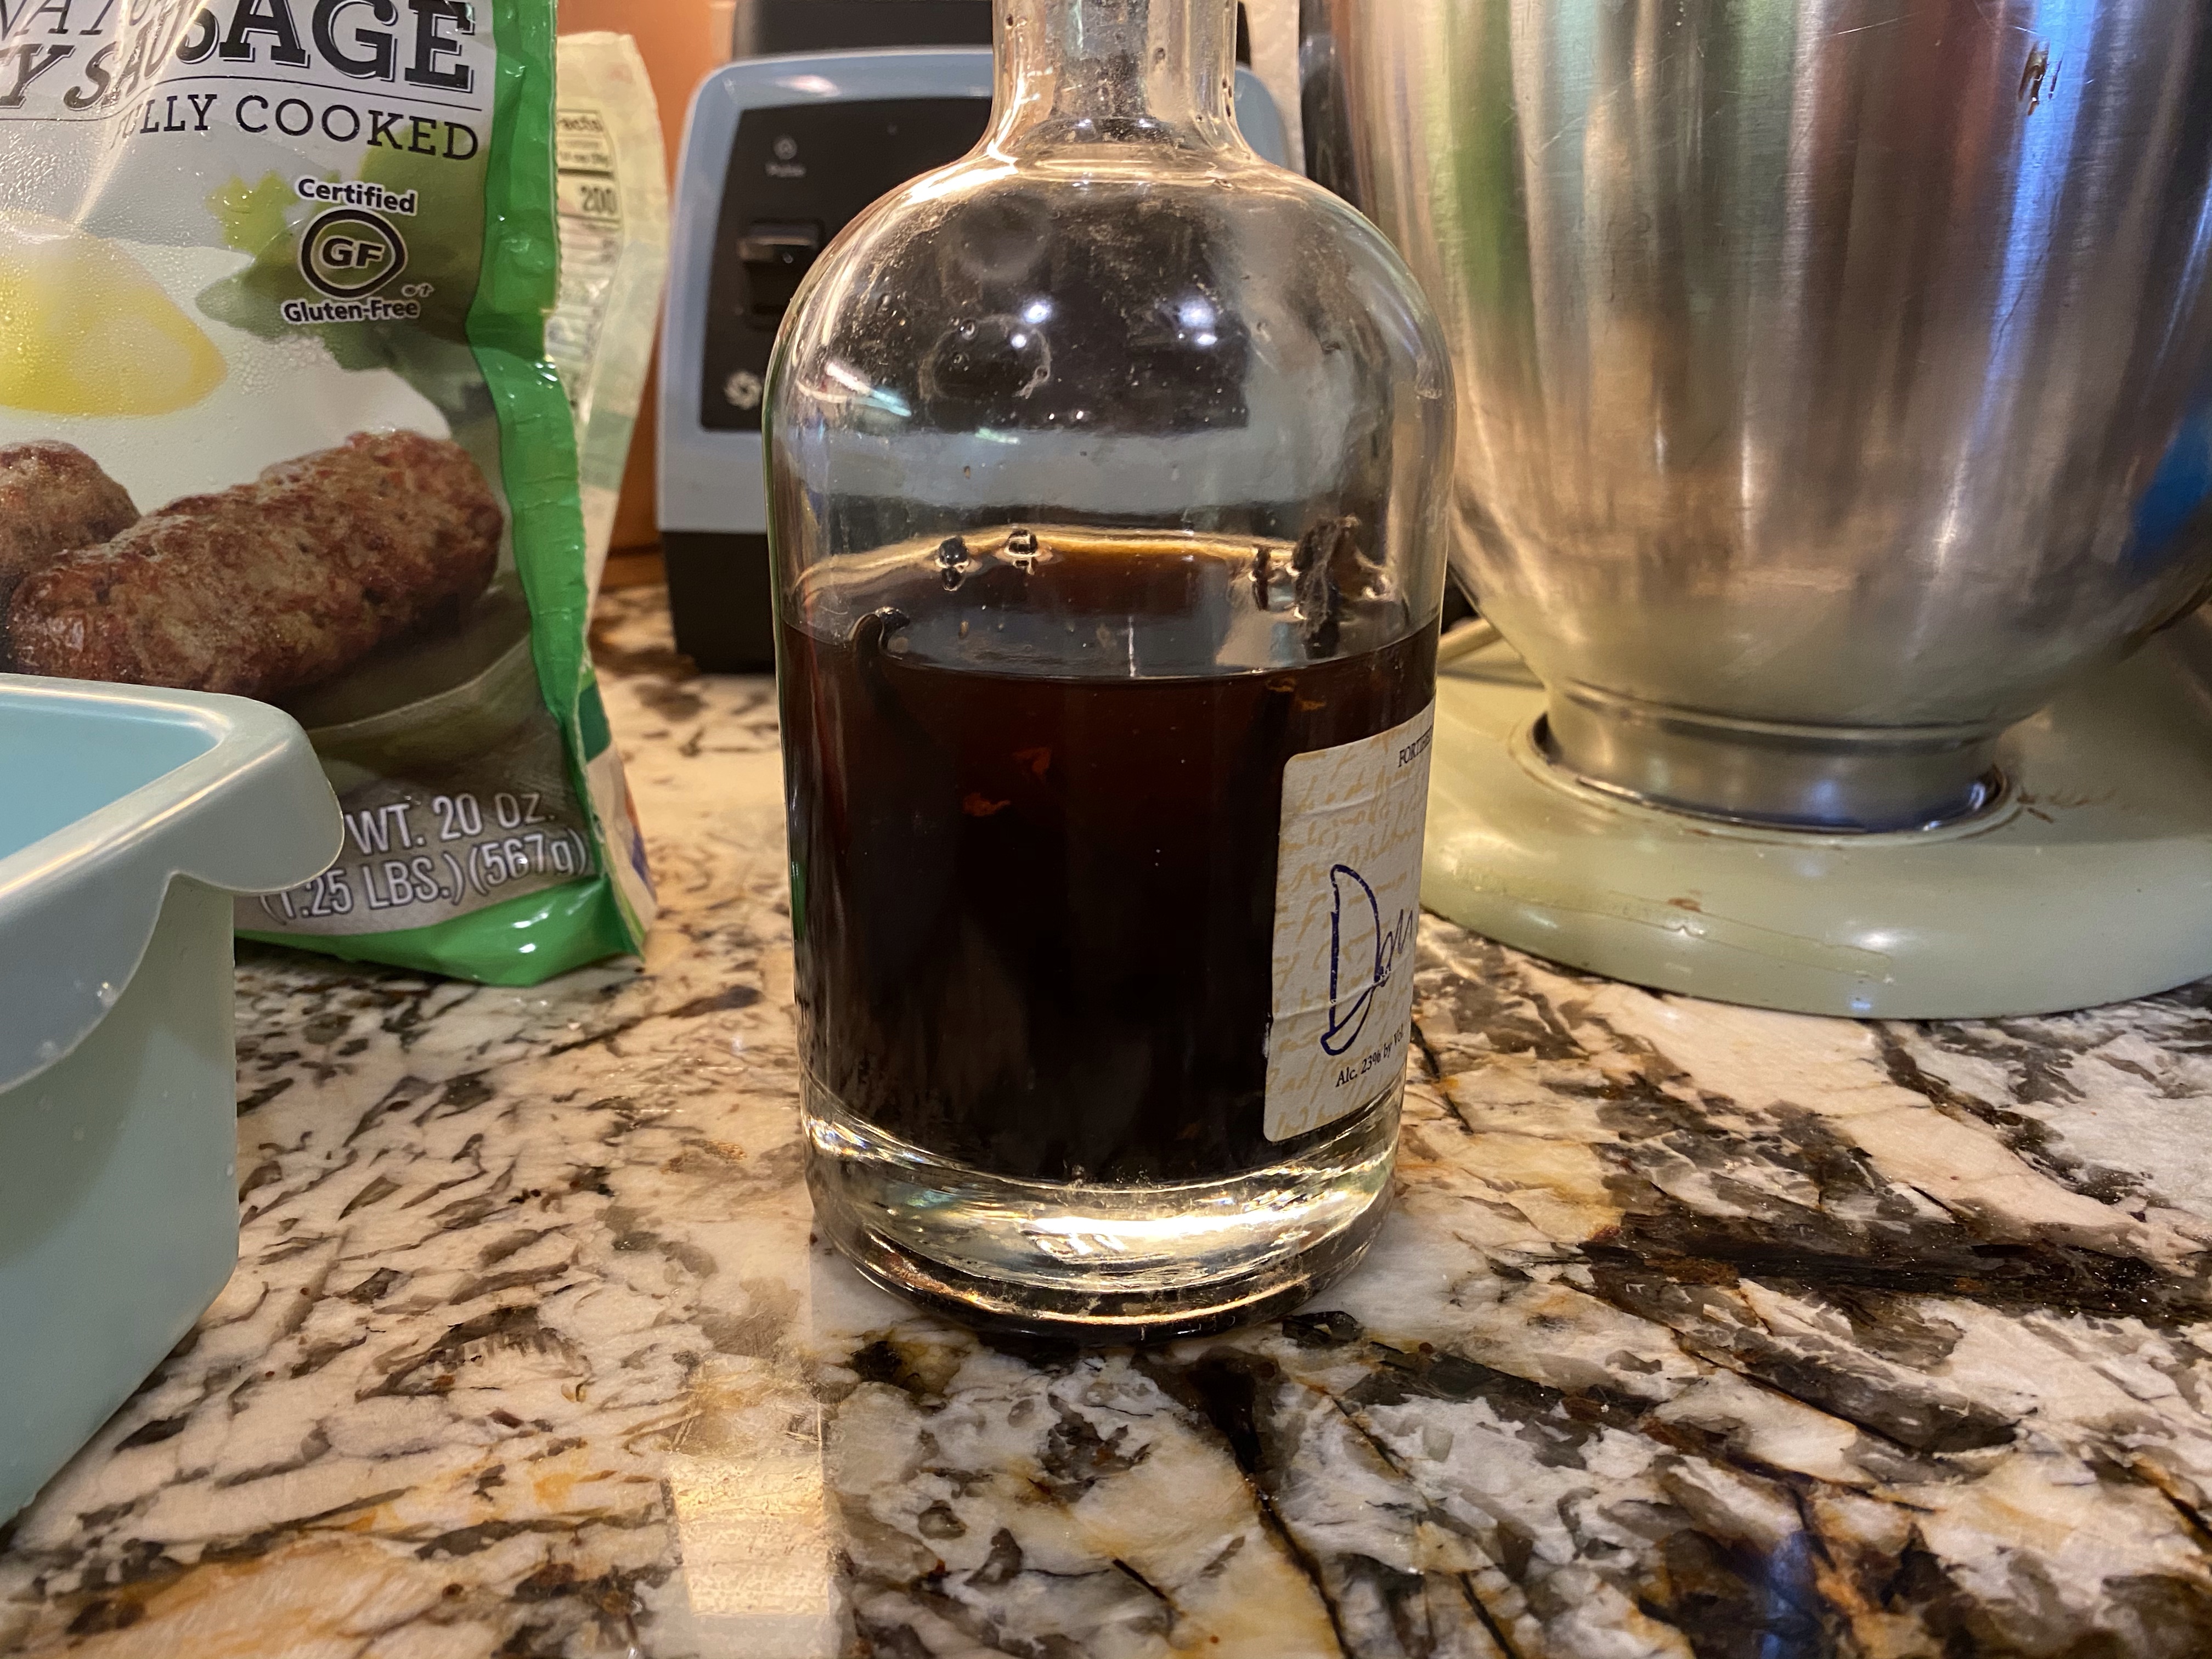
- 1/2 teaspoon of vanilla
- 1/2 teaspoon of mint extract (this will produce a very mild mint flavor, add more if you want a stronger mint flavor)
- 1/2 teaspoon cream of tartar
- 1 teaspoon of cornstarch
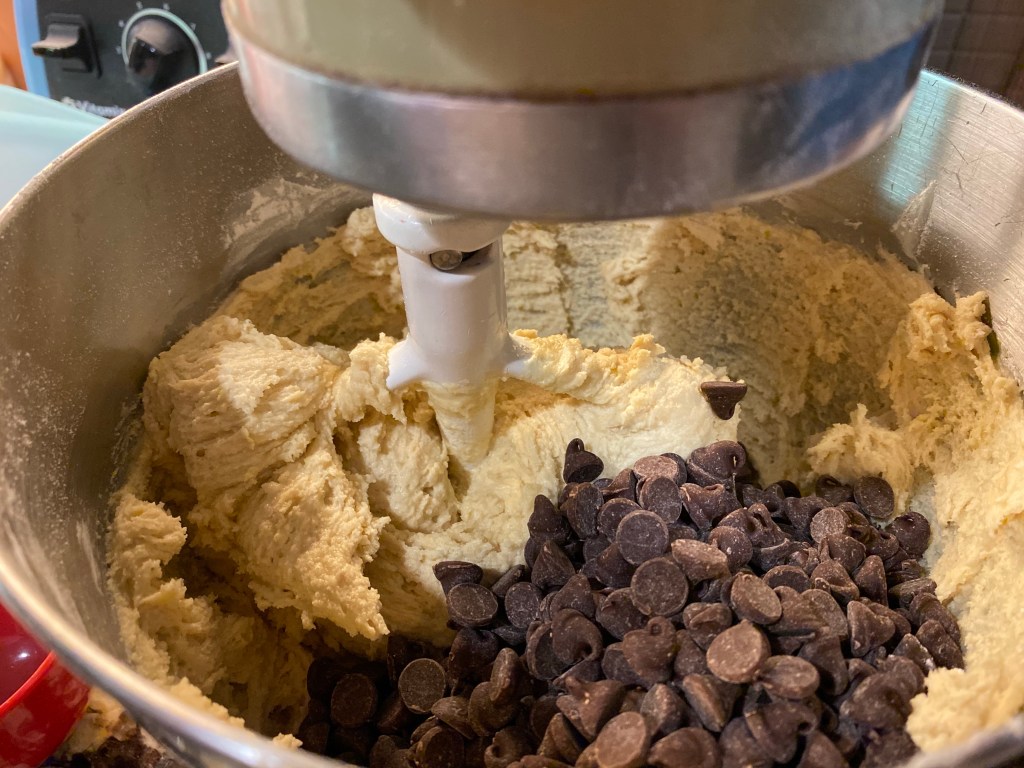
- 2-4 ounces of dark chocolate chips
Instructions:
- Melt chocolate chips and set aside to cool
- Heat oven to 350°
- Line a large baking tray with silicone baking mats or with parchment paper
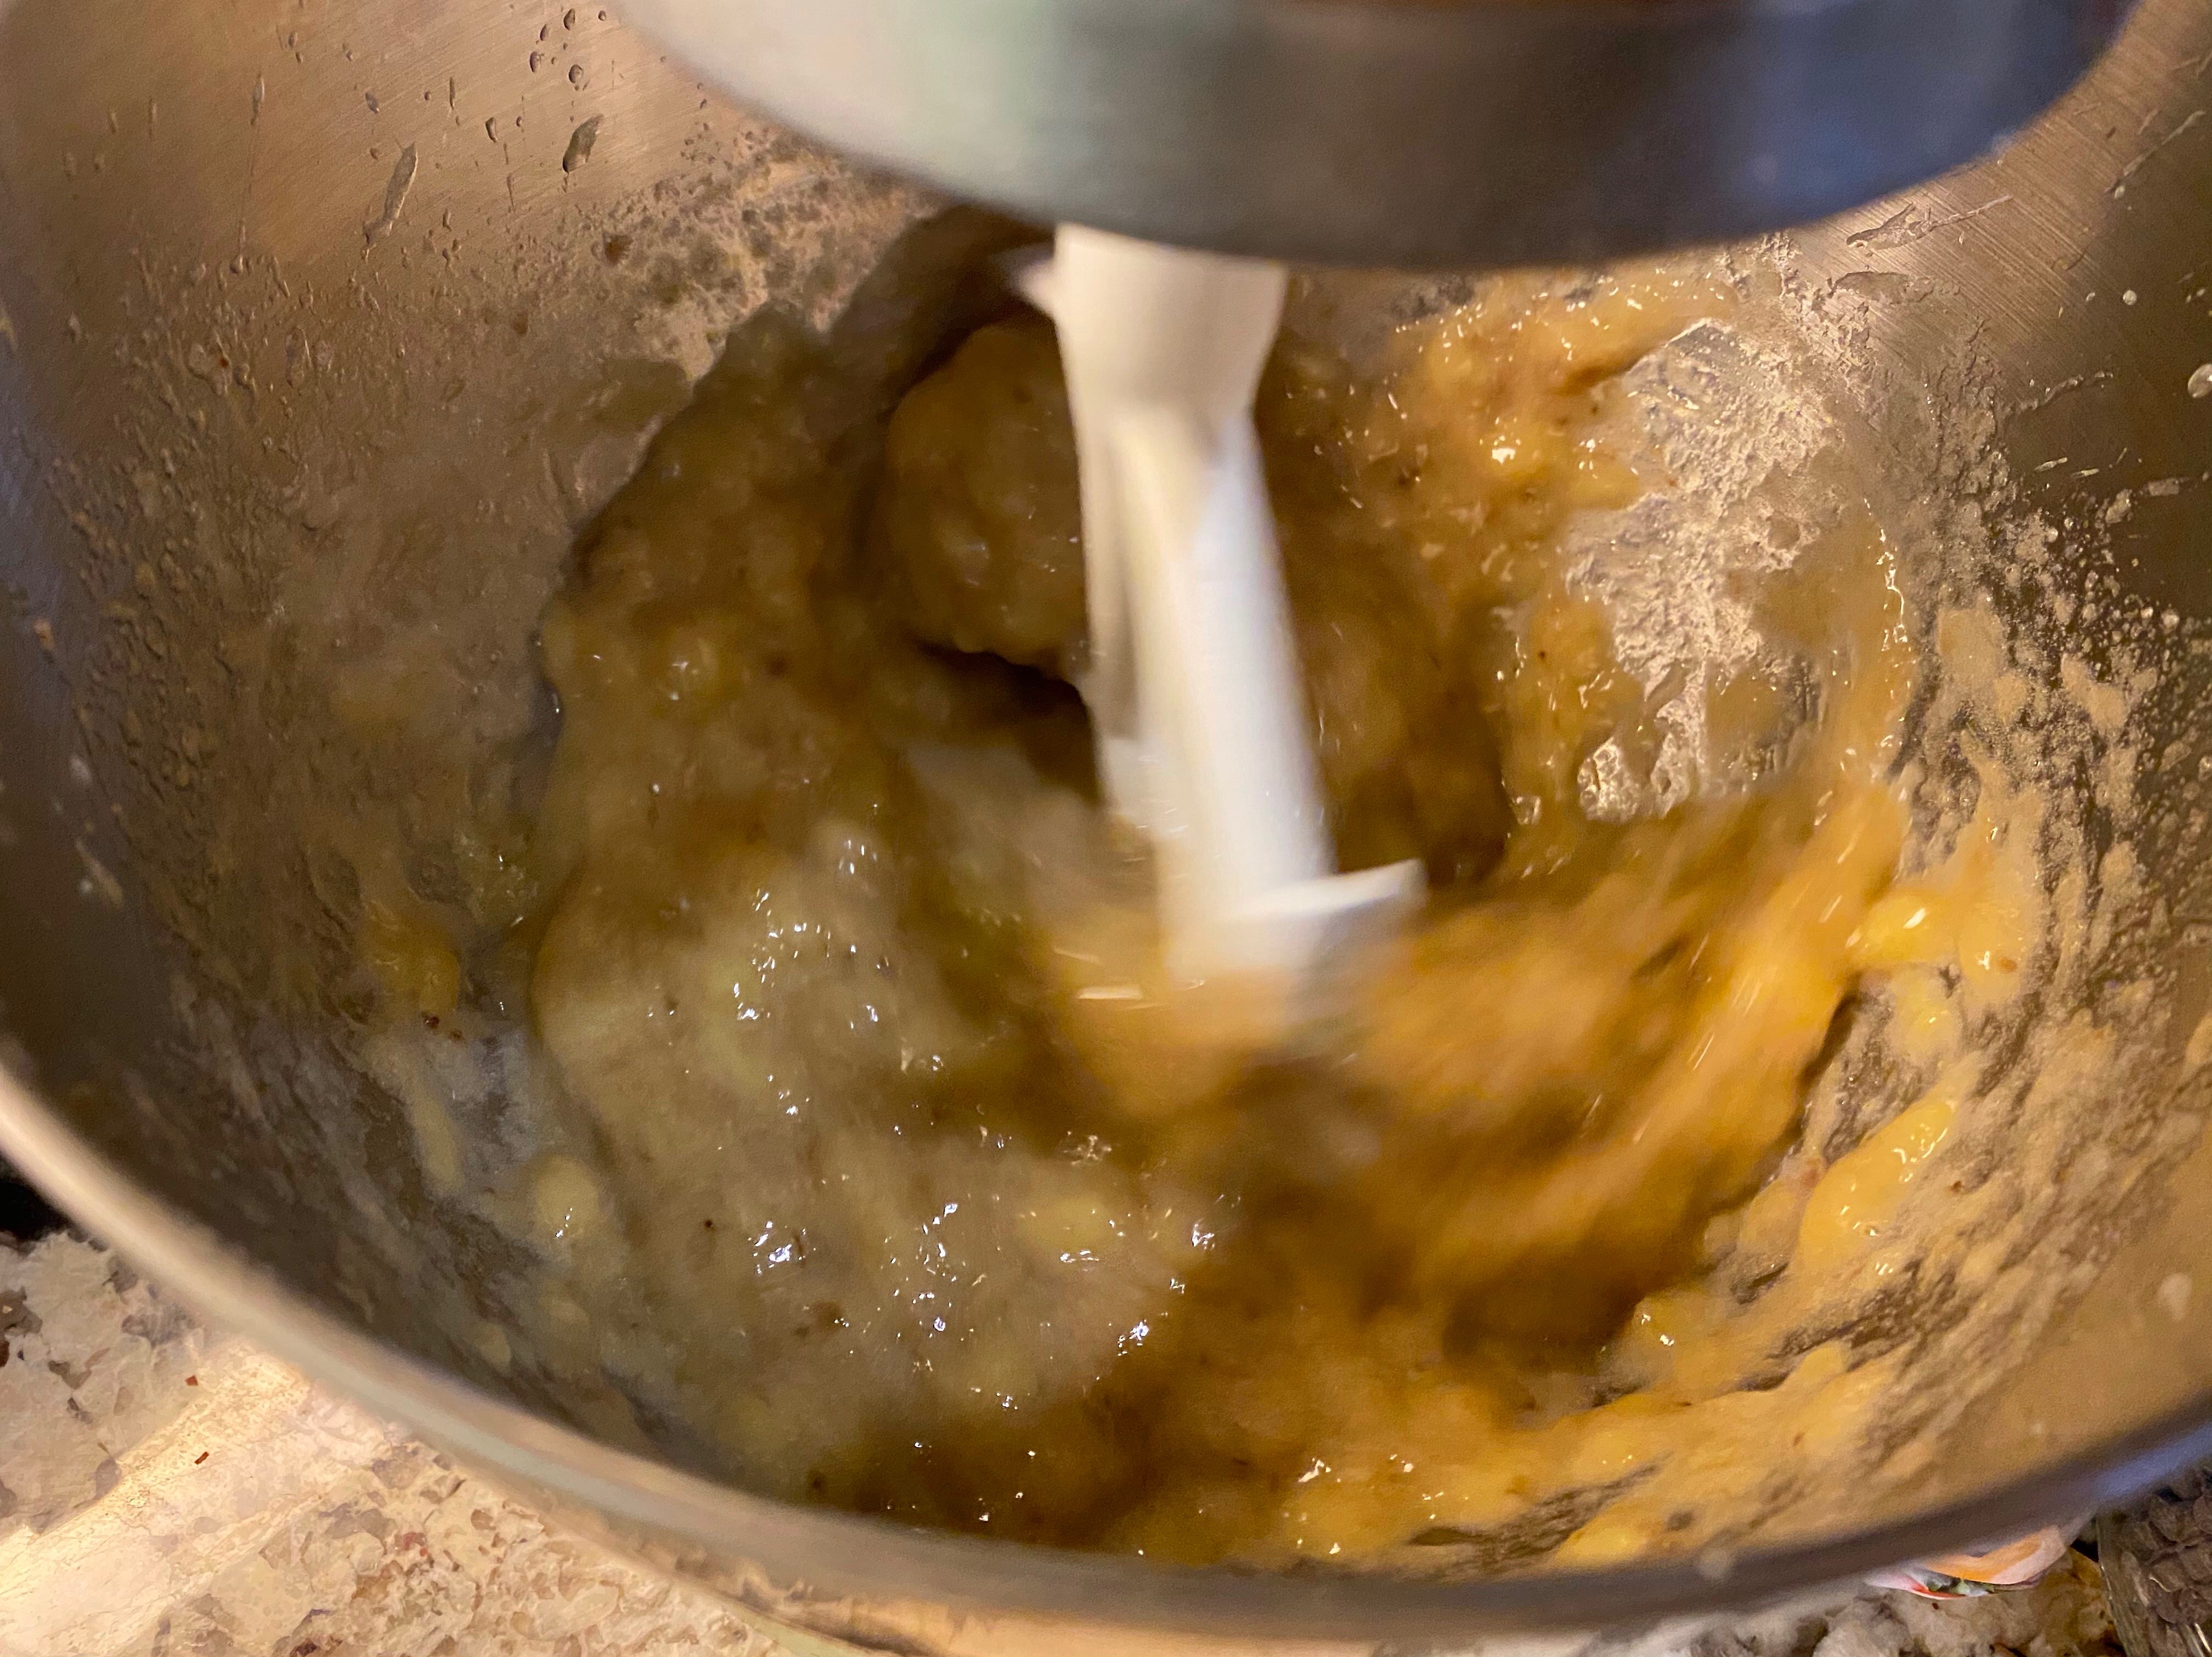
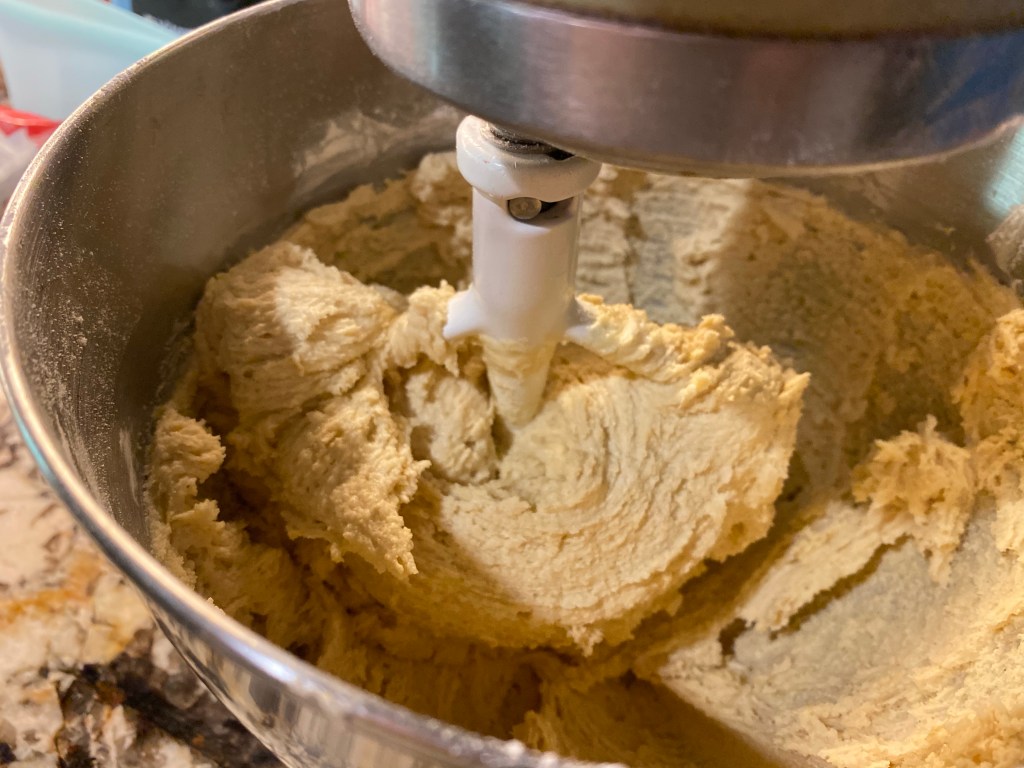
- In a stand mixer or with a hand mixer, whip egg whites for a couple of minutes until frothy
- Slowly add sugar and whip until glossy and stiff (you should be able hold the whisk and the egg mixture won’t move)
- Add vanilla and mint extract and whip until stiff again.
- Sift the cornstarch and cream of tartar onto the egg mixture. And fold over with a rubber scraper until combined.
- Drizzle the chocolate around the edges of the pastry bag with a star tip.
- Fill with the pastry bag with the egg mixture
- pipe cookies into a swirl pattern onto prepared baking tray
- Place pan in the oven
- Turn oven down to 200°
- Bake for 90 minutes
- Turn off the oven and allow the cookies to cool in the oven until completely cooled (oftentimes I’ll make the cookies in the evening and leave them in the oven overnight to cool)